139
■Select the VLANs to apply this change to — Defines the VLAN ID to which the port is to be assigned.
2Select a port.
3Select the port’s membership type.
4Enter the VLAN ID to be assigned to the port.
5Click ![]() . The VLANs are configured, and the device is updated.
. The VLANs are configured, and the device is updated.
Removing VLANs The VLAN Remove Page allows the network administrator to remove VLANs.
Monitor users have no access to this page.
To delete VLANs:
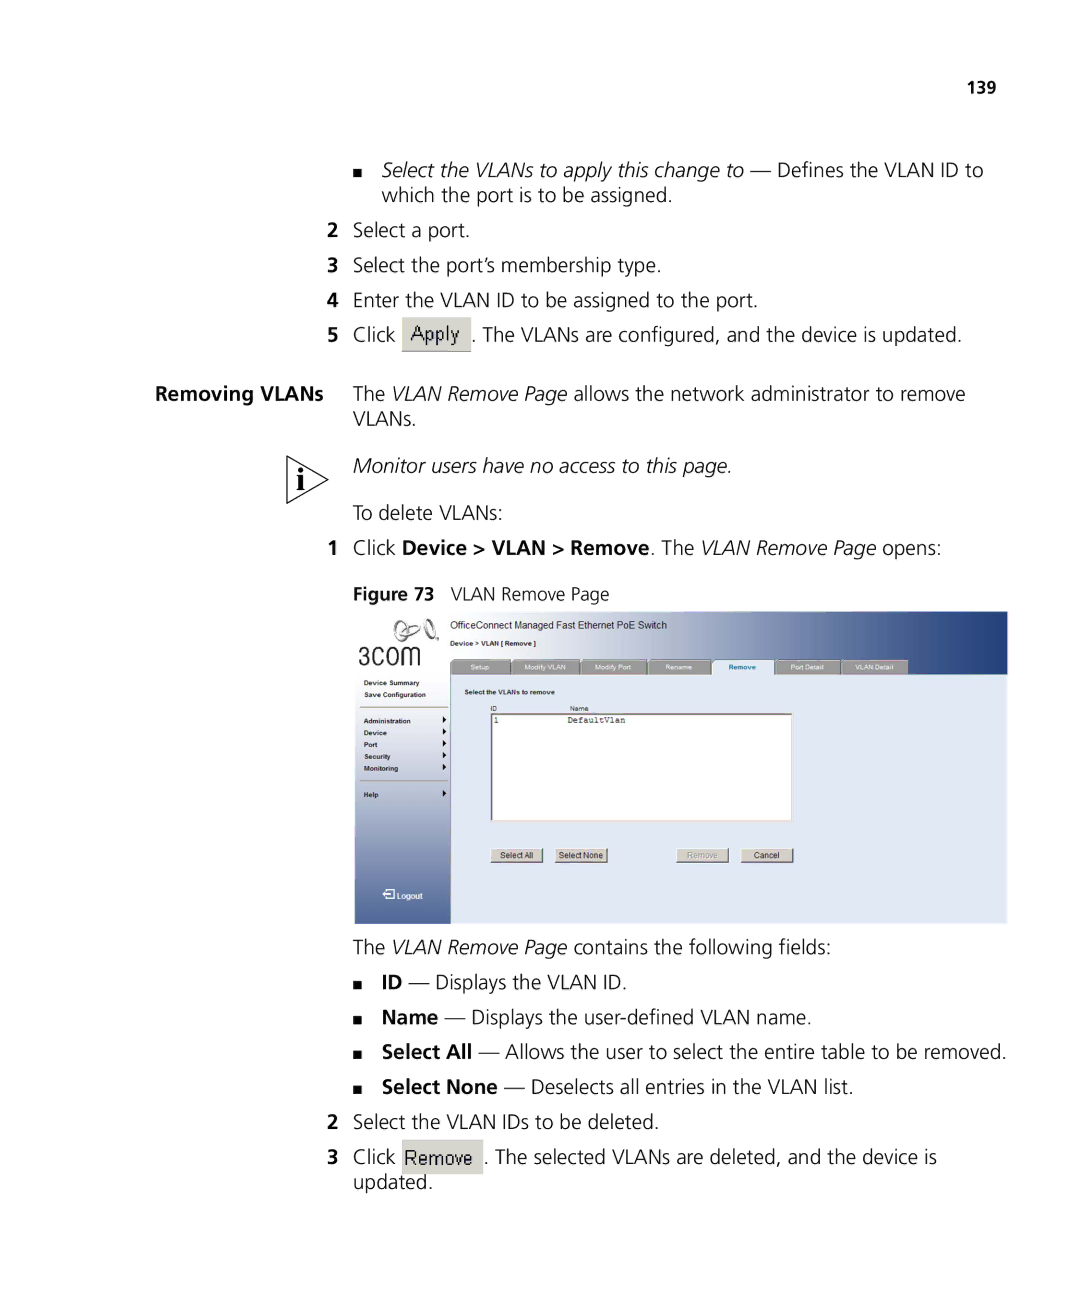
1Click Device > VLAN > Remove. The VLAN Remove Page opens:
Figure 73 VLAN Remove Page
The VLAN Remove Page contains the following fields:
■ID — Displays the VLAN ID.
■Name — Displays the
■Select All — Allows the user to select the entire table to be removed.
■Select None — Deselects all entries in the VLAN list.
2Select the VLAN IDs to be deleted.
3 Click | . The selected VLANs are deleted, and the device is |
updated. |
|
