Using the Command Line Interface (CLI) 27
Connecting the Workstation to the Switch
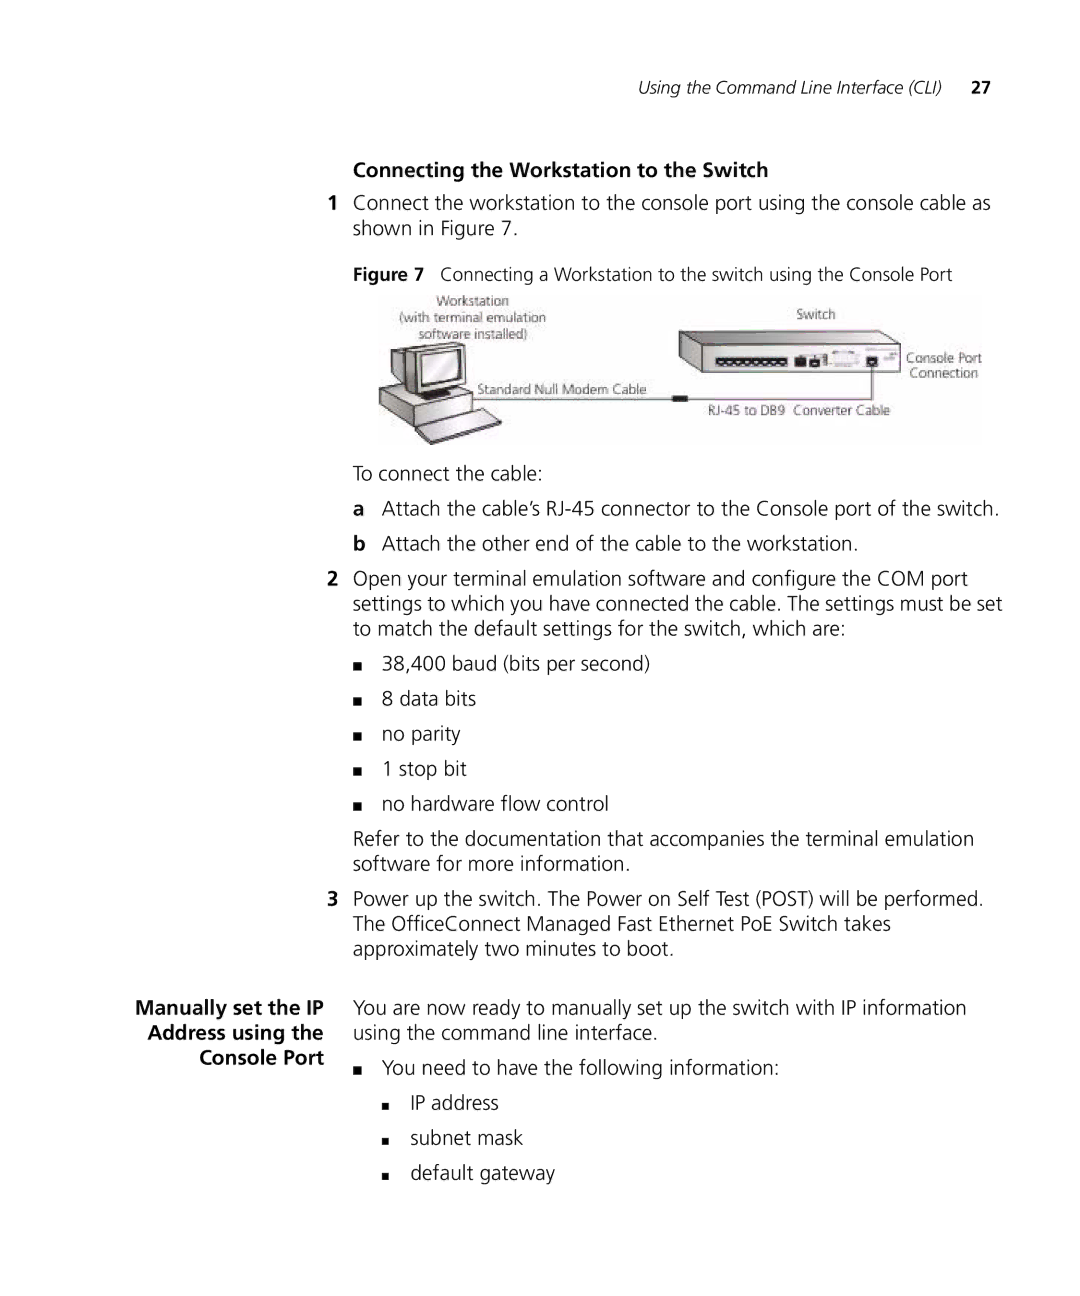
1Connect the workstation to the console port using the console cable as shown in Figure 7.
Figure 7 Connecting a Workstation to the switch using the Console Port
Manually set the IP Address using the Console Port
To connect the cable:
aAttach the cable’s
bAttach the other end of the cable to the workstation.
2Open your terminal emulation software and configure the COM port settings to which you have connected the cable. The settings must be set to match the default settings for the switch, which are:
■38,400 baud (bits per second)
■8 data bits
■no parity
■1 stop bit
■no hardware flow control
Refer to the documentation that accompanies the terminal emulation software for more information.
3Power up the switch. The Power on Self Test (POST) will be performed. The OfficeConnect Managed Fast Ethernet PoE Switch takes approximately two minutes to boot.
You are now ready to manually set up the switch with IP information using the command line interface.
■You need to have the following information:
■IP address
■subnet mask
■default gateway