79
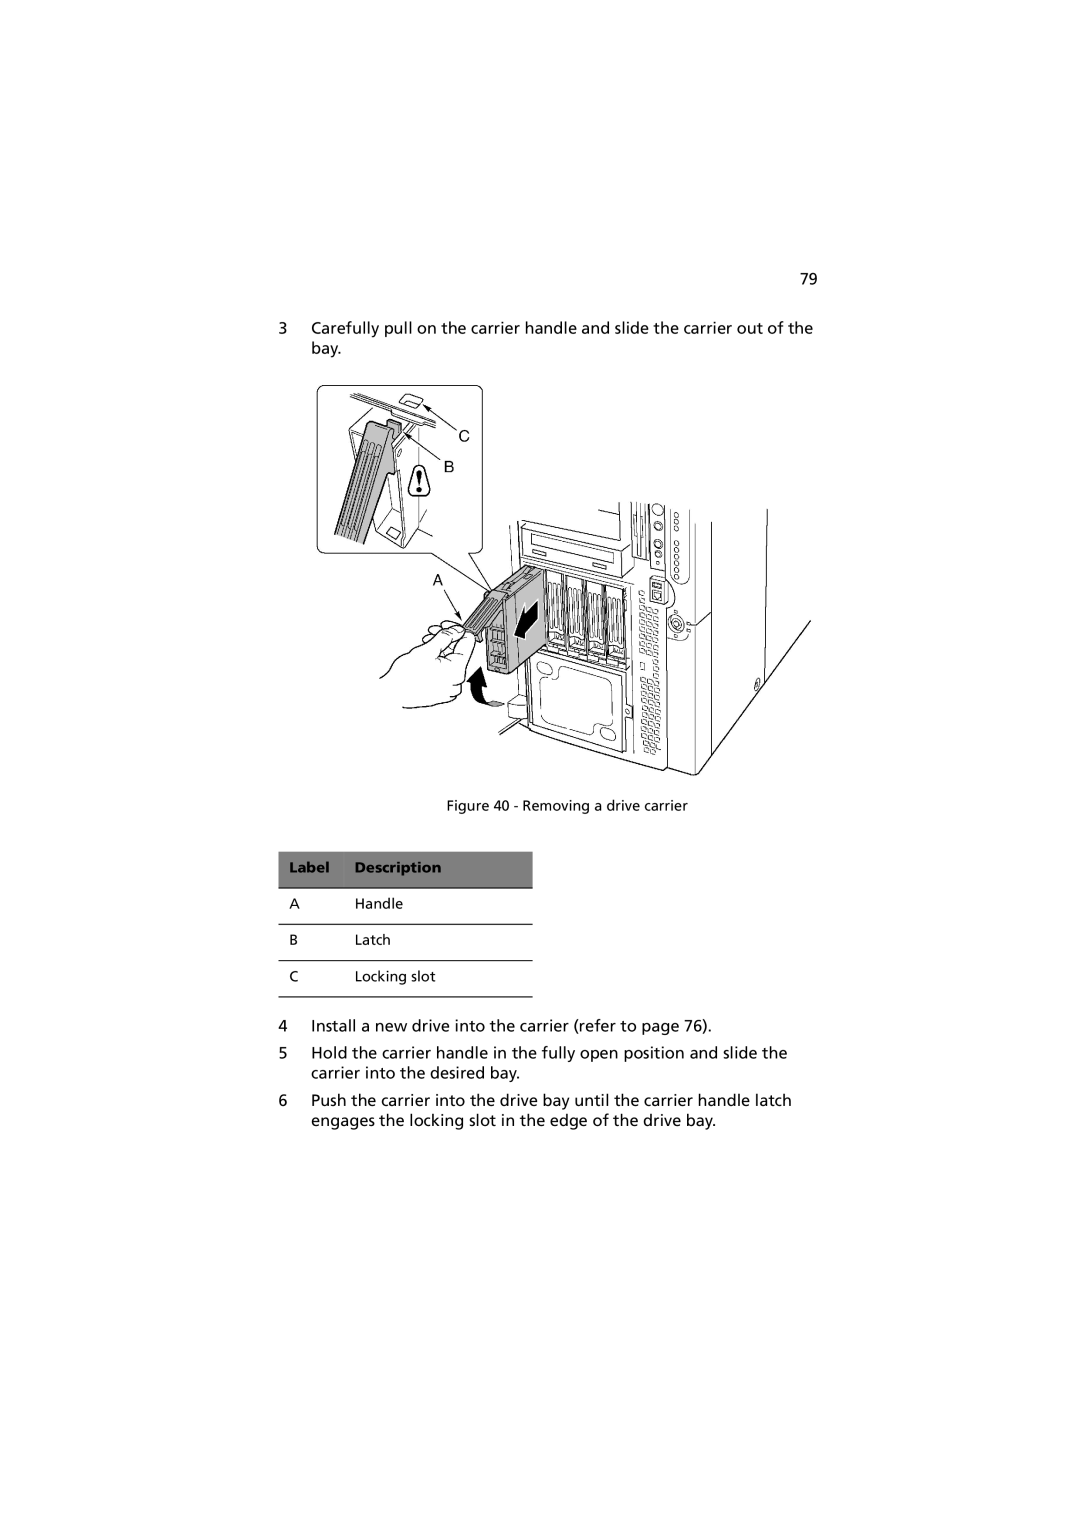
3Carefully pull on the carrier handle and slide the carrier out of the bay.
Figure 40 - Removing a drive carrier
Label Description
AHandle
BLatch
CLocking slot
4Install a new drive into the carrier (refer to page 76).
5Hold the carrier handle in the fully open position and slide the carrier into the desired bay.
6Push the carrier into the drive bay until the carrier handle latch engages the locking slot in the edge of the drive bay.
