101
Power distribution board
Replacing the power distribution board
1Remove the front and rear access covers (refer to page 46 and page 44).
2Open the front subchassis and remove the electronics bay (refer to page 47 and page 49).
3Partially remove the power supplies (refer to page 82) to disengage the power supply connectors from the power distribution board.
4Disconnect the cables from the power distribution board.
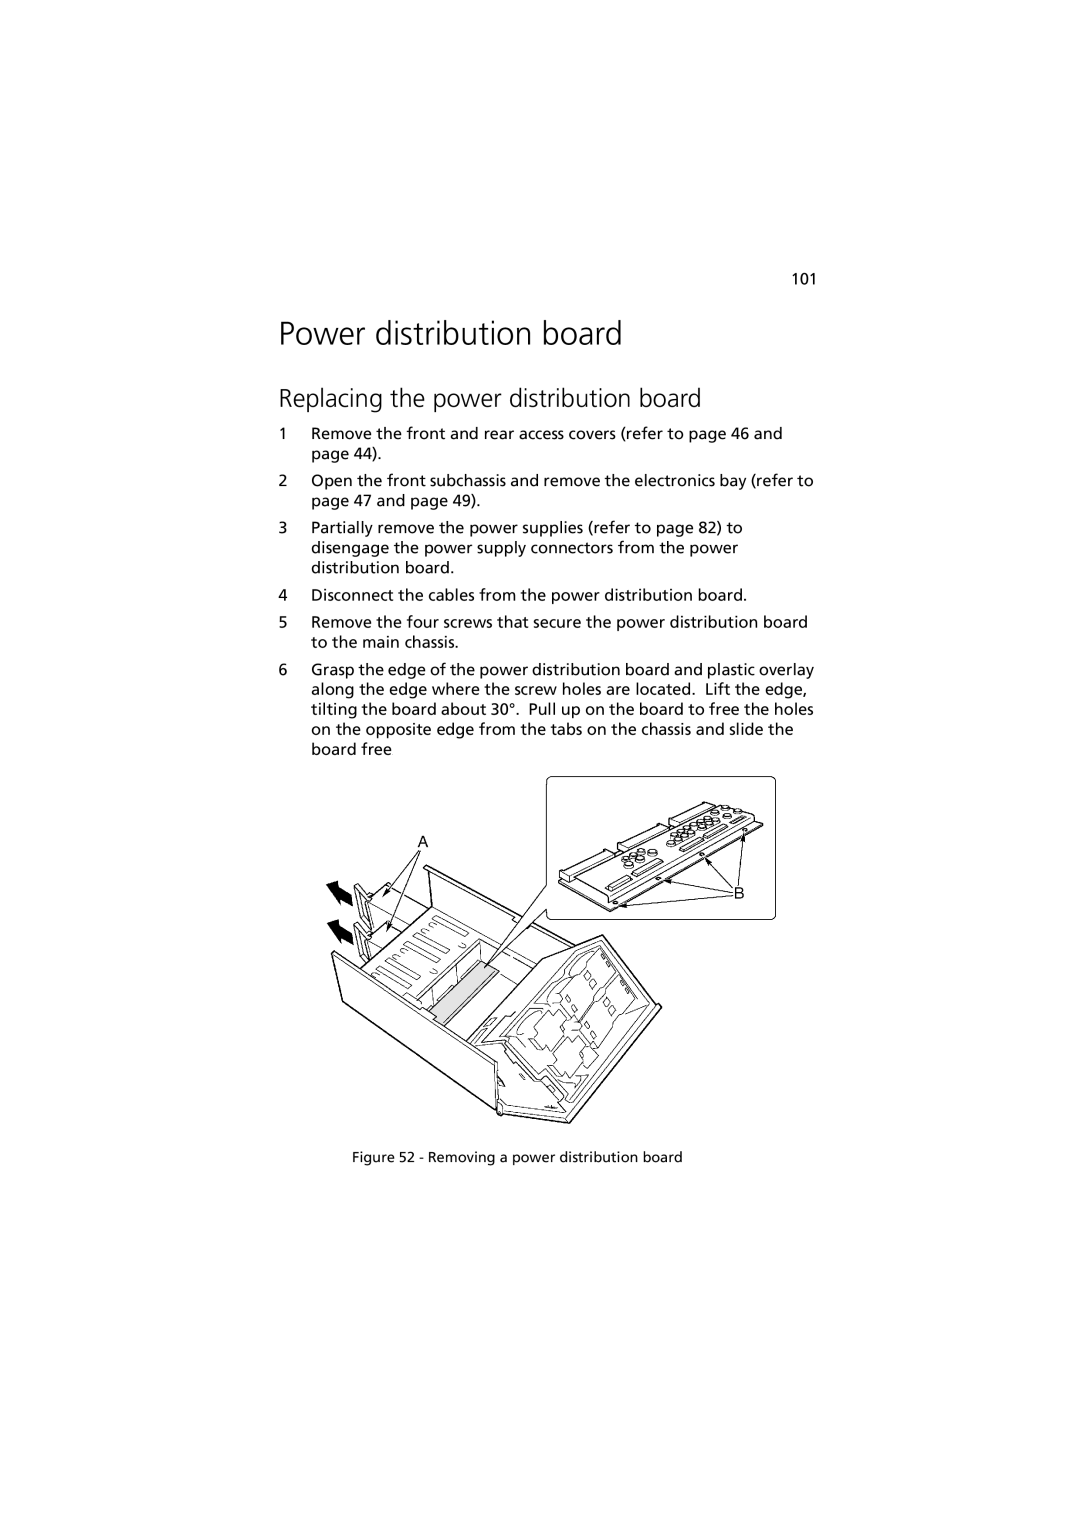
5Remove the four screws that secure the power distribution board to the main chassis.
6Grasp the edge of the power distribution board and plastic overlay along the edge where the screw holes are located. Lift the edge, tilting the board about 30°. Pull up on the board to free the holes on the opposite edge from the tabs on the chassis and slide the board free.