60 | 3 Hardware configuration |
Memory
This section includes instructions for removing and installing DIMMs on the memory board.
DIMM sequence
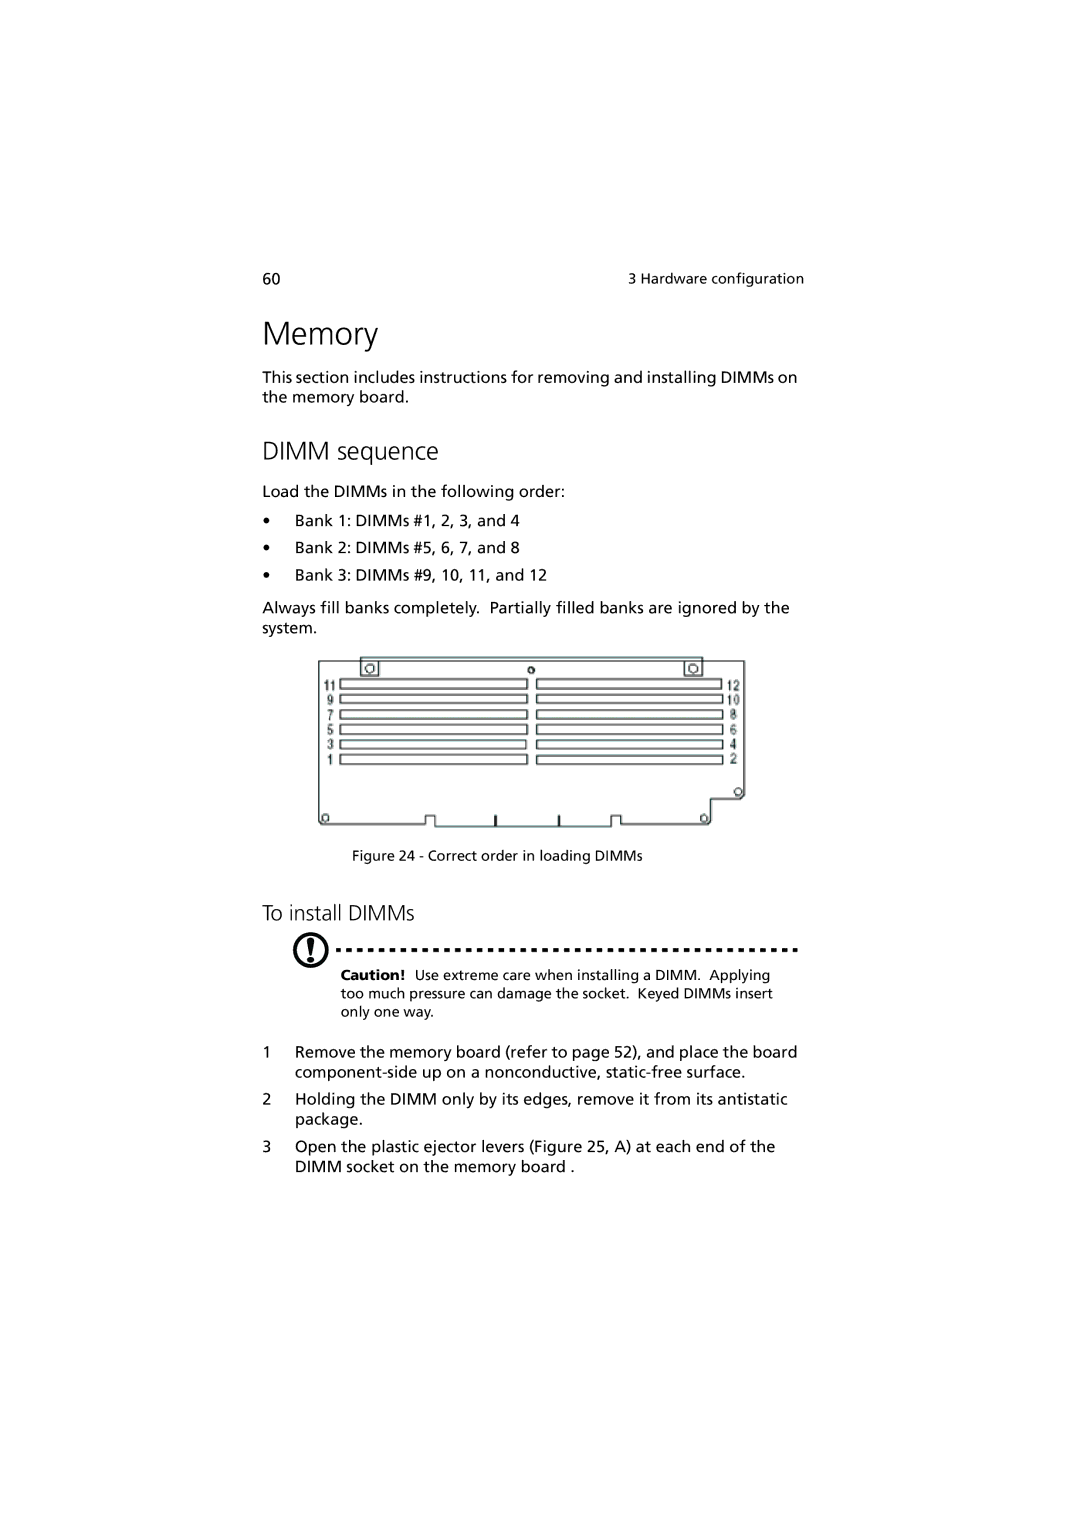
Load the DIMMs in the following order:
•Bank 1: DIMMs #1, 2, 3, and 4
•Bank 2: DIMMs #5, 6, 7, and 8
•Bank 3: DIMMs #9, 10, 11, and 12
Always fill banks completely. Partially filled banks are ignored by the system.
Figure 24 - Correct order in loading DIMMs
To install DIMMs
Caution! Use extreme care when installing a DIMM. Applying too much pressure can damage the socket. Keyed DIMMs insert only one way.
1Remove the memory board (refer to page 52), and place the board
2Holding the DIMM only by its edges, remove it from its antistatic package.
3Open the plastic ejector levers (Figure 25, A) at each end of the DIMM socket on the memory board .
