AT-TQ2450 Wireless Access Point User’s Guide
Configuring the HTTPS Server
Enabling the HTTPS Server
The following procedures explain how to enable and disable the HTTPS server. You may use the server to manage the access point with your web browser on your computer. Managing the device with HTTPS is more secure that HTTP because your web browser and the access point use encryption to protect the management packets.
The default setting for the server is disabled. The server uses port 443. You may not change that value.
To activate the HTTPS server, perform the following procedure:
1.From the Services menu, select HTTP/HTTPS.
The access point displays the “Configure Web Server Settings” window. Refer to Figure 45 on page 145.
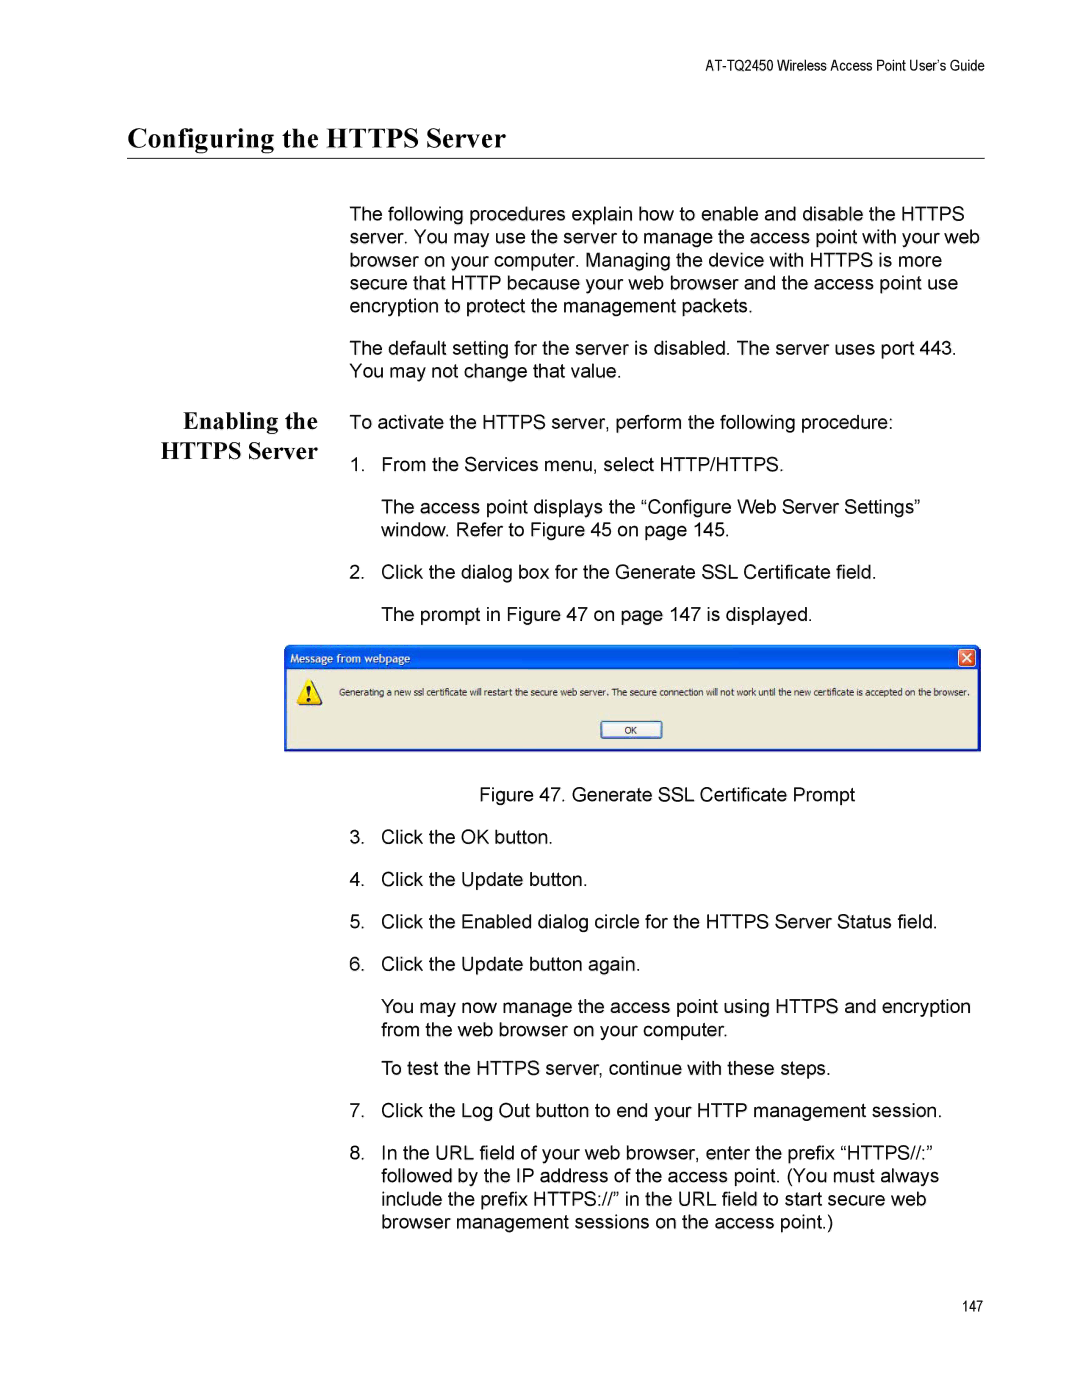
2.Click the dialog box for the Generate SSL Certificate field. The prompt in Figure 47 on page 147 is displayed.
Figure 47. Generate SSL Certificate Prompt
3.Click the OK button.
4.Click the Update button.
5.Click the Enabled dialog circle for the HTTPS Server Status field.
6.Click the Update button again.
You may now manage the access point using HTTPS and encryption from the web browser on your computer.
To test the HTTPS server, continue with these steps.
7.Click the Log Out button to end your HTTP management session.
8.In the URL field of your web browser, enter the prefix “HTTPS//:” followed by the IP address of the access point. (You must always include the prefix HTTPS://” in the URL field to start secure web browser management sessions on the access point.)
147