Chapter 4: Cluster Menu
Creating or Adding Access Points to a Cluster
To create a cluster or add access points to an existing cluster, perform the following procedure:
1.Select Access Points from the Cluster menu.
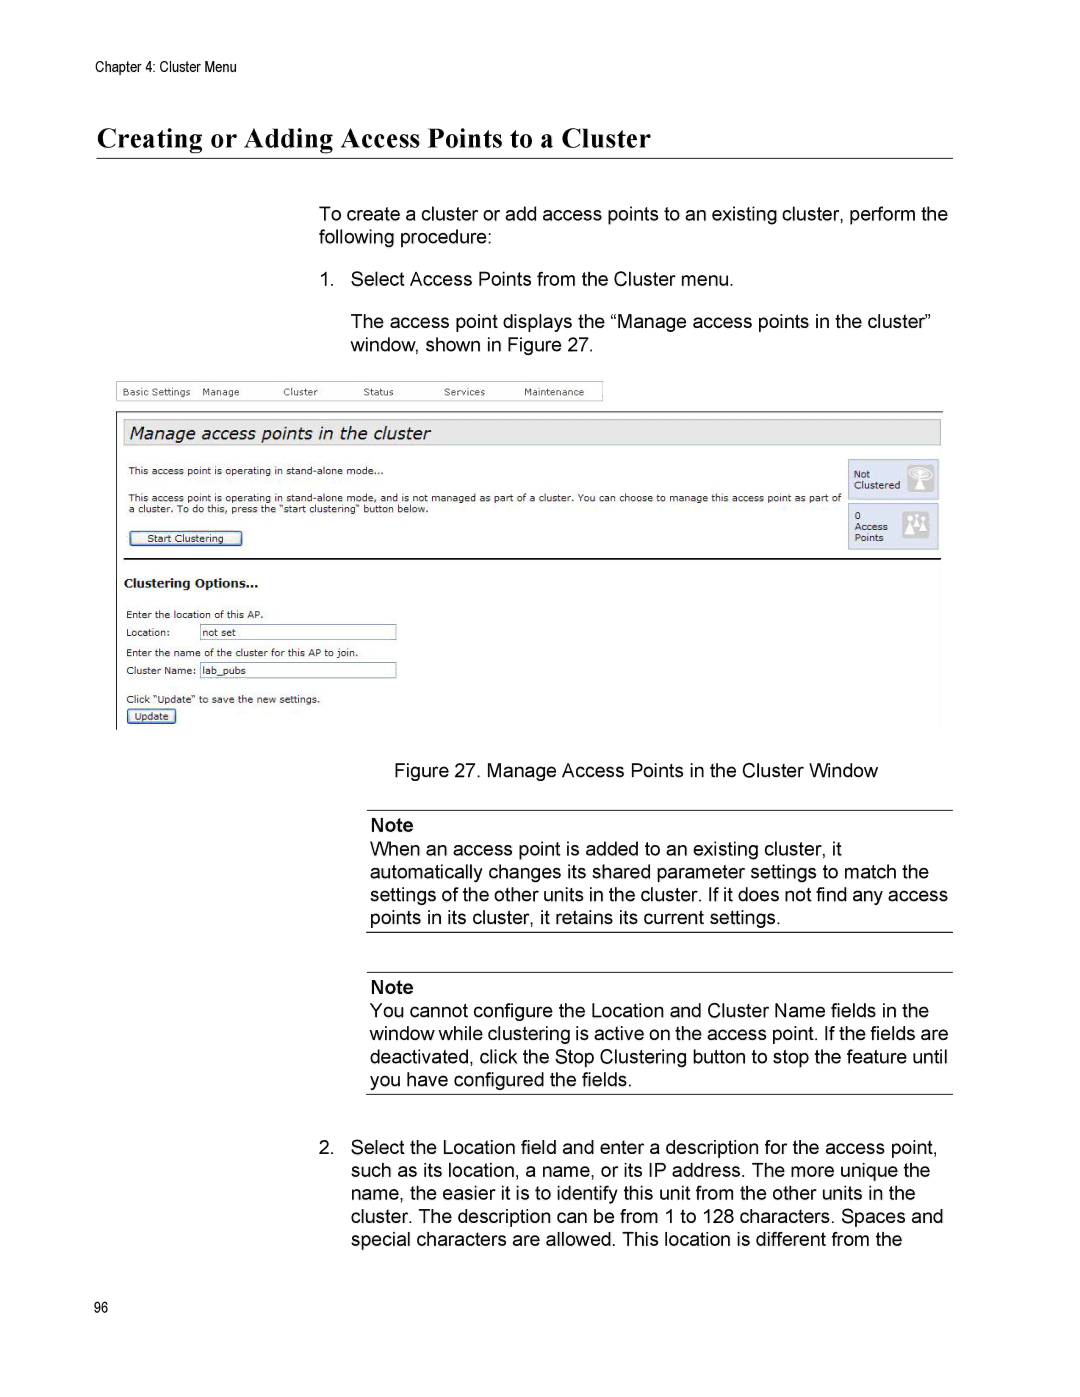
The access point displays the “Manage access points in the cluster” window, shown in Figure 27.
Figure 27. Manage Access Points in the Cluster Window
Note
When an access point is added to an existing cluster, it automatically changes its shared parameter settings to match the settings of the other units in the cluster. If it does not find any access points in its cluster, it retains its current settings.
Note
You cannot configure the Location and Cluster Name fields in the window while clustering is active on the access point. If the fields are deactivated, click the Stop Clustering button to stop the feature until you have configured the fields.
2.Select the Location field and enter a description for the access point, such as its location, a name, or its IP address. The more unique the name, the easier it is to identify this unit from the other units in the cluster. The description can be from 1 to 128 characters. Spaces and special characters are allowed. This location is different from the
96