AT&T System
To Order Copies of this Document Refer to Document Number
1987 AT&T All Rights Reserved
FCC Warning Statement
System 25 Documents
Document
Order Number
Contents
Administering Data Line Starlan CP Ports
Administering Trunks
Administering Auxiliary Equipment
Administering Voice Stations
Administering Attendant Equipment
Administering Button Assignments
10-1 10-3 10-6 10-10 10-11 12-2 12-6 12-8
Administering Tape Save/Restore Operations
Requirements for the SAT Index
13-1 13-2 13-3 13-4 16-1 16-3
System Administrator’s Role
Introduction
Implementation Planning Forms
Conventions Used in this Manual
Using this Manual
Logging In to System
How to Use the System
Correcting Typing Errors
Making Backup Tapes
Strange Output
Main Menu Items
System 25 Administration Main Menu
Selecting a Main Menu Item
Administration Commands
Changing a Data Value
Command Functions
Entering Commands
Changing an Action Number
PDC DGC
Changing a Target Value
Action Groups
Display Support IDs
Lists, Searches, and Port Removal
Lists
Removing Ports
Searches
System Responses
Error Messages
Print Messages
Default Translations
Full-Default Cold Start
Initializing the System
Station Dial Codes
Limited Default Cold Start
Port Default Code
Unassigned Trunk Ports
Initialization Sequence
Begin with a Cold Start
To Initialize the System
Be sure to record port assignments
Be sure to record port assignments on the trunk forms
2Initialization Sequence
Each station’s port assignment on the individual voice
Terminal or data terminal forms as you assign them
Administering System-Wide Options
Toll Restriction Options
Smdr
Call Coverage Options
Pooled Modem Options
Time of Day
Date
Account Codes
Call Accounting Options
Miscellaneous System Options
Expert Mode Prompt
Toll Calls Allowed TCA Lists
Administration Password
Display Support
Floating PDCs FPDCs
Virtual Facilities
System Speed Dialing
Assigning a Trunk
Administering Trunks
If the Trunk Type is You Enter
1Trunk-Type Codes
Assigning Class of Service to did Trunks
Assigning Class of Service to All Other Trunks
Removing a Trunk
2Trunk Class of Service for all trunks except did
Class-of-Service Options
Pooled Facility Access
Dial Access
Type of Incoming
Delay Announcement
Assigning Trunk Options to a Slac System
External Alerts Port Type
Administering Auxiliary Equipment
Paging Associated with Auxiliary Trunk Port
Music-on-Hold
DGC Delay Announcement
Directed Night Service Delay Announcement
Paging Associated with CO Trunk Port
Pooled Modem
Additional Tone Detector
Dictation
Adding a Voice Station
Administering Voice Stations
Terminal Type Code
Display Support
Removing a Voice Station
1Voice Terminal Type Codes
Changing a Station Dial Code
Assigning Class of Service Options
Moving a Voice Station
Calling Restrictions
Level Allowed FRL Pools
Features Extended/Off-Premises
Call Pickup To assign
Night Service To display
Station Hunting To
Group Call Coverage To
Multiline Voice Stations
Level Allowed FRL Pools
Features
At Action = , enter 7. ‡ At Data = , enter
Enter 6
Adding a Data Station
Administering Data Line and Starlan CP Ports
Removing a Data Station
Moving a Data Station
Changing a Data Dial Code
Assign Calling Restrictions
Assigning Class-of-Service Options
To restrict access to all
To assign ARS Facility
Set Baud Rate and Parity
Enter 1 for Yes or 0 for no. The default is Bps?
Assign Other Data Features
At Action = , enter 77. ‡
Default Attendant Assignments
Administering Attendant Equipment
Assign a Second Attendant Console
Assign a Switched Loop Attendant Console
PDC
Move an Attendant Console
Change an Attendant PDC
Remove an Attendant Console
Assign a Direct Extension Selector Consoles
Assign Class-of-Service to an Attendant Console
30@
Assign Attendant Options Dtac and Slac
Switched Loop Attendant Console Options
To assign a did access code to the Slac
Slac
1Standard Call Type Defaults
2Message-Center-Like Call-Type Defaults
Slac Call-Type Options
Setting Call-Type Options
Assigning Message-Center-Like Defaults
To specify which
MET Sets
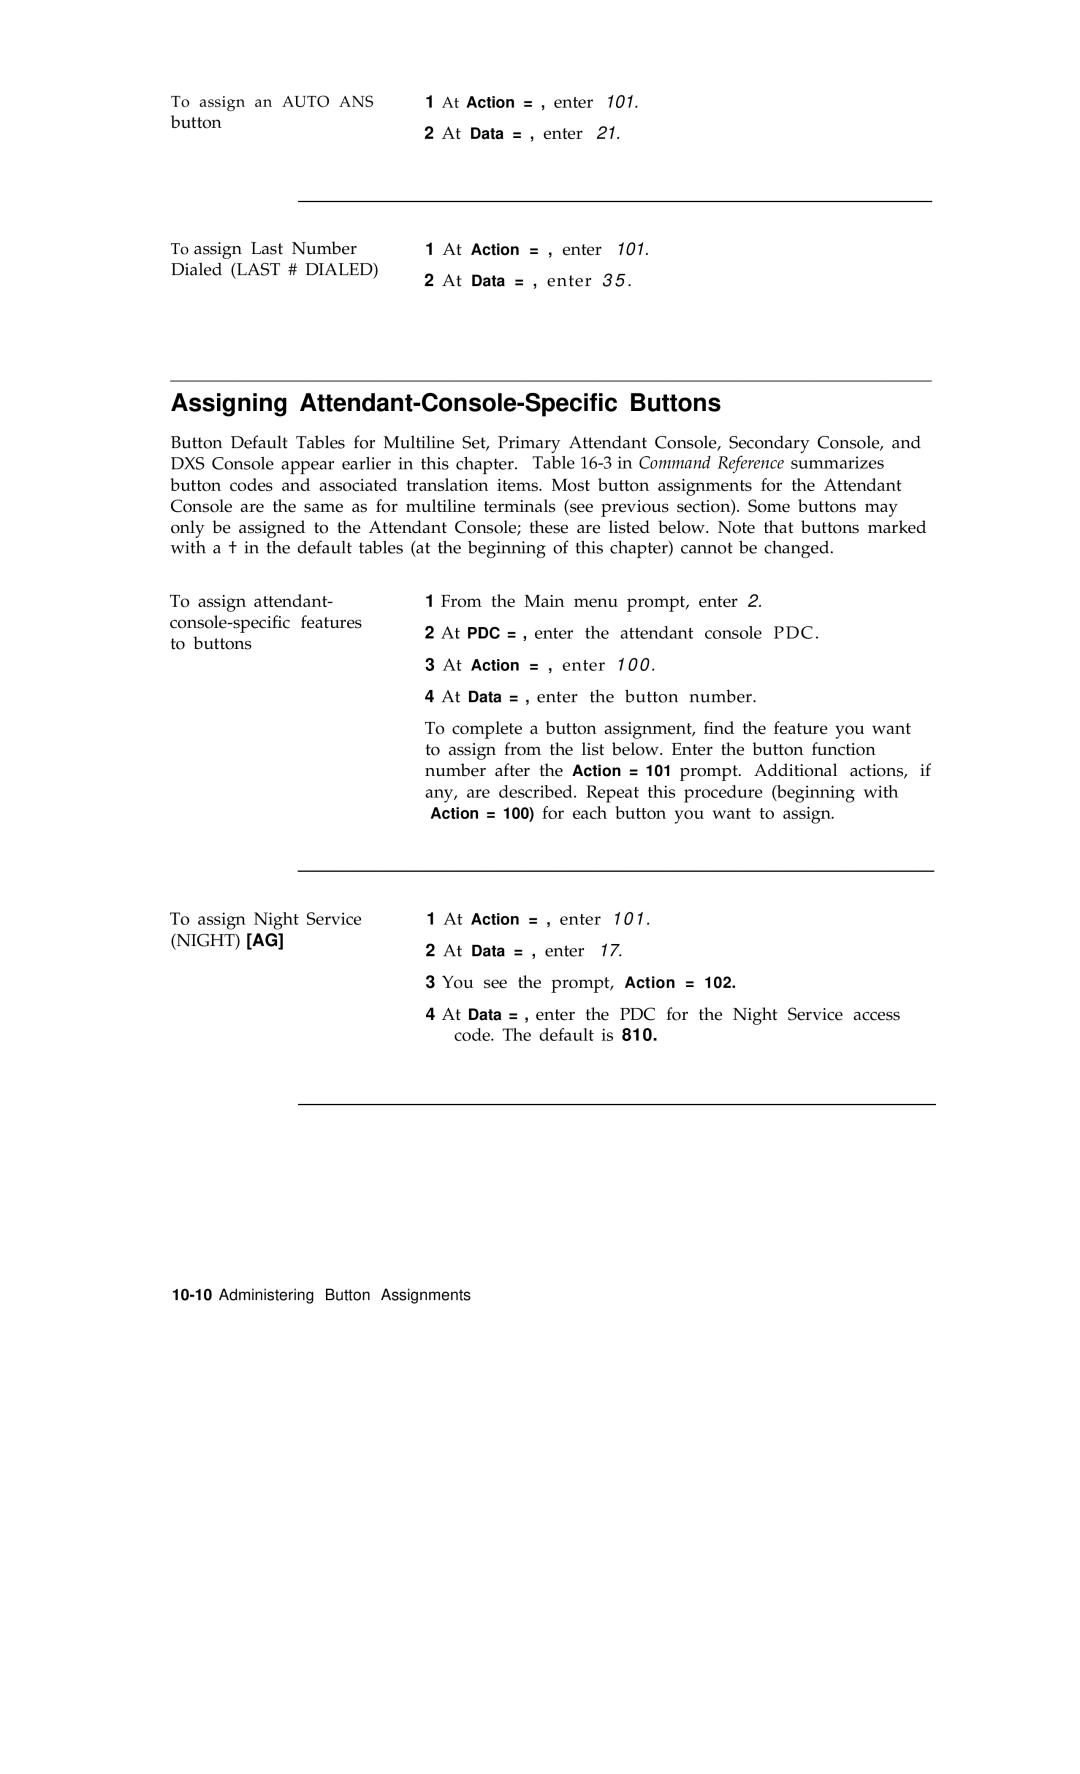
Administering Button Assignments
Assigning Features to Buttons
Default Button Assignments
First and Second DXS Consoles
Selector Console DXS
1Multi line Set Button Defaults
2Switched Loop Attendant Console Button Defaults Type
Button Assignment Tables
3Direct Trunk Attendant Console Cold Start Defaults
5DXS Console Button Defaults
6MET Set Button Defaults
Message† Drop† Conference† Transfer† Hold†
Pers Line AG
SYS ACC-O
MSG
Exclusion
Send ALL Calls AG
Enter 1 0
DSS
12. †
Assigning Attendant-Console-Specific Buttons
Enter
Assigning Selector DXS Console Buttons
Administering Direct Group Calling DGC Groups
To disable DGC queuing
Administering Automatic Route Selection ARS
Define Subpattern a
ARS Patterns
FAC
FRL
Define Subpattern B
230
Remaining ARS Patterns
Area Code Routing Table
Home Area Code Exception List
512. ‡
ARS Digit Translation Tables
Other Area Codes Exception List
703. ‡
Verify
Administering Tape Save/Restore Operations
Using the Digital Tape Unit
Save/Restore
Save Your Translations
Verify Saved Translations
Calls in progress will be dropped
Restore the System Translations from a Backup Tape
Type c Line now reads
System Searches
Search functions
PDCs of Stations that Hunt to a Specified Station
PDCs of Call Pickup Group Member Stations
Initiate Search
Translated Board
At Data = , enter PDC of the station with the buttons
Enter Alarms
Display Support Searches
Matching Display IDs
Search for
Display ID for a Trunk
Listing Circuit Packs
Target
Administering RS232 Parameters
At Data = , enter 300, 1200, 4800, or
List of Tables
Command Reference
Default Dial Code Assignments
PDC 0 for none
1PORT/PDC Administration, Voice Terminals Menu=1/2
Csspp
16 0 for none
If the Terminal Type is Code
2Voice Terminal Type Codes
101
3Feature Button Translation Menu=1/2
Join Destination Local Scroll Last # Dialed
310 Feature Button Translation Menu=1/2
4Multiline Set Button Defaults
5Switched Loop Attendant Console Button Defaults Type
LOOP† ALARM† LOCAL† SCROLL†
RTN-DA† Pool
E S T †
8MET Set Button Defaults
For none
9PORT/PDC Administration, Data Terminals Menu=1/2
=2 short Breaks
If the Data Port Type is Code
10Data Port Type Codes
Only
11Port Administration, Trunks Menu=1
32 0 for none
0=won’t ring
If the Trunk Type is
12Trunk Type Codes
13 Trunk
21-27
14Port Administration, Auxiliary Equipment Menu=1
ZTN76 ZTN77
15Special Feature Port Type Codes
Feature
ZTN78
See -17,Applicable Options
PORTS, Station/Trunk/Special Port Circuit Board Options
17Applicable Options
Circuit Board Action Type ZTN76
ZTN85
18PDC Administration Menu=2
800-807
System Administration Menu=4
Mmddyy
19System Administration Menu=4
Command
Hhmm
See Tables
=neither
20Standard Call Type Defaults
For Switched Loop Systems only
21Message-Center-Like Call-Type Defaults
22Floating PDC Administration Menu=5
23Direct Group Calling DGC Administration Menu=6
Fpdc
24Toll Calls Allowed TCA List Administration Menu=7
25Searches Action Items Menu=8
PDC/DDC
PDC / DDC / Fpdc / DGC
LDN only
Special
26Board Type-Wildcard Representation
Empty
Station
Voice Station
27Port/Board Type-Specific Representation
Starlan CP, DLC
28Save/Restore and System Restarts Menu=9
29RS232 Port Administration Menu=10
Systems Technician only
30Automatic Route Selection Administration Menu=11
501
401
402
500
Display
SAT Port Speed Setting
Switch Settings for the AT&T Model 703 SAT
Requirements for the SAT
Index I
Index
2I n d e
Index
4I n d e