Setting Up Video Endpoints
Procedure 4: Configure a Video Bridge
To configure a video bridge:
1.Use the add video-bridgexx command (where xx is the bridge number between 1 to 40) to access the Video Bridge form.
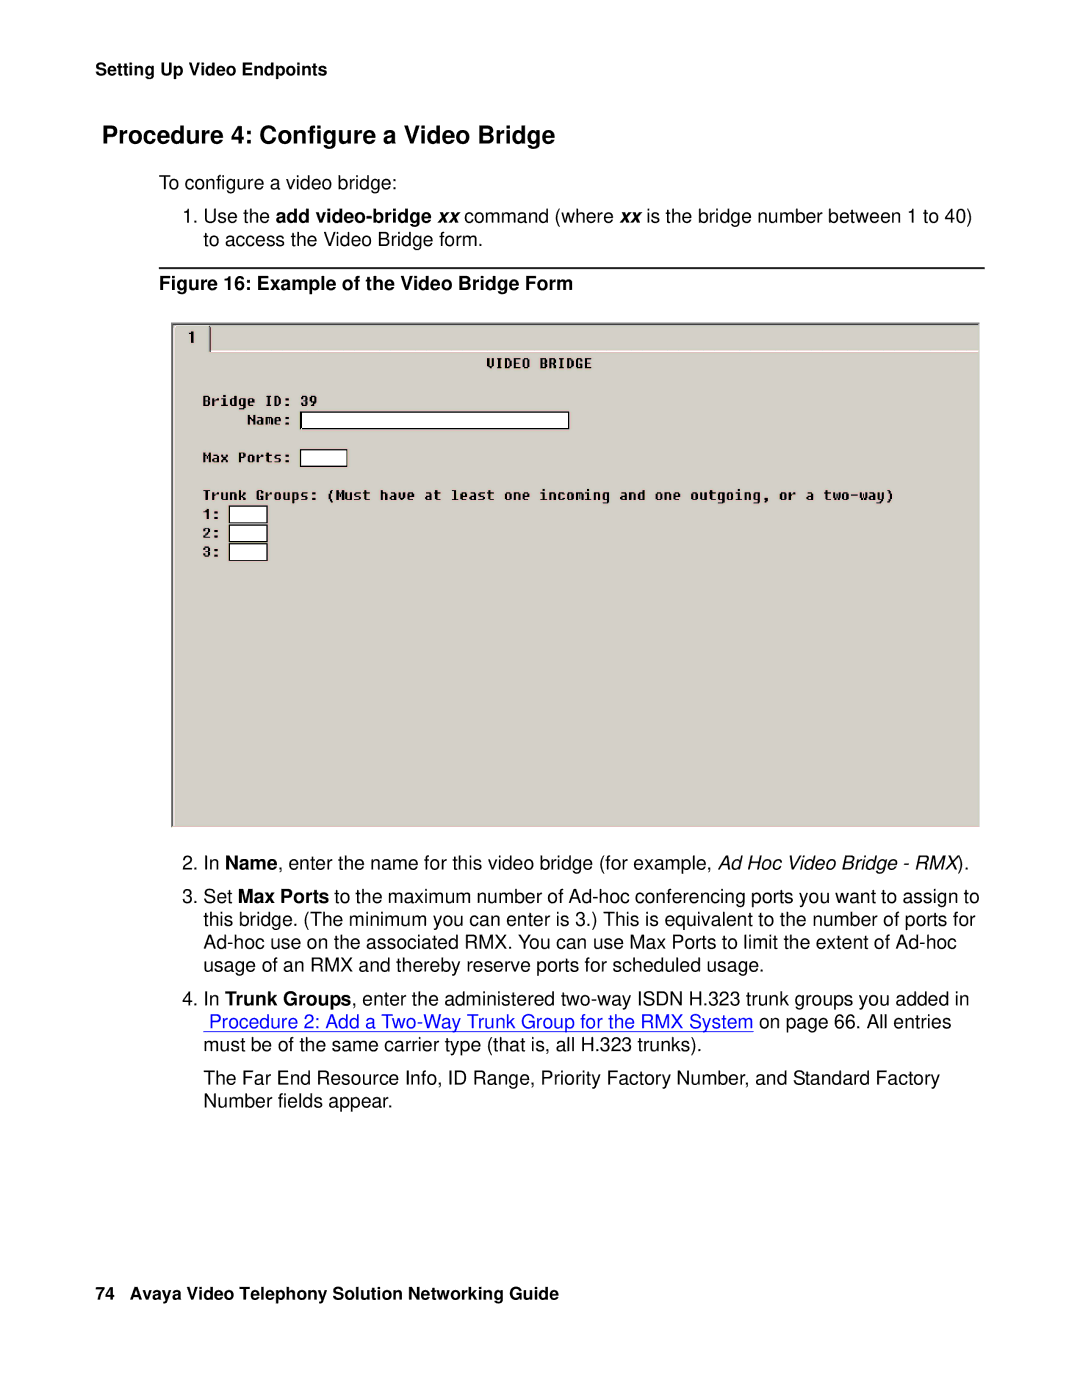
Figure 16: Example of the Video Bridge Form
2.In Name, enter the name for this video bridge (for example, Ad Hoc Video Bridge - RMX).
3.Set Max Ports to the maximum number of Ad-hoc conferencing ports you want to assign to this bridge. (The minimum you can enter is 3.) This is equivalent to the number of ports for Ad-hoc use on the associated RMX. You can use Max Ports to limit the extent of Ad-hoc usage of an RMX and thereby reserve ports for scheduled usage.
4.In Trunk Groups, enter the administered two-way ISDN H.323 trunk groups you added in
Procedure 2: Add a Two-Way Trunk Group for the RMX System on page 66. All entries must be of the same carrier type (that is, all H.323 trunks).
The Far End Resource Info, ID Range, Priority Factory Number, and Standard Factory Number fields appear.
74 Avaya Video Telephony Solution Networking Guide