Chapter 2 Installing and Removing Power Components
Installing a Power Supply
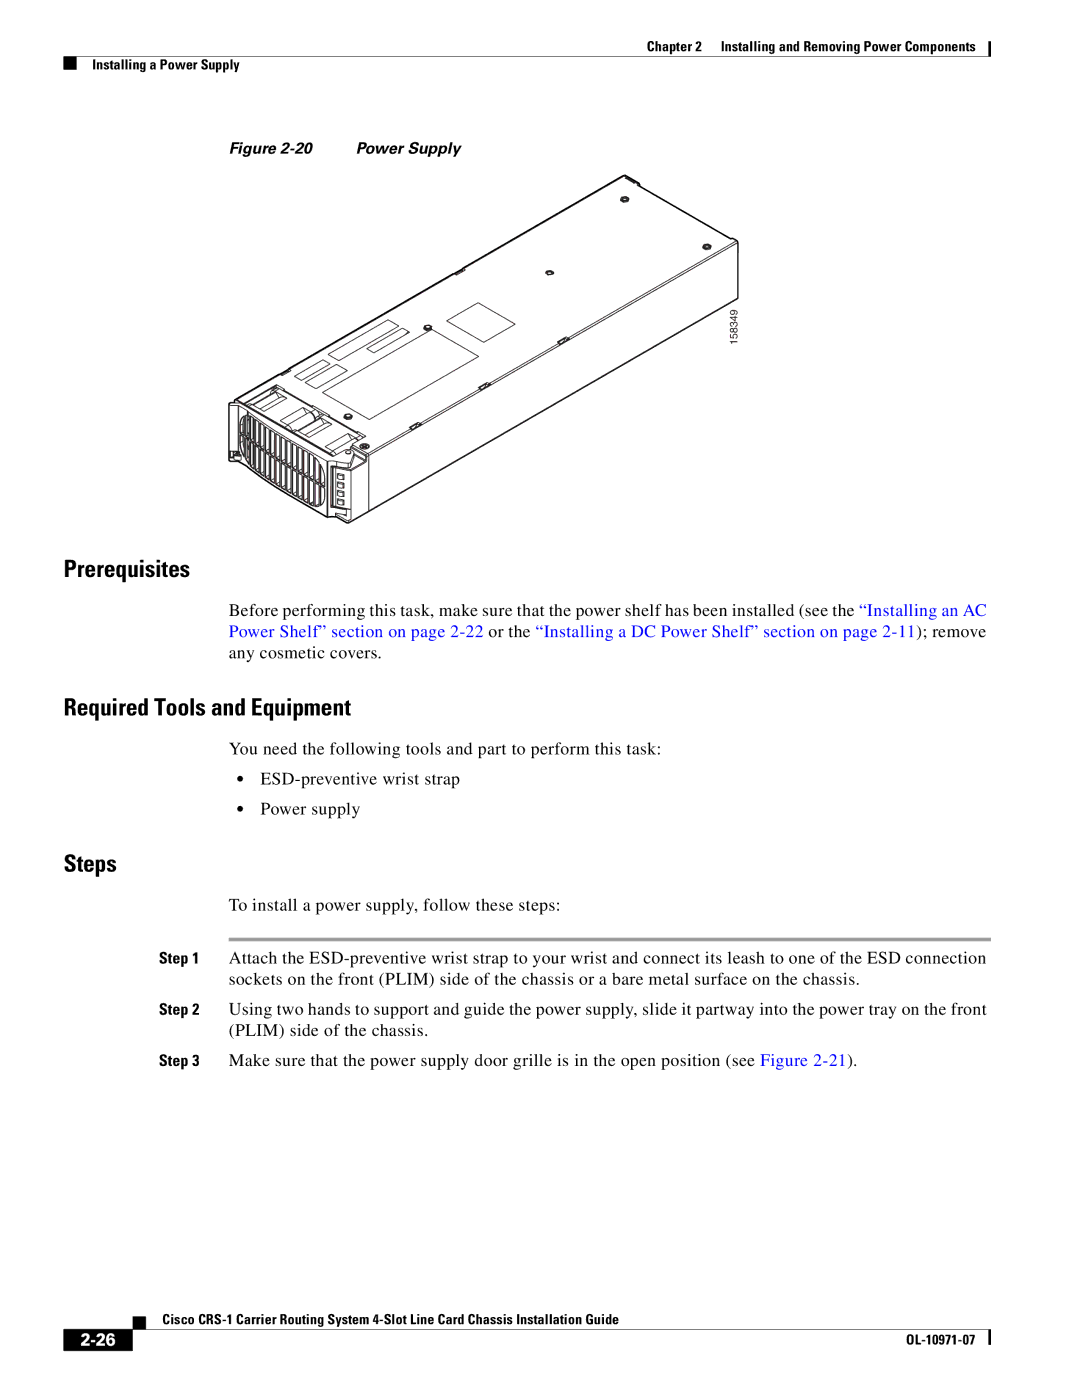
Figure | Power Supply |
158349
Prerequisites
Before performing this task, make sure that the power shelf has been installed (see the “Installing an AC Power Shelf” section on page
Required Tools and Equipment
You need the following tools and part to perform this task:
•
•Power supply
Steps
To install a power supply, follow these steps:
Step 1 Attach the
Step 2 Using two hands to support and guide the power supply, slide it partway into the power tray on the front (PLIM) side of the chassis.
Step 3 Make sure that the power supply door grille is in the open position (see Figure
| Cisco |