Chapter 2 Installing and Removing Power Components
Installing a Power Supply
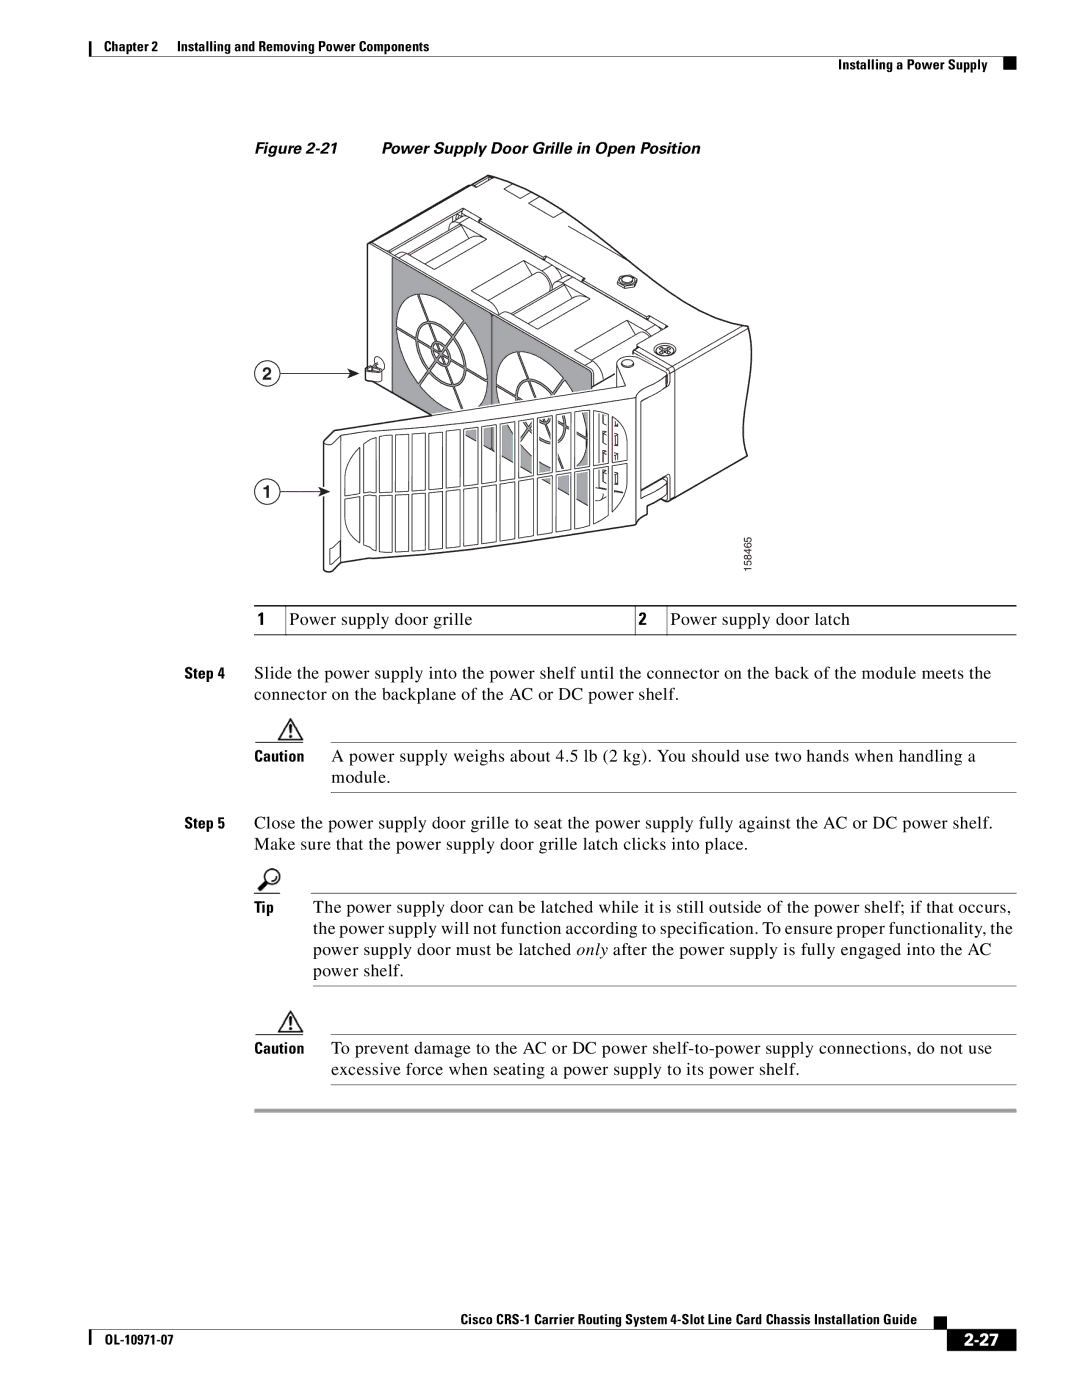
Figure 2-21 Power Supply Door Grille in Open Position
2
1
158465
1
Power supply door grille
2
Power supply door latch
Step 4 Slide the power supply into the power shelf until the connector on the back of the module meets the connector on the backplane of the AC or DC power shelf.
Caution A power supply weighs about 4.5 lb (2 kg). You should use two hands when handling a module.
Step 5 Close the power supply door grille to seat the power supply fully against the AC or DC power shelf. Make sure that the power supply door grille latch clicks into place.
Tip The power supply door can be latched while it is still outside of the power shelf; if that occurs, the power supply will not function according to specification. To ensure proper functionality, the power supply door must be latched only after the power supply is fully engaged into the AC power shelf.
Caution To prevent damage to the AC or DC power
|
| Cisco |
|
| |
|
|
| |||
|
|
|
| ||
|
|
|
| ||