Figure 22 SCSI ID confirmation screen
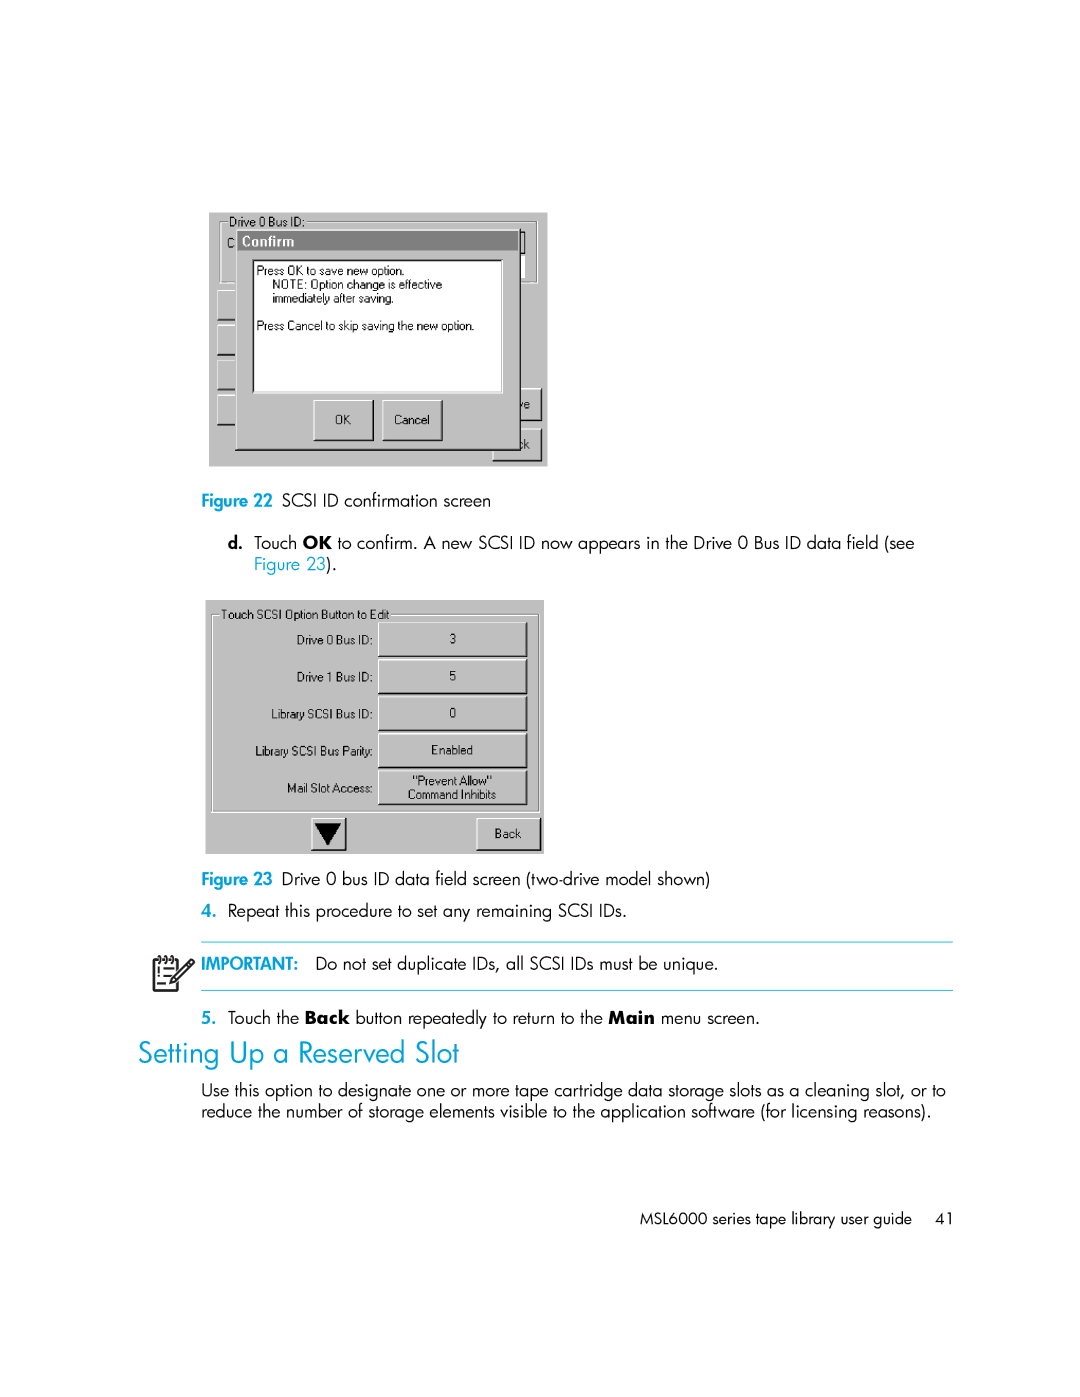
d.Touch OK to confirm. A new SCSI ID now appears in the Drive 0 Bus ID data field (see Figure 23).
Figure 23 Drive 0 bus ID data field screen (two-drive model shown)
4.Repeat this procedure to set any remaining SCSI IDs.
!

 IMPORTANT: Do not set duplicate IDs, all SCSI IDs must be unique.
5.Touch the Back button repeatedly to return to the Main menu screen.
Setting Up a Reserved Slot
Use this option to designate one or more tape cartridge data storage slots as a cleaning slot, or to reduce the number of storage elements visible to the application software (for licensing reasons).