Problem Determination and Maintenance
Mod Size Test
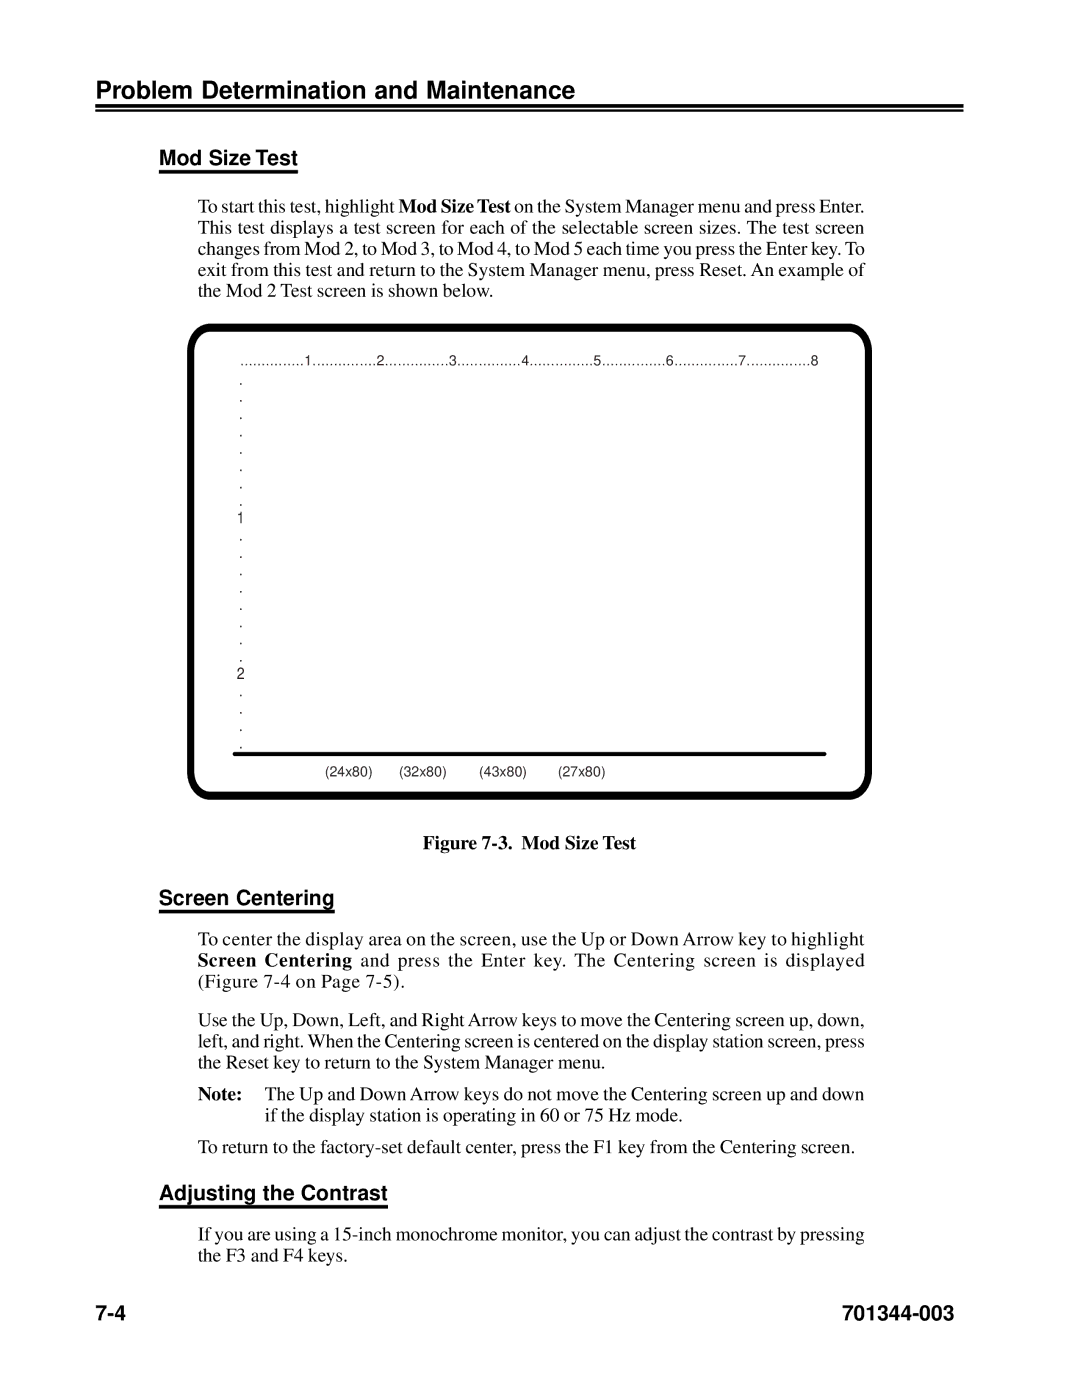
To start this test, highlight Mod Size Test on the System Manager menu and press Enter. This test displays a test screen for each of the selectable screen sizes. The test screen changes from Mod 2, to Mod 3, to Mod 4, to Mod 5 each time you press the Enter key. To exit from this test and return to the System Manager menu, press Reset. An example of the Mod 2 Test screen is shown below.
...............1 | 2 | 3 | 4 | 5 | 6 | 7 | 8 |
.
.
.
.
.
.
.
.
1
.
.
.
.
.
.
.
.
2
.
.
.
.
(24x80) | (32x80) | (43x80) | (27x80) |
Figure 7-3. Mod Size Test
Screen Centering
To center the display area on the screen, use the Up or Down Arrow key to highlight Screen Centering and press the Enter key. The Centering screen is displayed (Figure
Use the Up, Down, Left, and Right Arrow keys to move the Centering screen up, down, left, and right. When the Centering screen is centered on the display station screen, press the Reset key to return to the System Manager menu.
Note: The Up and Down Arrow keys do not move the Centering screen up and down if the display station is operating in 60 or 75 Hz mode.
To return to the
Adjusting the Contrast
If you are using a
|
