|
|
Torq User Guide » Chapter 16 | 33 |
<MIDI Prefs
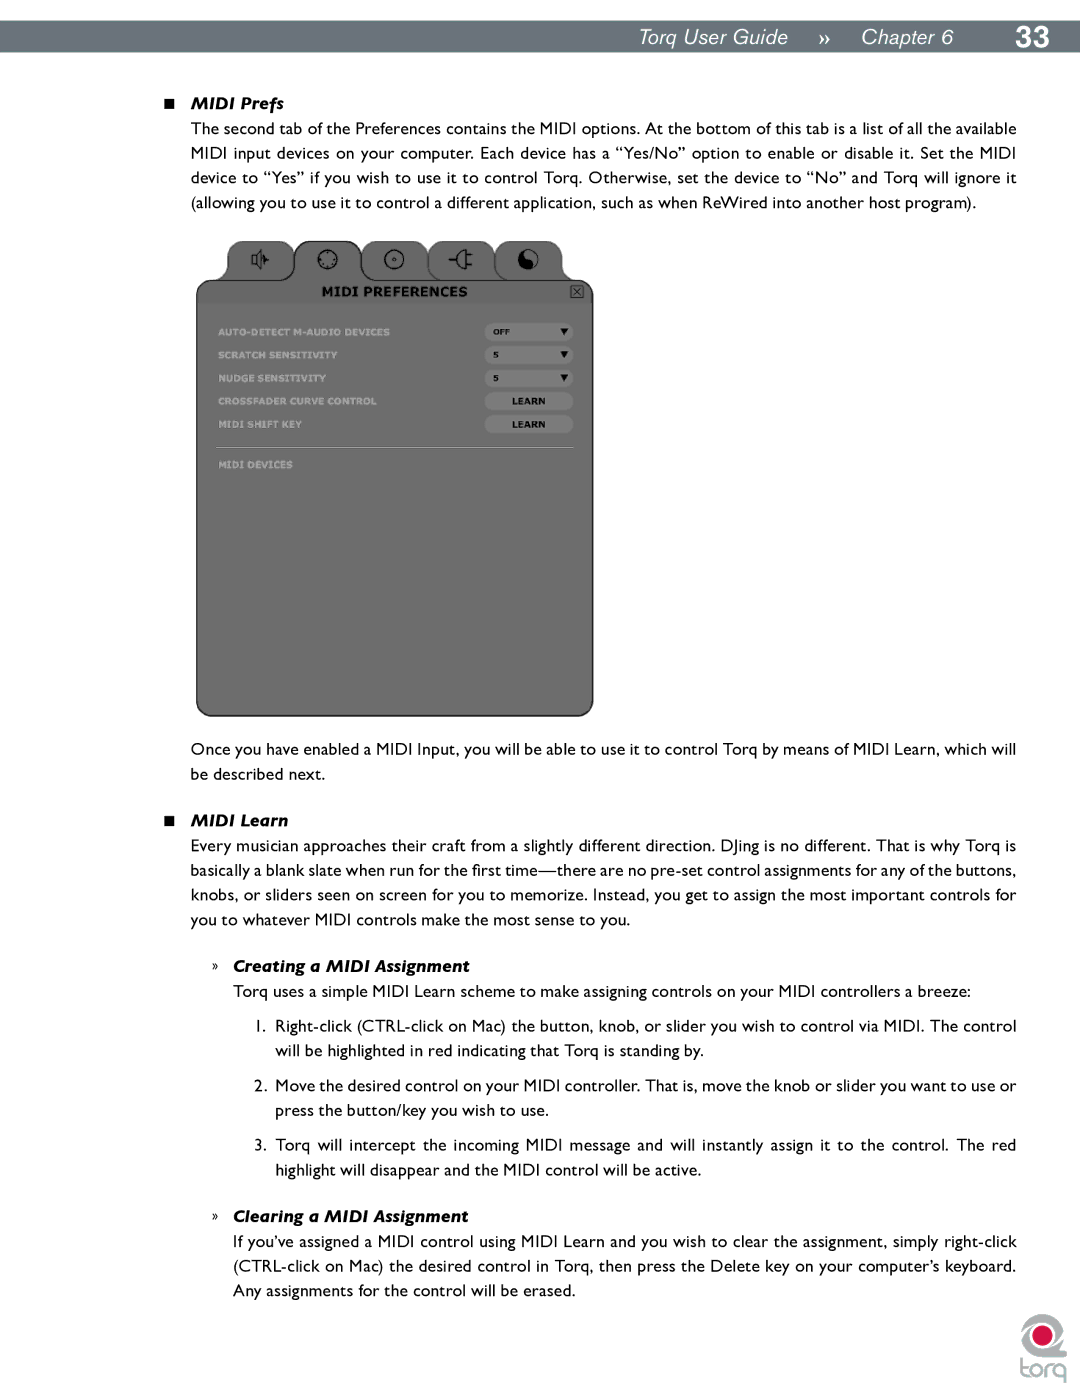
The second tab of the Preferences contains the MIDI options. At the bottom of this tab is a list of all the available MIDI input devices on your computer. Each device has a “Yes/No” option to enable or disable it. Set the MIDI device to “Yes” if you wish to use it to control Torq. Otherwise, set the device to “No” and Torq will ignore it (allowing you to use it to control a different application, such as when ReWired into another host program).
Once you have enabled a MIDI Input, you will be able to use it to control Torq by means of MIDI Learn, which will be described next.
<MIDI Learn
Every musician approaches their craft from a slightly different direction. DJing is no different. That is why Torq is basically a blank slate when run for the first
»Creating a MIDI Assignment
Torq uses a simple MIDI Learn scheme to make assigning controls on your MIDI controllers a breeze:
1.
2.Move the desired control on your MIDI controller. That is, move the knob or slider you want to use or press the button/key you wish to use.
3.Torq will intercept the incoming MIDI message and will instantly assign it to the control. The red highlight will disappear and the MIDI control will be active.
»Clearing a MIDI Assignment
If you’ve assigned a MIDI control using MIDI Learn and you wish to clear the assignment, simply