|
|
Torq User Guide » Chapter 19 | 49 |
Playlists
While many DJs will perform
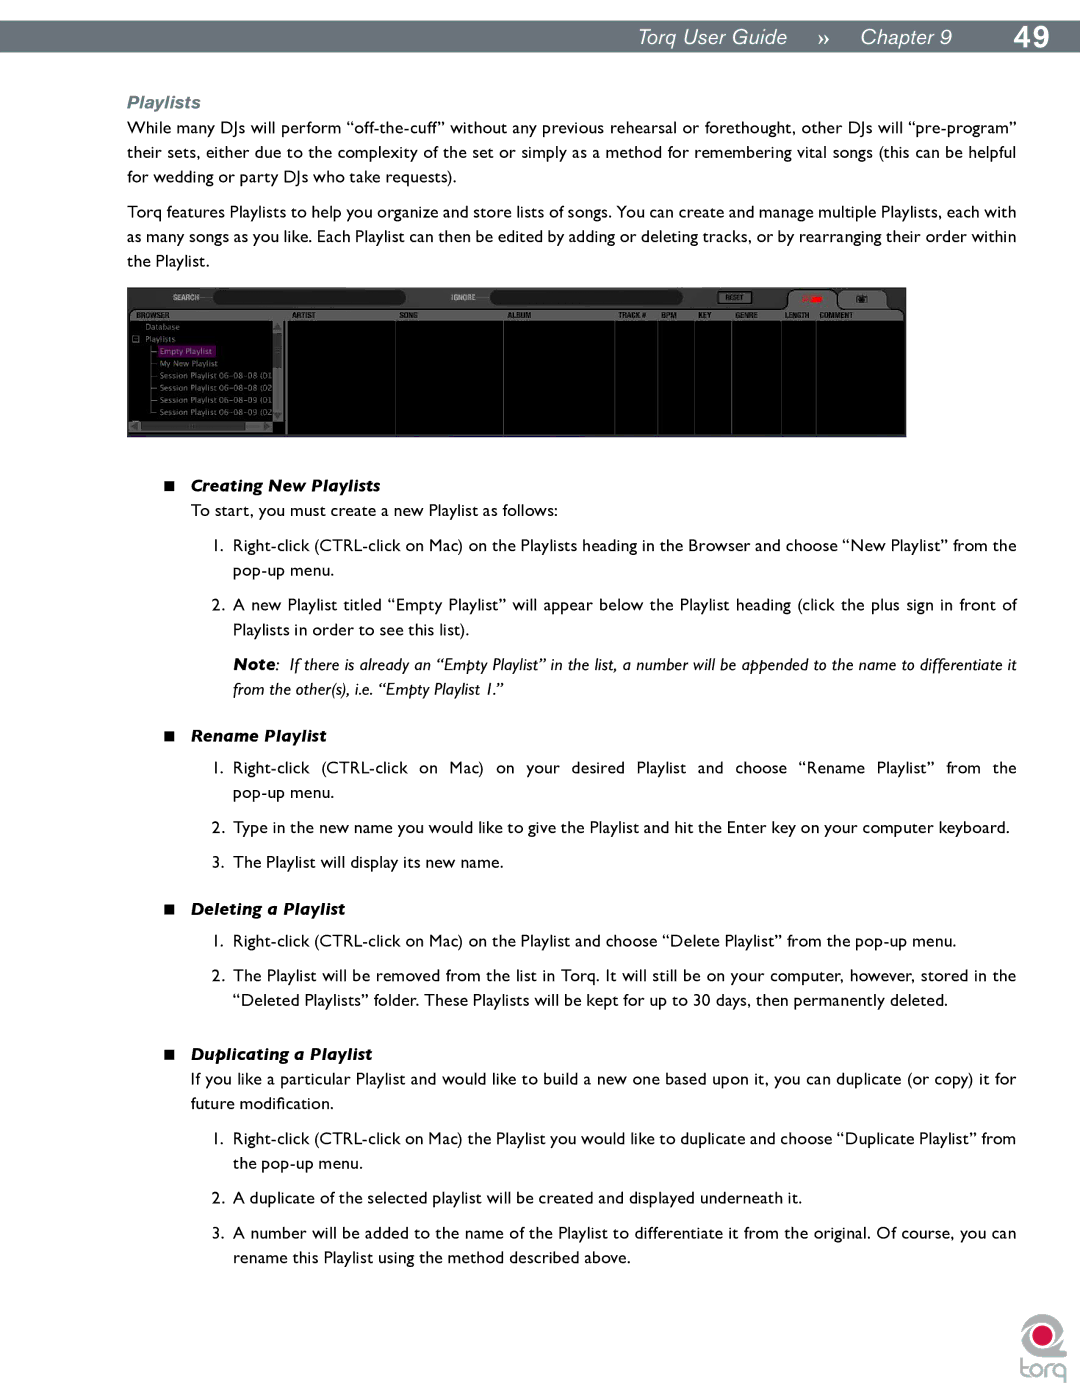
Torq features Playlists to help you organize and store lists of songs. You can create and manage multiple Playlists, each with as many songs as you like. Each Playlist can then be edited by adding or deleting tracks, or by rearranging their order within the Playlist.
<Creating New Playlists
To start, you must create a new Playlist as follows:
1.
2.A new Playlist titled “Empty Playlist” will appear below the Playlist heading (click the plus sign in front of Playlists in order to see this list).
Note: If there is already an “Empty Playlist” in the list, a number will be appended to the name to differentiate it from the other(s), i.e. “Empty Playlist 1.”
<Rename Playlist
1.
2.Type in the new name you would like to give the Playlist and hit the Enter key on your computer keyboard.
3.The Playlist will display its new name.
<Deleting a Playlist
1.
2.The Playlist will be removed from the list in Torq. It will still be on your computer, however, stored in the “Deleted Playlists” folder. These Playlists will be kept for up to 30 days, then permanently deleted.
<Duplicating a Playlist
If you like a particular Playlist and would like to build a new one based upon it, you can duplicate (or copy) it for future modification.
1.
2.A duplicate of the selected playlist will be created and displayed underneath it.
3.A number will be added to the name of the Playlist to differentiate it from the original. Of course, you can rename this Playlist using the method described above.