|
|
Torq User Guide » Chapter 19 | 53 |
<Searching iTunes with the Database
Torq can also automatically add the contents of the iTunes Library to the Database. That way, when you click the Database heading in the Browser, you’ll get the files from all folders assigned to the Database as well as all files within the iTunes Library. To enable this feature:
1.Open the Preferences.
2.Click the Misc tab.
3.Next to “Search iTunes Library with Database,” select “Yes.”
4.Close the Preferences.
5.Torq will now include the contents of the iTunes Library when you click the Database heading.
iPods
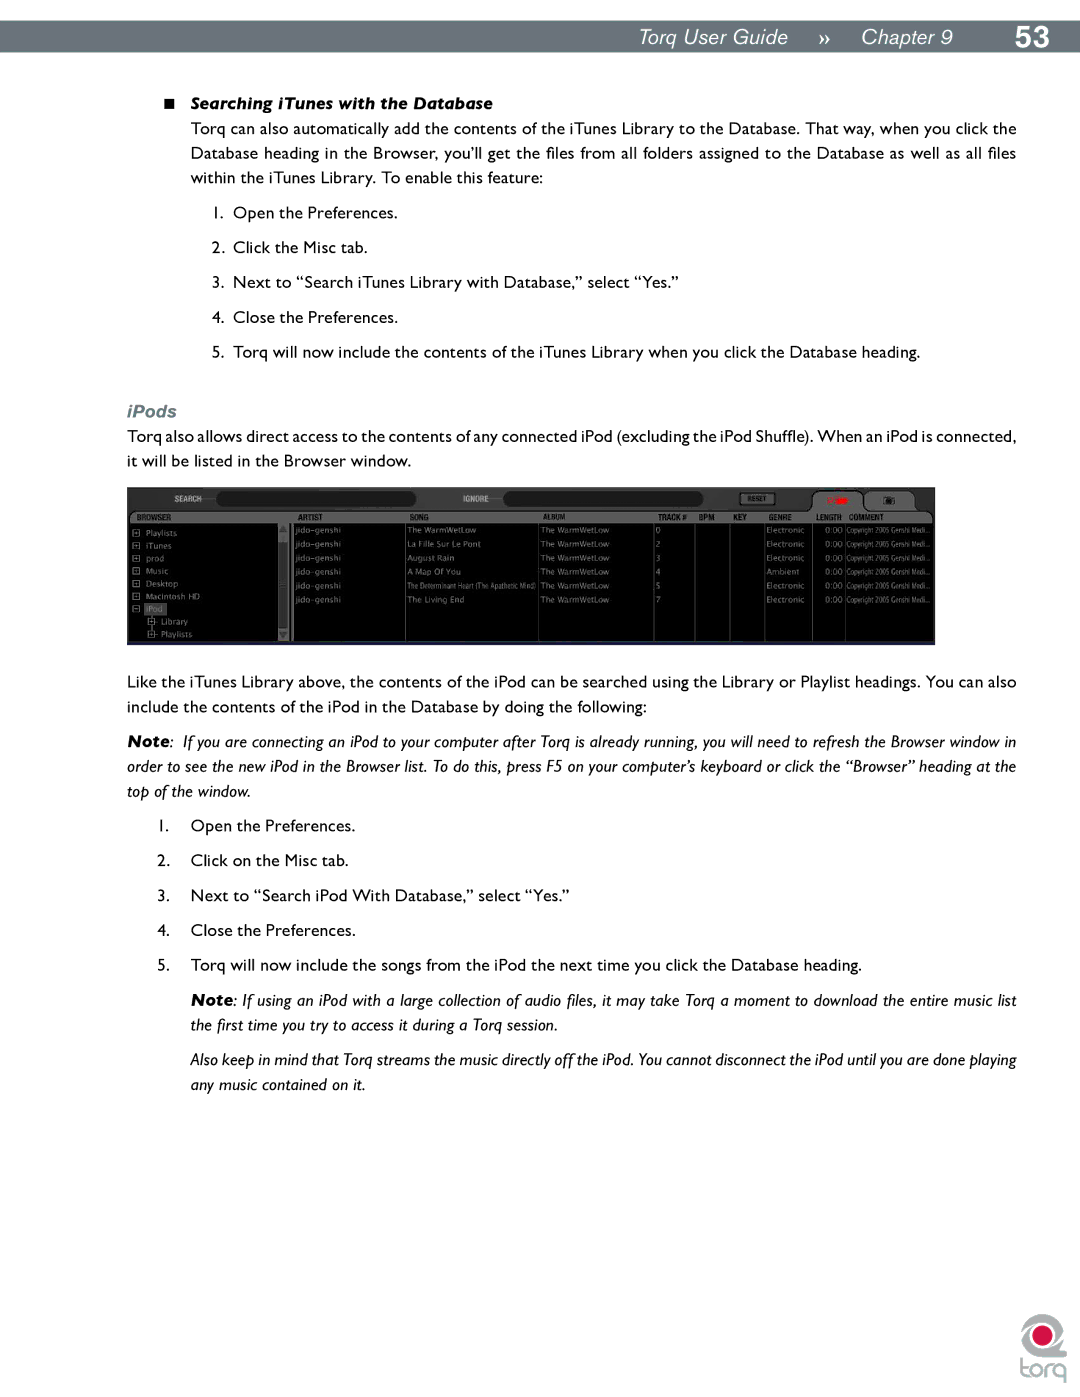
Torq also allows direct access to the contents of any connected iPod (excluding the iPod Shuffle). When an iPod is connected, it will be listed in the Browser window.
Like the iTunes Library above, the contents of the iPod can be searched using the Library or Playlist headings. You can also include the contents of the iPod in the Database by doing the following:
Note: If you are connecting an iPod to your computer after Torq is already running, you will need to refresh the Browser window in order to see the new iPod in the Browser list. To do this, press F5 on your computer’s keyboard or click the “Browser” heading at the top of the window.
1.Open the Preferences.
2.Click on the Misc tab.
3.Next to “Search iPod With Database,” select “Yes.”
4.Close the Preferences.
5.Torq will now include the songs from the iPod the next time you click the Database heading.
Note: If using an iPod with a large collection of audio files, it may take Torq a moment to download the entire music list the first time you try to access it during a Torq session.
Also keep in mind that Torq streams the music directly off the iPod. You cannot disconnect the iPod until you are done playing any music contained on it.