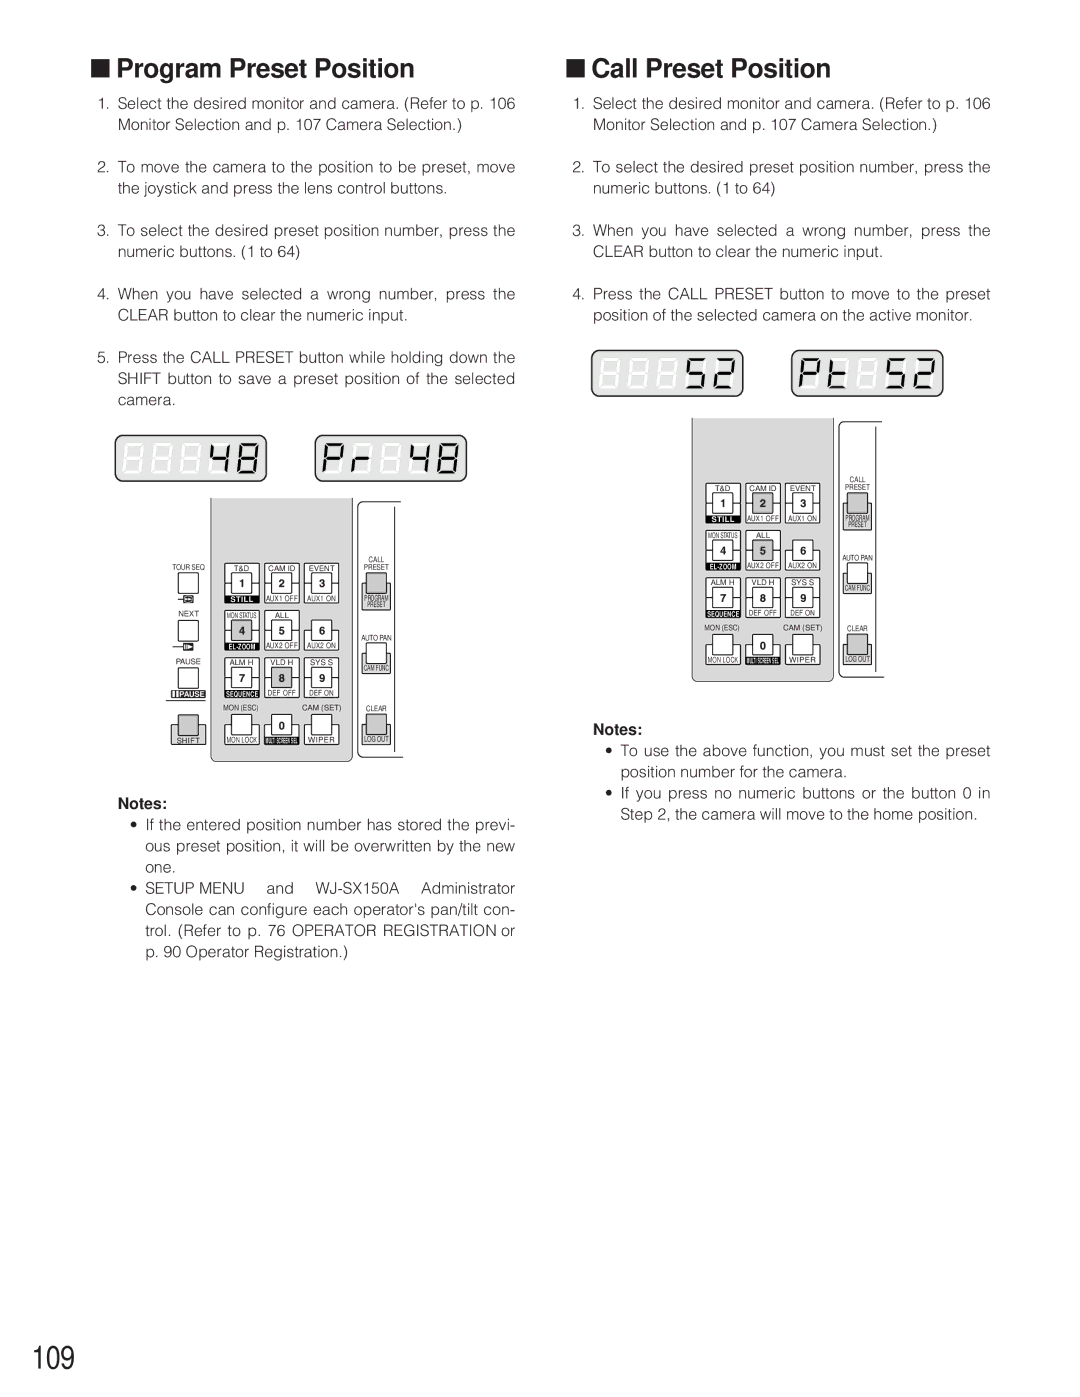
■Program Preset Position
1.Select the desired monitor and camera. (Refer to p. 106 Monitor Selection and p. 107 Camera Selection.)
2.To move the camera to the position to be preset, move the joystick and press the lens control buttons.
3.To select the desired preset position number, press the numeric buttons. (1 to 64)
4.When you have selected a wrong number, press the CLEAR button to clear the numeric input.
5.Press the CALL PRESET button while holding down the SHIFT button to save a preset position of the selected camera.
|
|
|
| CALL |
TOUR SEQ | T&D | CAM ID | EVENT | PRESET |
| STILL | AUX1 OFF | AUX1 ON | PROGRAM |
|
|
|
| PRESET |
NEXT | MON STATUS | ALL |
|
|
| AUX2 OFF | AUX2 ON | AUTO PAN | |
|
| |||
PAUSE | ALM H | VLD H | SYS S | CAM FUNC |
|
|
|
| |
PAUSE | SEQUENCE | DEF OFF | DEF ON |
|
| MON (ESC) |
| CAM (SET) | CLEAR |
SHIFT | MON LOCK | MULTI SCREEN SEL | WIPER | LOG OUT |
Notes:
•If the entered position number has stored the previ- ous preset position, it will be overwritten by the new one.
•SETUP MENU and
■Call Preset Position
1.Select the desired monitor and camera. (Refer to p. 106 Monitor Selection and p. 107 Camera Selection.)
2.To select the desired preset position number, press the numeric buttons. (1 to 64)
3.When you have selected a wrong number, press the CLEAR button to clear the numeric input.
4.Press the CALL PRESET button to move to the preset position of the selected camera on the active monitor.
|
|
| CALL |
T&D | CAM ID | EVENT | PRESET |
STILL | AUX1 OFF | AUX1 ON | PROGRAM |
|
|
| PRESET |
MON STATUS | ALL |
|
|
AUX2 OFF | AUX2 ON | AUTO PAN | |
| |||
ALM H | VLD H | SYS S | CAM FUNC |
|
|
| |
SEQUENCE | DEF OFF | DEF ON |
|
MON (ESC) |
| CAM (SET) | CLEAR |
MON LOCK | MULTI SCREEN SEL | WIPER | LOG OUT |
Notes:
•To use the above function, you must set the preset position number for the camera.
•If you press no numeric buttons or the button 0 in Step 2, the camera will move to the home position.