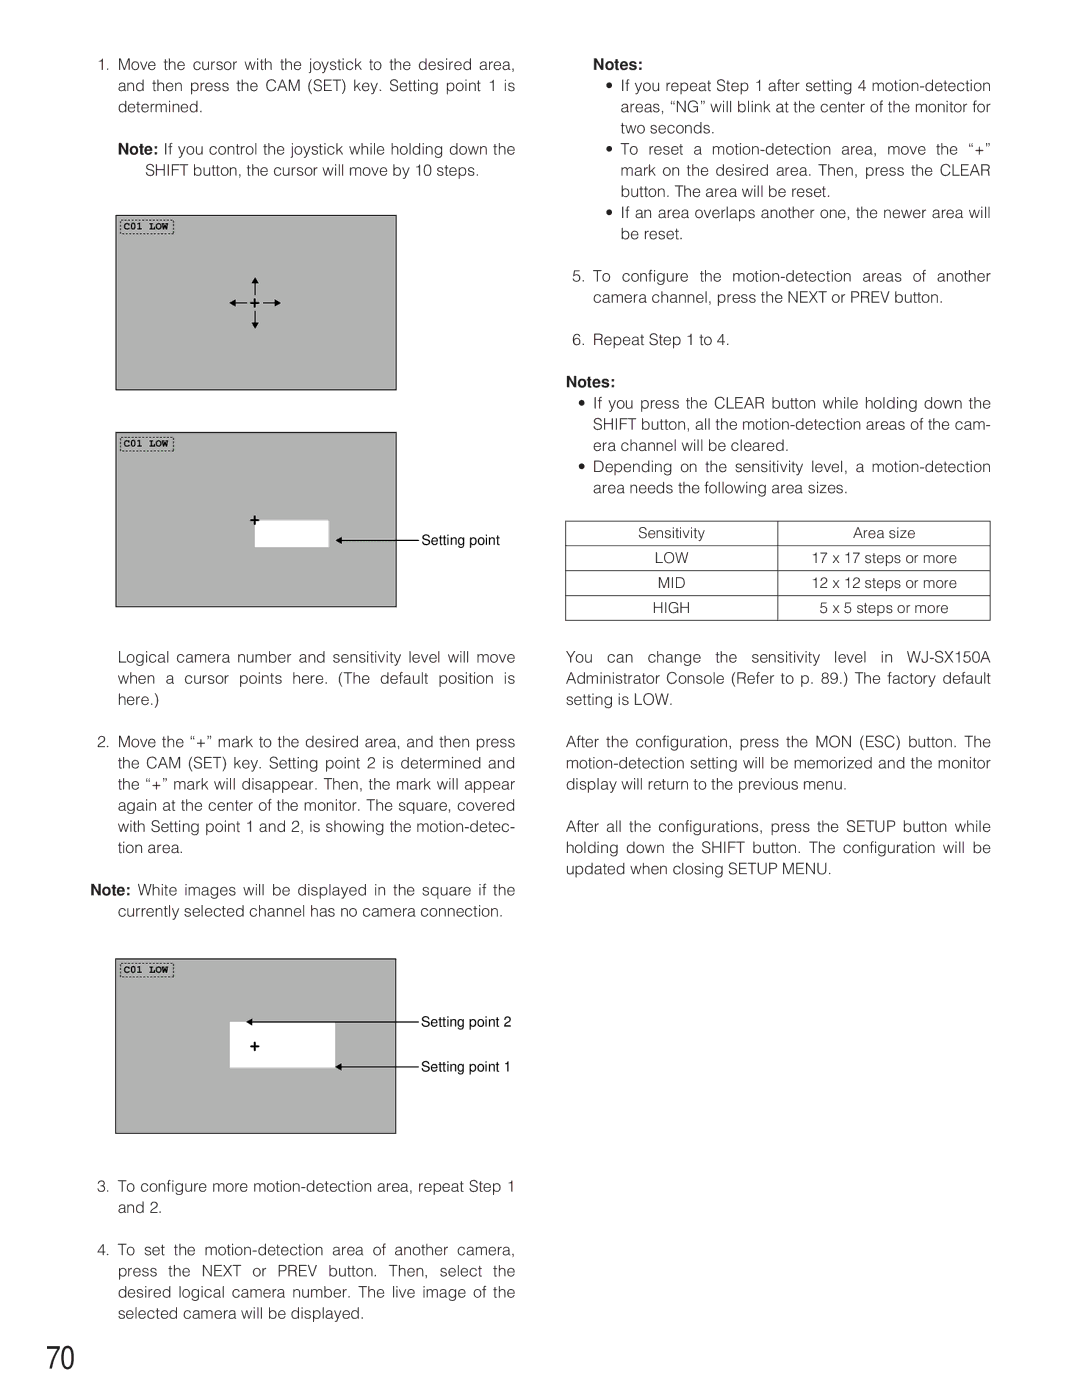
1.Move the cursor with the joystick to the desired area, and then press the CAM (SET) key. Setting point 1 is determined.
Note: If you control the joystick while holding down the SHIFT button, the cursor will move by 10 steps.
C01 LOW
![]() +
+ ![]()
C01 LOW
+
Setting point
Logical camera number and sensitivity level will move when a cursor points here. (The default position is here.)
2.Move the “+” mark to the desired area, and then press the CAM (SET) key. Setting point 2 is determined and the “+” mark will disappear. Then, the mark will appear again at the center of the monitor. The square, covered with Setting point 1 and 2, is showing the
Note: White images will be displayed in the square if the currently selected channel has no camera connection.
C01 LOW
Setting point 2
+
Setting point 1
Notes:
•If you repeat Step 1 after setting 4
•To reset a
•If an area overlaps another one, the newer area will be reset.
5.To configure the
6.Repeat Step 1 to 4.
Notes:
•If you press the CLEAR button while holding down the SHIFT button, all the
•Depending on the sensitivity level, a
Sensitivity | Area size |
|
|
LOW | 17 x 17 steps or more |
|
|
MID | 12 x 12 steps or more |
|
|
HIGH | 5 x 5 steps or more |
|
|
You can change the sensitivity level in
After the configuration, press the MON (ESC) button. The
After all the configurations, press the SETUP button while holding down the SHIFT button. The configuration will be updated when closing SETUP MENU.
3.To configure more
4.To set the
70