WJ-HD300 SERIES CONTROL (TERMINAL MODE)
Matrix switcher can control Digital Disk Recorder WJ- HD300 Series. The following is the procedure of
Notes:
•The following operating procedures are for the terminal mode. If you are using a PS·Data system controller, refer to p. 36.
•When a Multiplexer board is installed in the matrix switch- er, you can neither connect nor control a
+button: Increments a parameter.
– button: Decrements a parameter.
MON (ESC) button: Returns to SETUP MENU or the previous menu.
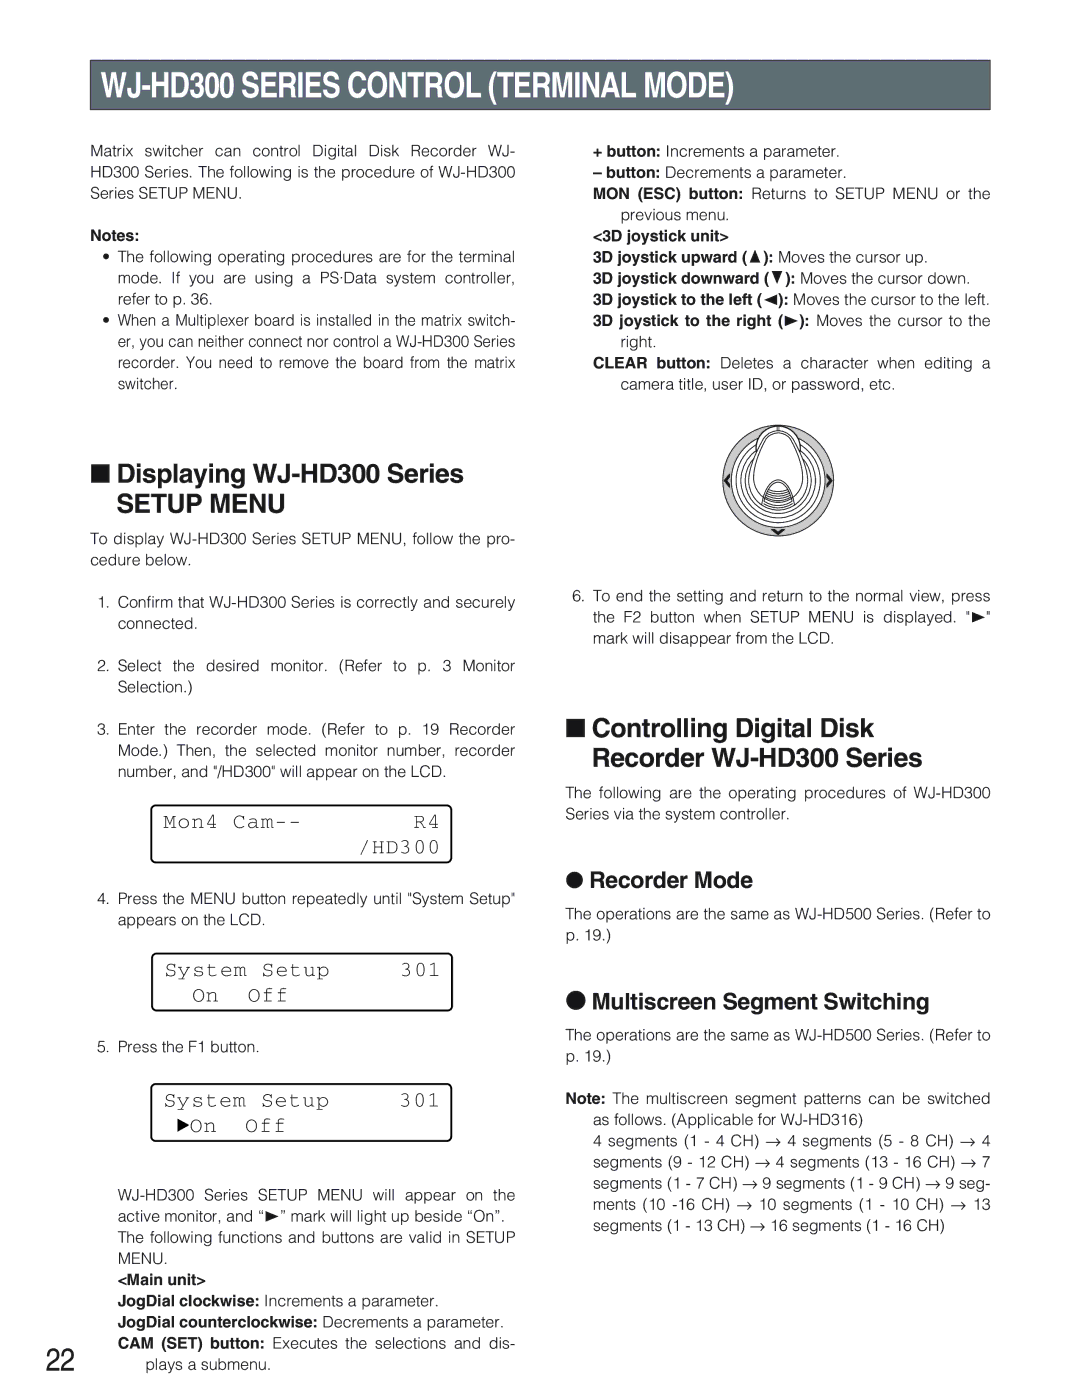
<3D joystick unit>
3D joystick upward (D): Moves the cursor up.
3D joystick downward (C): Moves the cursor down.
3D joystick to the left (A): Moves the cursor to the left.
3D joystick to the right (B): Moves the cursor to the right.
CLEAR button: Deletes a character when editing a camera title, user ID, or password, etc.
■Displaying WJ-HD300 Series
SETUP MENU
To display
1.Confirm that
2.Select the desired monitor. (Refer to p. 3 Monitor Selection.)
3.Enter the recorder mode. (Refer to p. 19 Recorder Mode.) Then, the selected monitor number, recorder number, and "/HD300" will appear on the LCD.
Mon4 | R4 |
| /HD300 |
4.Press the MENU button repeatedly until "System Setup" appears on the LCD.
| System | Setup | 301 |
| On | Off |
|
| 5. Press the F1 button. |
| |
| System | Setup | 301 |
| 5On Off |
| |
| |||
| active monitor, and “B” mark will light up beside “On”. | ||
| The following functions and buttons are valid in SETUP | ||
| MENU. |
|
|
| <Main unit> |
|
|
| JogDial clockwise: Increments a parameter. | ||
| JogDial counterclockwise: Decrements a parameter. | ||
22 | CAM (SET) button: Executes the selections and dis- | ||
plays a submenu. |
| ||
6.To end the setting and return to the normal view, press the F2 button when SETUP MENU is displayed. "B" mark will disappear from the LCD.
■Controlling Digital Disk Recorder WJ-HD300 Series
The following are the operating procedures of
●Recorder Mode
The operations are the same as WJ-HD500 Series. (Refer to p. 19.)
●Multiscreen Segment Switching
The operations are the same as
Note: The multiscreen segment patterns can be switched as follows. (Applicable for
4 segments (1 - 4 CH) → 4 segments (5 - 8 CH) → 4 segments (9 - 12 CH) → 4 segments (13 - 16 CH) → 7 segments (1 - 7 CH) → 9 segments (1 - 9 CH) → 9 seg- ments (10
