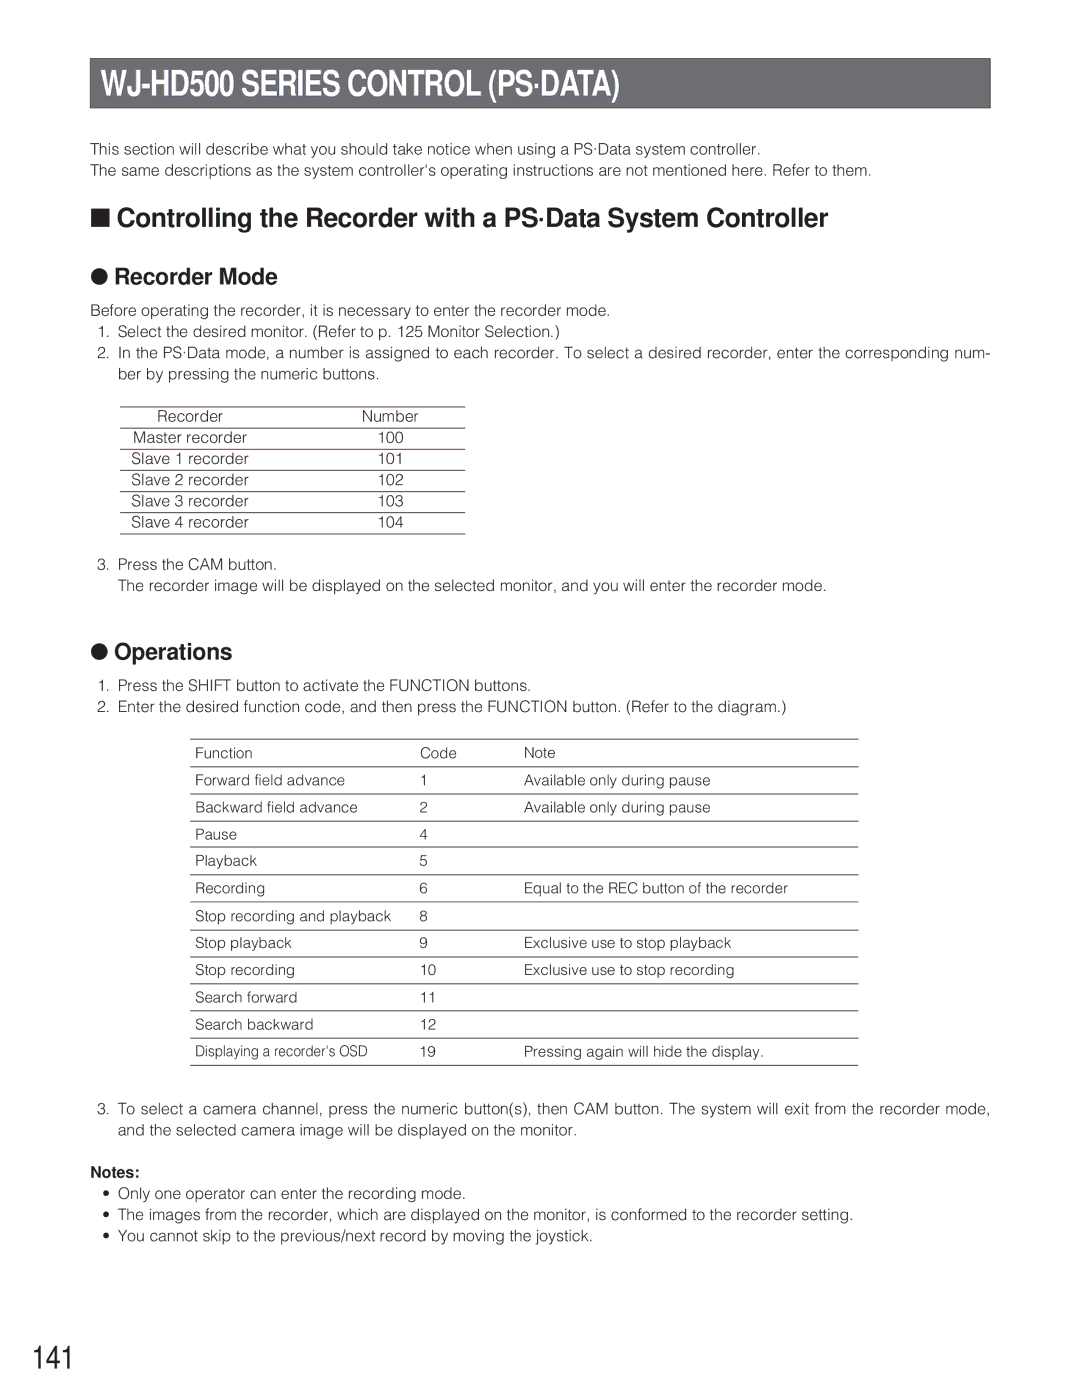
WJ-HD500 SERIES CONTROL (PS·DATA)
This section will describe what you should take notice when using a PS·Data system controller.
The same descriptions as the system controller's operating instructions are not mentioned here. Refer to them.
■Controlling the Recorder with a PS·Data System Controller
●Recorder Mode
Before operating the recorder, it is necessary to enter the recorder mode.
1.Select the desired monitor. (Refer to p. 125 Monitor Selection.)
2.In the PS·Data mode, a number is assigned to each recorder. To select a desired recorder, enter the corresponding num- ber by pressing the numeric buttons.
Recorder | Number |
Master recorder | 100 |
Slave 1 recorder | 101 |
Slave 2 recorder | 102 |
Slave 3 recorder | 103 |
Slave 4 recorder | 104 |
3.Press the CAM button.
The recorder image will be displayed on the selected monitor, and you will enter the recorder mode.
●Operations
1.Press the SHIFT button to activate the FUNCTION buttons.
2.Enter the desired function code, and then press the FUNCTION button. (Refer to the diagram.)
Function | Code | Note |
Forward field advance | 1 | Available only during pause |
|
|
|
Backward field advance | 2 | Available only during pause |
|
|
|
Pause | 4 |
|
|
|
|
Playback | 5 |
|
|
|
|
Recording | 6 | Equal to the REC button of the recorder |
|
|
|
Stop recording and playback | 8 |
|
|
|
|
Stop playback | 9 | Exclusive use to stop playback |
|
|
|
Stop recording | 10 | Exclusive use to stop recording |
|
|
|
Search forward | 11 |
|
|
|
|
Search backward | 12 |
|
|
|
|
Displaying a recorder's OSD | 19 | Pressing again will hide the display. |
|
|
|
3.To select a camera channel, press the numeric button(s), then CAM button. The system will exit from the recorder mode, and the selected camera image will be displayed on the monitor.
Notes:
•Only one operator can enter the recording mode.
•The images from the recorder, which are displayed on the monitor, is conformed to the recorder setting.
•You cannot skip to the previous/next record by moving the joystick.
