■Controlling Digital Disk Recorder WJ-HD500 Series
The following are the operating procedures of
Note: Refer to the operating instructions of Digital Disk Recorder
●Recorder Mode
Before operating the recorder, it is necessary to enter the recorder mode.
1.Select the desired monitor. (Refer to p. 106 Monitor Selection.)
2.To select a recorder, press the corresponding numeric button.
Recorder | Numeric button |
Master recorder | 0 (You can skip pressing this button.) |
Slave 1 recorder | 1 |
Slave 2 recorder | 2 |
Slave 3 recorder | 3 |
Slave 4 recorder | 4 |
3.Press the RECORDER button. The system will enter the recorder mode.
•The indicator beside the RECORDER button will light up, and the images from the recorder are dis- played on the active monitor in multiscreen seg- ments.
•The CAMERA indicator will go out and the monitor number with
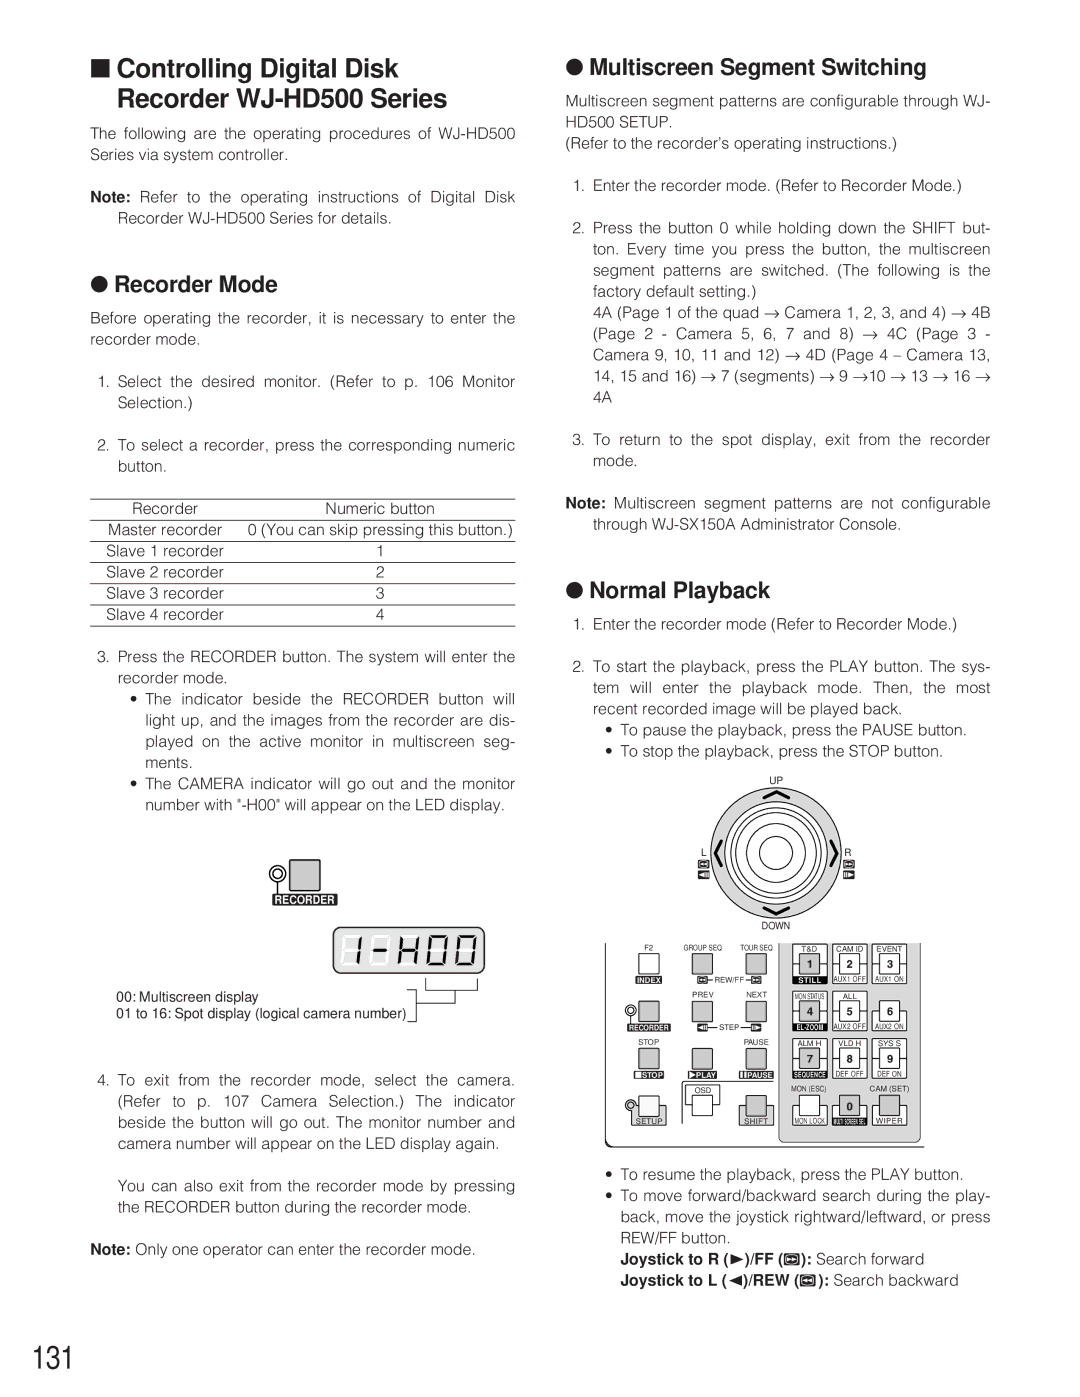
RECORDER
00: Multiscreen display
01 to 16: Spot display (logical camera number)
4.To exit from the recorder mode, select the camera. (Refer to p. 107 Camera Selection.) The indicator beside the button will go out. The monitor number and camera number will appear on the LED display again.
You can also exit from the recorder mode by pressing the RECORDER button during the recorder mode.
Note: Only one operator can enter the recorder mode.
●Multiscreen Segment Switching
Multiscreen segment patterns are configurable through WJ- HD500 SETUP.
(Refer to the recorder’s operating instructions.)
1.Enter the recorder mode. (Refer to Recorder Mode.)
2.Press the button 0 while holding down the SHIFT but-
ton. Every time you press the button, the multiscreen segment patterns are switched. (The following is the factory default setting.)
4A (Page 1 of the quad → Camera 1, 2, 3, and 4) → 4B
(Page 2 - Camera 5, 6, 7 and 8) → | 4C (Page 3 - | |
Camera 9, 10, | 11 and 12) → 4D (Page 4 – Camera 13, | |
14, 15 and 16) | → 7 (segments) → 9 → | 10 → 13 → 16 → |
4A |
|
|
3.To return to the spot display, exit from the recorder mode.
Note: Multiscreen segment patterns are not configurable through
●Normal Playback
1.Enter the recorder mode (Refer to Recorder Mode.)
2.To start the playback, press the PLAY button. The sys- tem will enter the playback mode. Then, the most recent recorded image will be played back.
•To pause the playback, press the PAUSE button.
•To stop the playback, press the STOP button.
|
| UP |
|
|
|
| L |
|
| R |
|
|
| DOWN |
|
|
|
F2 | GROUP SEQ | TOUR SEQ | T&D | CAM ID | EVENT |
INDEX | REW/FF | STILL | AUX1 OFF | AUX1 ON | |
| PREV | NEXT | MON STATUS | ALL |
|
RECORDER | STEP |
| AUX2 OFF | AUX2 ON | |
STOP |
| PAUSE | ALM H | VLD H | SYS S |
STOP | PLAY | PAUSE | SEQUENCE | DEF OFF | DEF ON |
| OSD |
| MON (ESC) |
| CAM (SET) |
SETUP |
| SHIFT | MON LOCK | MULTI SCREEN SEL | WIPER |
•To resume the playback, press the PLAY button.
•To move forward/backward search during the play- back, move the joystick rightward/leftward, or press REW/FF button.
Joystick to R (B)/FF (![]() ): Search forward
): Search forward
Joystick to L (A)/REW (![]() ): Search backward
): Search backward