Integrator Mode
5)Setting the color mode
In addition to COLOR MODE 1, which is for normal use, this unit also has the independent COLOR MODE 2, for which the PICTURE and WHITE BALANCE adjustment values have been set to the optimum values for TV studio retakes. (See ‘5.4.5 PICTURE and WHITE BALANCE adjustment values memory area tables’)
Please change the COLOR MODE setting according to the use.
Factory preset : COLOR MODE 1
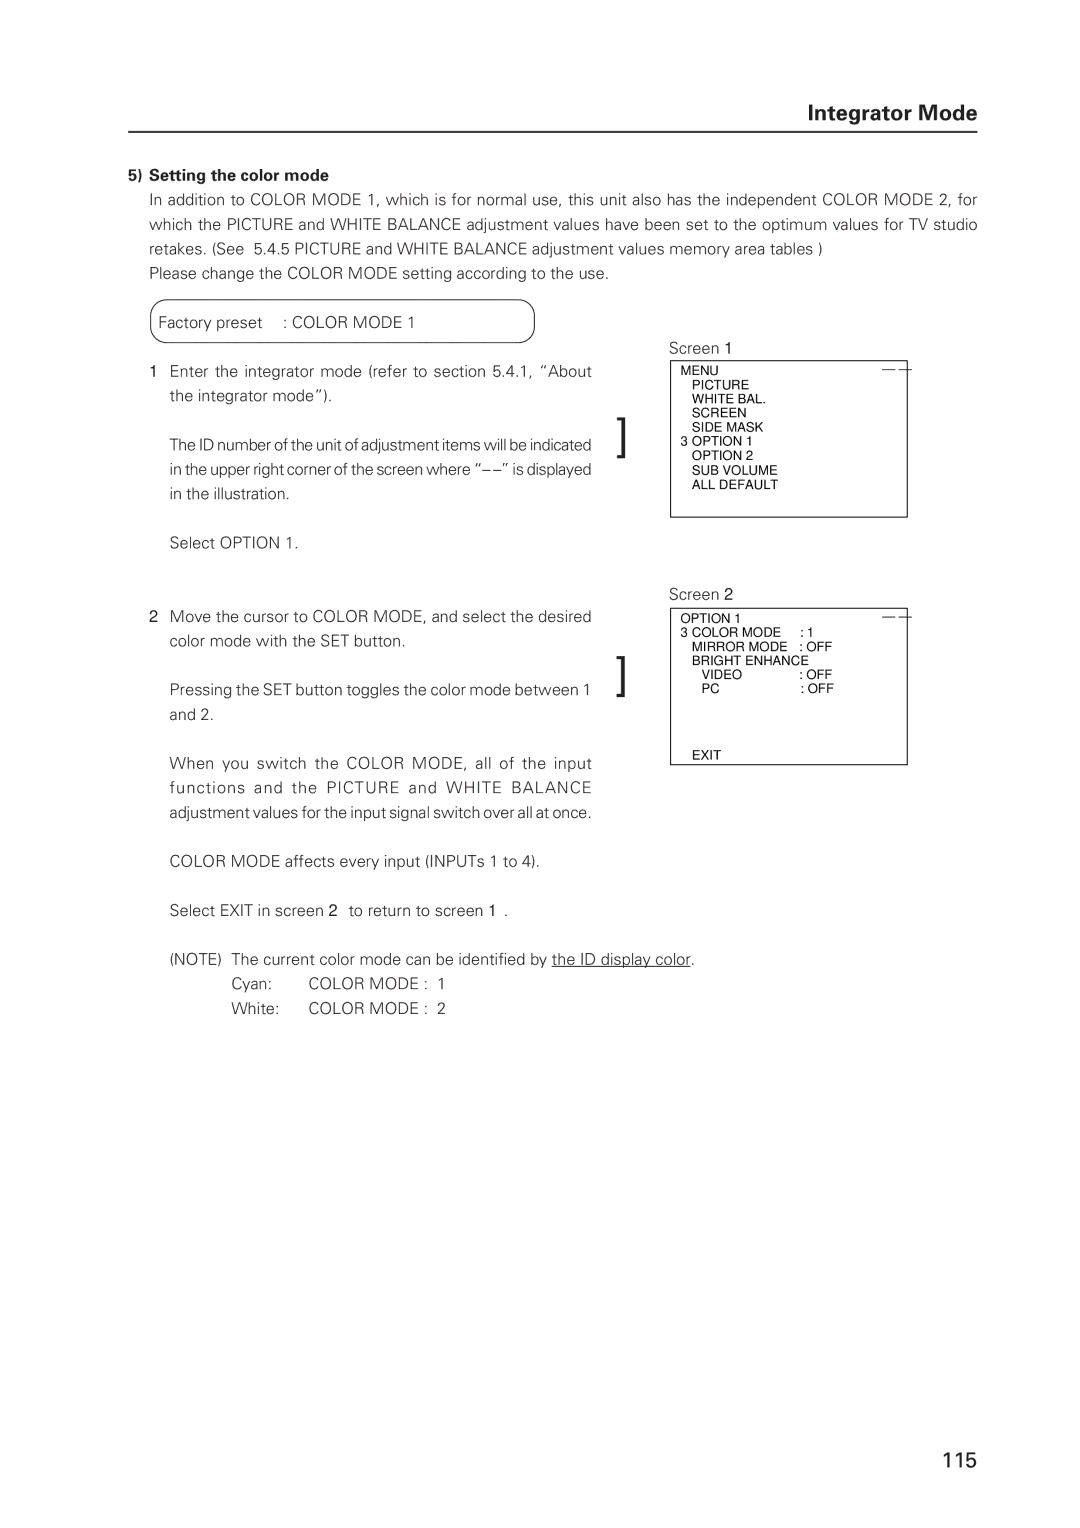
1Enter the integrator mode (refer to section 5.4.1, “About the integrator mode”).
The ID number of the unit of adjustment items will be indicated in the upper right corner of the screen where “–
Select OPTION 1.
Screen 1
| MENU |
| – – |
| PICTURE | R LEVEL | : 128 |
] | WHITE BAL. | G LEVEL | : 128 |
SCREEN | B LEVEL | : 128 | |
SIDE MASK | V. SIZE | : 128 | |
3OPTION 1 | CLK FRQ | : – – – | |
OPTION 2 | CLK PHS | : – – – | |
| SUB VOLUME | DEFAULT |
|
| ALL DEFAULT |
|
|
| MENU : MENU OFF |
| |
| 5∞ : SELECT |
|
|
Screen 2
2 Move the cursor to COLOR MODE, and select the desired |
| OPTION 1 | – – |
color mode with the SET button. |
| 3COLOR MODE | : 1 |
] | MIRROR MODE | : OFF | |
| BRIGHT ENHANCE | ||
Pressing the SET button toggles the color mode between 1 | VIDEO | : OFF | |
PC | : OFF | ||
and 2. |
|
|
|
When you switch the COLOR MODE, all of the input |
| EXIT |
|
|
|
| |
functions and the PICTURE and WHITE BALANCE |
|
|
|
adjustment values for the input signal switch over all at once. |
|
|
|
COLOR MODE affects every input (INPUTs 1 to 4). |
|
|
|
Select EXIT in screen 2 to return to screen 1. |
|
|
|
(NOTE) The current color mode can be identified by the ID display color.
Cyan: COLOR MODE : 1
White: COLOR MODE : 2
115