Image Scanner
Introduction
Table of Contents
Print Scan Settings
Installing Software 102
Iii
Troubleshooting 169
Procedure Breakdown 149 Selecting an FTP Server 150
Procedure Breakdown 155 Selecting Delivery Destinations 156
Procedure Breakdown 159 Before Printing Scan Data 160
183
Disposing of the Scanner 185 Using Wireless LAN 186
Options 202 Specifications 203 Software Information 205
212
Page
Trademarks
Safety During Operation
Safety Information
Lithium Batteries Memory Back-up
Operating Instructions this manual
Quick Installation Guide
Manuals for This Scanner
Manuals for This Scanner
Limitation
How to Read This Manual
Symbols
Preparation
Page
This machine
Outline
Network Twain Scanner
Process Flow
Scan to E-mail
Mail client software
Smtp server
Computer with a shared folder
Scan to Folder
FTP server
Scan to FTP
Scan to Print
Network printers
Local printer
Delivery server
Delivery Server
Clear/Stop key
Guide to this Scanner
Clear Modes key
User Tools key
Display panel
Lock switch
Power connector
Network interface connector
Using Keys Displayed on the Screen
How to Interpret the Indicators
Function Settings and Standby Screens
Network interface indicators
Green indicator Yellow indicator
Function Priority
Standby screens
Select Method
What You Can Do With This Machine
Scanner Features Menu
What You Can Do With This Machine
Checking the Scanner Location
Installation space
Installation environment
Attaching the Control Panel Unit to the Scanner Unit
Connecting to a Local Printer
Attach the card slot cover that comes with this machine
To attach the card slot cover
Setting Up the Optional Accessories
Installing the Image Processing Unit
Pull out the scanner control unit
Inserting a Wireless LAN Card
Connecting to a Network
Insert the power plug into the power outlet
Connecting to a Power Source
Before turning off the power
Outline to Use As a Network Twain Scanner
Configuring the Scanner Settings
Outline to Use Scan to E-mail
Configure 1.System Settings on this ma
Outline to Use Scan to Folder
Create a shared folder on a Windows compu Ter
Outline to Use Scan to FTP
Outline to Use the Network Delivery
Enter the IP address directly using Set I/O Device
Outline to Use Scan to Print
Configure Printer and Custom Title settings
Initial Scanner Setup
SMB FTP
Snmp
Twain
GMT
ABC
FTP
SMB FTP
*22
Is the last six digits of the machines MAC address
Initial Scanner Setup
System Settings
Information to Set in System Settings
IP Address
Default Gateway Address
Access Control and Access Mask
Subnet Mask
DNS Server 3 IP Address
Network Boot
DNS Server 1 IP Address
DNS Server 2 IP Address
Press Next
Press the User Tools key
Press the 1 key
Press OK
While None is displayed, press OK
When you are finished, press OK
Specify the IP address of this machine
Use ↑ and ↓ to display
Press Next three times
Press OK Use ↑ and ↓ to display
While Dhcp is displayed Press OK
Press Exit
Press PrevMenu
Scanner Settings
Auto Reset Timer
Twain Standby Time
Date/TimeYear/Month/Day/Hr/Min Sec
Compression Black and White
Compression Gray Scale/Full Col- our
Select Method
Auto Update Destination List
Unit of Measure
SRGB
Show Options after Each Scan Job
End of Scan Option
ADF Thin Paper
Clear Settings after Each Scan Job
Erase Border
Select Language
Select Title
Configuring Send Scan Settings
Job Delivery Data Max. Setting
Time Zone
Select the option you want for 2. Twain Standby Time
Press Exit
Max. Number of Copies
Print Scan Settings
Information to Set in Print Scan Settings
Configuring Print Scan Settings
Select Color or Colour/Black and White
Press the 3 key
Press PrevMenu
Registering Scan Settings
Resolution
Scan Type
Position
When Custom Area Setting is se
Scan Size
Scanning Area
Image Density
Filter
Erase Colour
Noise Reduction
Edge Smoothing
Registering Scan Settings
Original Settings
Press the 4 key
To select a preset resolution
Select the resolution you want
Select scan type
To specify the resolution manually using Custom
To select a scan size from preset sizes
To set a custom area
Image Density appears as the setup item currently selected
Press Exit
Registering Print Settings
Original Size
Duplex
Quality/Speed
Registering Print Settings
Reduce/Enlarge
Create Margin
Use the 1 and 0 keys to Highlight the setting you want
Press the 5 key
Select the scan type
Select the original size
To select an original size from preset sizes
While the option Custom Size is displayed, press Setting
To set a custom size
Press Exit
Web browser
Configuring Settings Using a Web Browser
Accessing the Scanner
System requirements of a client computer
To access this machine from a web browser
Sub-Menu Area
General guide to the Web Status Monitor
Header Area
Main Menu Area
Example Procedures Using Configuration Main Menu
Configuring Scan Settings
Click Default in the Select User
Click Change
Configuring E-mail Address
To register an e-mail address
To change an existing e-mail address
To export the address data to a CSV file
To delete an existing e-mail address
To import the address data from a CSV file
Tag Information
Click Import
Information to Register as Destination and Printer
Mail
Information to register in File Send Path
File Send Path Name
Test
File Send
Freq.
Change Order
FTP Server Name
Information to register in FTP Server
FTP Server
Printer Name
Information to register in Printer
Obtain Printer Information
Default Printer
Attachment Type
Printer IP Address
Paper Source Tray
Recalling the Settings
To recall the settings
Locked Print
Enter scanner for the user name and enter the password
Creating a Backup File of All the Settings
Setup items to be backed-up and restored
To create a backup file
To restore settings from a backup file
Login User Name
Login Password
Backup File Name
When everything is the way you want, click Restore
Turn off the power of this ma- chine, and then back on
101
102
Installing Software
List of Files
Auto Run Program
Click Twain Driver
Software for Using a Network Twain Scanner
System requirements
103
Click the key of the software to be installed
Software for Using the Network Delivery Scanner Function
105
DeskTopBinder V2 Lite
Click DeskTopBinder V2 Lite
SmartDeviceMonitor
Installing SmartDeviceMonitor
107
Follow the instructions on the screen
108
109
Sizes and Weights of recommended Originals
Standard size
Non-standard size
When set in the ADF
110
Europe/Asia
111
Originals that Require Special Care
Originals whose size is difficult to auto detect
Originals that cannot be set in the ADF
112
Original Orientation
113
Simplex Scanning
Settings for Print Scan in simplex scanning
Duplex Scanning
114
115
Settings for Print Scan in duplex scanning
Gently lower the ADF
Placing the Original on Exposure Glass
116
Lift the ADF
Precautions in placing an original in the ADF
Placing the Originals
117
118
119
Procedure Breakdown
Scanning Originals
120
Click Select Scanner Driver
Click Preview
When you want to configure the scanning area
Editing and printing scan files
121
Printing to the Image
Scanning Mode Registration
Functions of the Twain Driver
Automatic Tilt Correction
123
Sending Scan File by E-mail
Mail Content
→ Basic Settings → Scanner →
When Senders Name Default
125
Original Orientation and Scanning Sides
Before Sending Scan Data
Original Location
Mail/Send File standby screen
127
128
While To is highlighted, press Settings Press the 1 key
Selecting Destinations and a Subject
Selecting Destinations
Press the ./* Title key
To recall destinations using a title
To recall all available destinations
129
Selecting Cc Destinations
Selecting a Subject
130
131
Press Scan
Making Scan Settings
To recall a registered scan settings
To configure scan settings manually
133
Press Cancel or OK
Selecting a Sender
134
Press Sender
135
Performing Scan Operation
Starting a Scan Operation
To start with originals in the ADF
136
To start with an original on the exposure glass
137
Checking Transmission Results
138
Procedure Breakdown
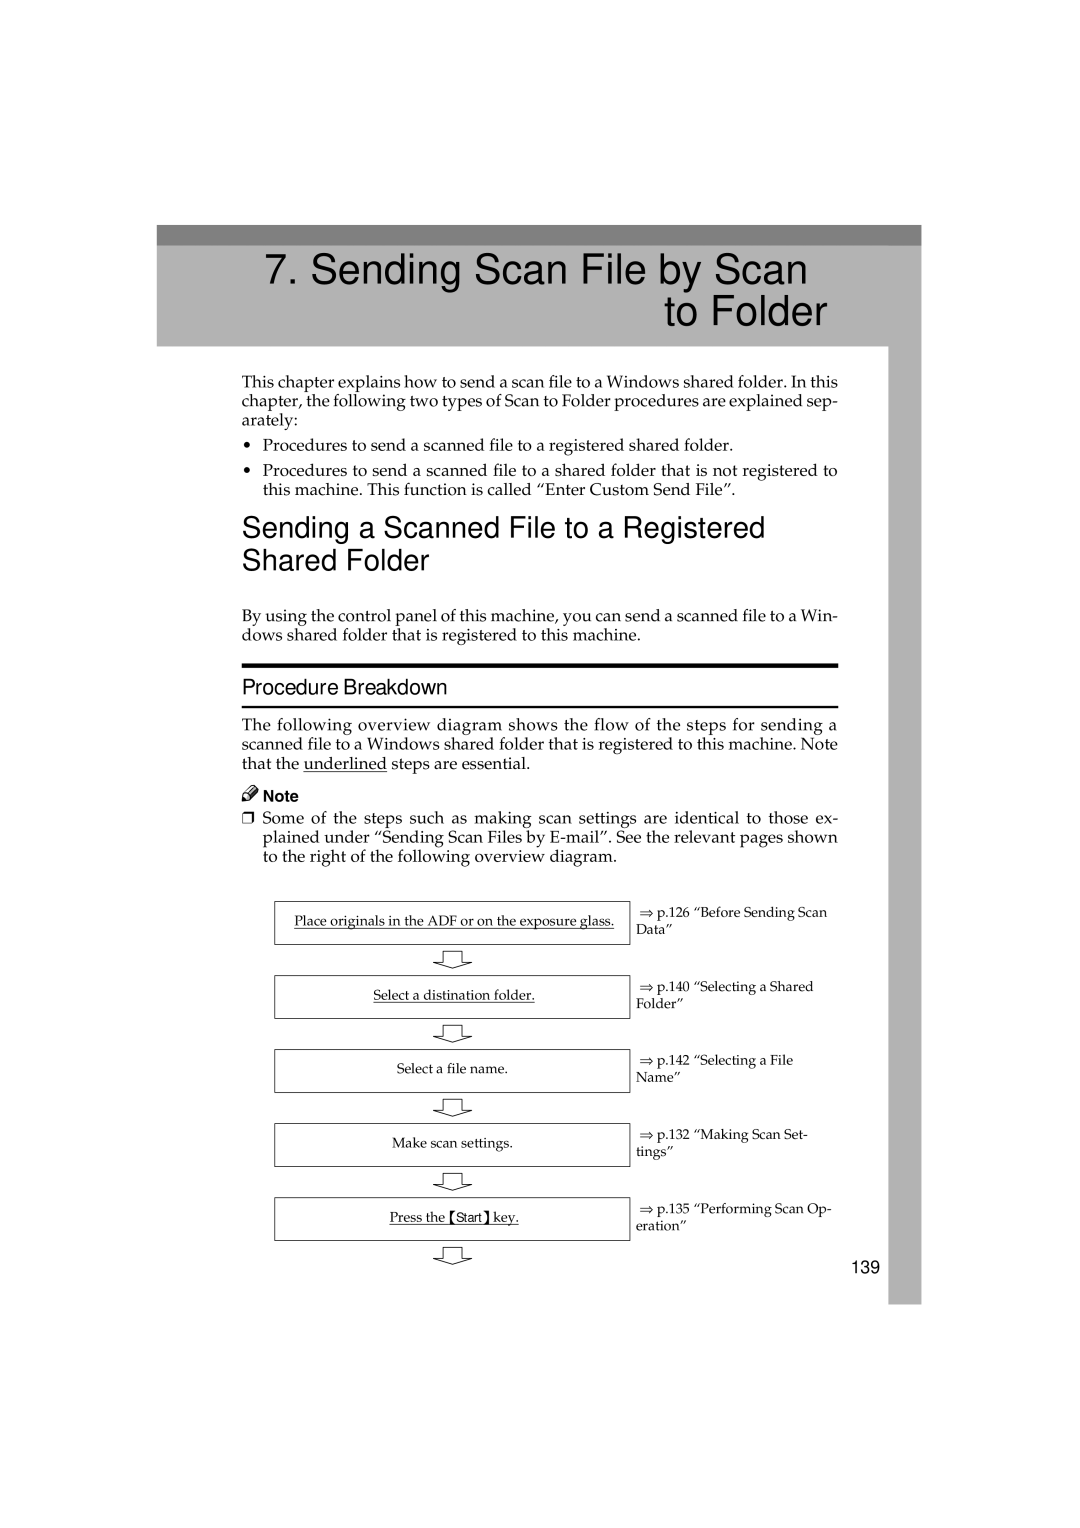
Sending a Scanned File to a Registered Shared Folder
139
140
Selecting a Shared Folder
To recall shared folders using a title
Enter the protection code using the number keys
141
142
Selecting a File Name
143
Enter Custom Send File page appears
Using the Enter Custom Send File Function
Information to set in File Send group
144
Place originals Press the Start key
When everything is the way you want, click OK
File Name
145
146
File names with time
Scanned Image Files Sent to Shared Folders
File Locations
File Names
148
File names without time
149
Sending Scan File by Scan to FTP
To recall FTP servers using a title
Selecting an FTP Server
150
151
152
Scanned Image Files Sent to FTP Servers
153
154
155
Sending Scan Files Using Delivery Server
156
Selecting Delivery Destinations
157
158
159
Printing Scanned Image Files
About Print Scan Standby Screen
About Paper Tray Settings
Before Printing Scan Data
Original Locations
161
Printing Scan Data
162
Press the Start key of this ma- chine
Configuring Print Settings
Specifying the Number of Copies
163
164
To recall a registered print settings
To configure print settings manually
Settings
PrevMenu
Confirming the Print Settings
When you are finished, press
165
Selecting a Printer
To recall printers using a title
While the option you want is Highlighted, press OK
Selecting Colour/Black White
To recall all available printers
167
168
Troubleshooting
Error Indicators
169
Open the ADF
170
Open the ADF cover and remove if the original is jammed
Lower the green tab and remove if the original is jammed
171
When Scanning is Not Performed as Expected
When an Error Message Appears
Scanner unit error message
172
173
Scan settings error messages
Scanned data will be delet
174
Please wait
175
176
Print Scan operation error messages
177
Error messages displayed on the Web Status Monitor
178
Other Problems
179
White Plate White Sheet ADF Exposure Glass
Cleaning
180
Wipe off the scanner with a dry, soft cloth
Cleaning the Feed Roller
Cleaning the Document Roller
181
182
Cleaning the Document Rolling Unit
Moving and Transporting the Scanner
Moving Over Short Distance
183
184
Transporting the Scanner
185
Disposing of the Scanner
When you use a cross network cable
Using Wireless LAN
Outline to Use Wireless LAN
Configuring Wireless LAN Settings
Press OK Enter 192.168.1.2 with the number keys
When you use a hub
187
Press the User Tools key on this machine
If 7.Network Boot is set to
Done for 7.Network Boot
188
189
Communication Mode
Configuration → Basic Settings → Password
Channel
WEP Setting
190
WEP Key and Confirm WEP Key
Mail Address Book Data Format and Device Tag Information
Entered Program Information
191
Edward Key Display
About the e-mail address information
Type
Edward Name
193
TExMTA== Protected Password
Device Tag Information
Register as Sender
How File Size Changes Depending on Scan Area and Resolution
When Using this Machine as a Network Twain Scanner
194
195
When Binary or Halftone is selected
196
When Gray-scale is selected
197
When 8 colors or 8 colors halftone is selected
198
When 256 colors is selected
When Using this Machine for Sending Scan Data
When 16770K colors is selected
199
200
201
When Color Full Color is selected
Special Table
Wireless LAN Card
Options
Function Expansion Board
203
Specifications
204
205
Software Information
GPL/LGPL Application Software
BSD License Application Software
Apache Software License, Ver- sion
206
207
Jpeg Software
208
Tiff Software
UCD-SNMP Software
209
Part 1 CMU/UCD copyright no- tice BSD like
Appendix
MD5 Software License Agreement
Expat
211
Index
Means Power ON. b means Power OFF
Image Scanner Operating Instructions
Take out the scanner main unit
Power Connection
Product Specifications
Space Required for Installing the Scanner
Attach the card slot cover that comes with this machine
Connecting to a Network