Chapter 1 Trying out the expanded functions
Preparations for auto mix
1.Press [SYSTEM] several times until “SYS Scene/Auto Mix?” is displayed.
2.Press [YES].
3.Press PARAMETER [ ![]()
![]() ] several times until “SYS A.Mix Mode=” appears.
] several times until “SYS A.Mix Mode=” appears.
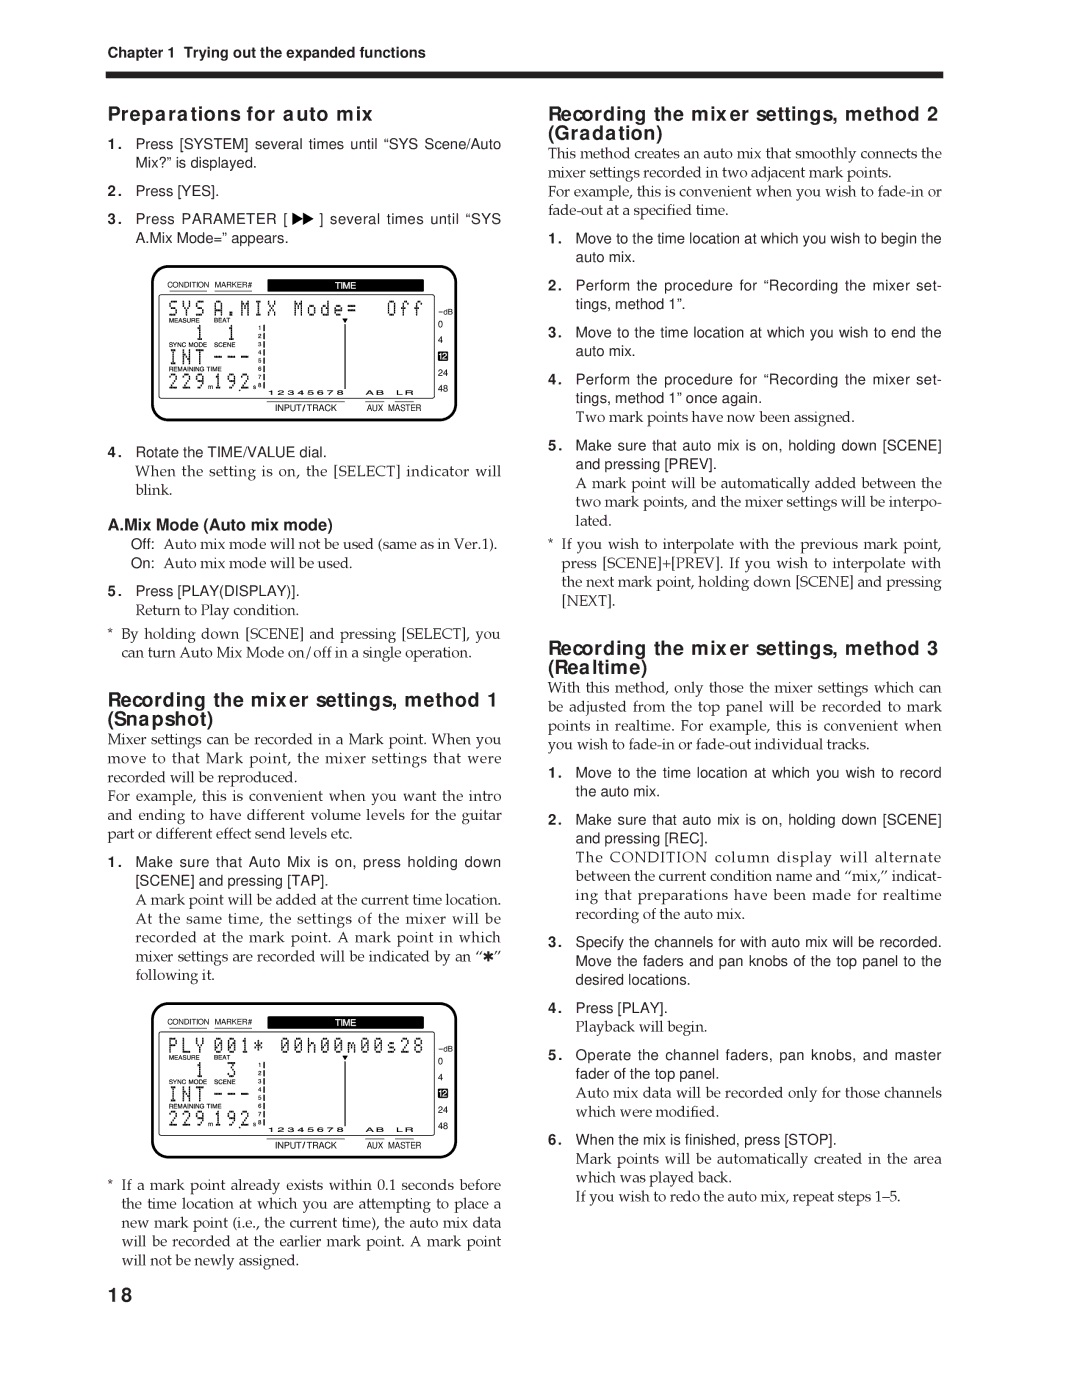
CONDITION MARKER# | TIME | ||||
|
|
|
|
|
|
dB
0
4
12
24
48
INPUT TRACK | AUX MASTER |
4.Rotate the TIME/VALUE dial.
When the setting is on, the [SELECT] indicator will blink.
A.Mix Mode (Auto mix mode)
Off: Auto mix mode will not be used (same as in Ver.1).
On: Auto mix mode will be used.
5.Press [PLAY(DISPLAY)].
Return to Play condition.
*By holding down [SCENE] and pressing [SELECT], you can turn Auto Mix Mode on/off in a single operation.
Recording the mixer settings, method 1 (Snapshot)
Mixer settings can be recorded in a Mark point. When you move to that Mark point, the mixer settings that were recorded will be reproduced.
For example, this is convenient when you want the intro and ending to have different volume levels for the guitar part or different effect send levels etc.
1.Make sure that Auto Mix is on, press holding down [SCENE] and pressing [TAP].
A mark point will be added at the current time location. At the same time, the settings of the mixer will be recorded at the mark point. A mark point in which mixer settings are recorded will be indicated by an Ò✱Ó following it.
CONDITION MARKER# | TIME | ||||
|
|
|
|
|
|
dB
0
4
12
24
48
INPUT TRACK | AUX MASTER |
*If a mark point already exists within 0.1 seconds before the time location at which you are attempting to place a new mark point (i.e., the current time), the auto mix data will be recorded at the earlier mark point. A mark point will not be newly assigned.
Recording the mixer settings, method 2 (Gradation)
This method creates an auto mix that smoothly connects the mixer settings recorded in two adjacent mark points.
For example, this is convenient when you wish to
1.Move to the time location at which you wish to begin the auto mix.
2.Perform the procedure for “Recording the mixer set- tings, method 1”.
3.Move to the time location at which you wish to end the auto mix.
4.Perform the procedure for “Recording the mixer set- tings, method 1” once again.
Two mark points have now been assigned.
5.Make sure that auto mix is on, holding down [SCENE] and pressing [PREV].
A mark point will be automatically added between the two mark points, and the mixer settings will be interpo- lated.
*If you wish to interpolate with the previous mark point, press [SCENE]+[PREV]. If you wish to interpolate with the next mark point, holding down [SCENE] and pressing [NEXT].
Recording the mixer settings, method 3 (Realtime)
With this method, only those the mixer settings which can be adjusted from the top panel will be recorded to mark points in realtime. For example, this is convenient when you wish to
1.Move to the time location at which you wish to record the auto mix.
2.Make sure that auto mix is on, holding down [SCENE] and pressing [REC].
The CONDITION column display will alternate between the current condition name and Òmix,Ó indicat- ing that preparations have been made for realtime recording of the auto mix.
3.Specify the channels for with auto mix will be recorded. Move the faders and pan knobs of the top panel to the desired locations.
4.Press [PLAY].
Playback will begin.
5.Operate the channel faders, pan knobs, and master fader of the top panel.
Auto mix data will be recorded only for those channels which were modified.
6.When the mix is finished, press [STOP].
Mark points will be automatically created in the area which was played back.
If you wish to redo the auto mix, repeat steps 1Ð5.
18