Chapter 9 Other convenient functions
Changing the pitch during playback (Vari-pitch)
When recording an ensemble, all the instruments normally tune to an instrument such as an acoustic piano whose tun- ing cannot easily be changed. However it is sometimes nec- essary to record (overdub) an acoustic piano onto an exist- ing recording. In this case if the pitch of the recording is dif- ferent than the pitch of the acoustic piano, something must be done about it.
In such cases, use the
If you wish to use the
*The audible result of
1.Press [VARI PITCH] to make the button indicator light.
When the button indicator is lit, the playback pitch will change in accordance with the
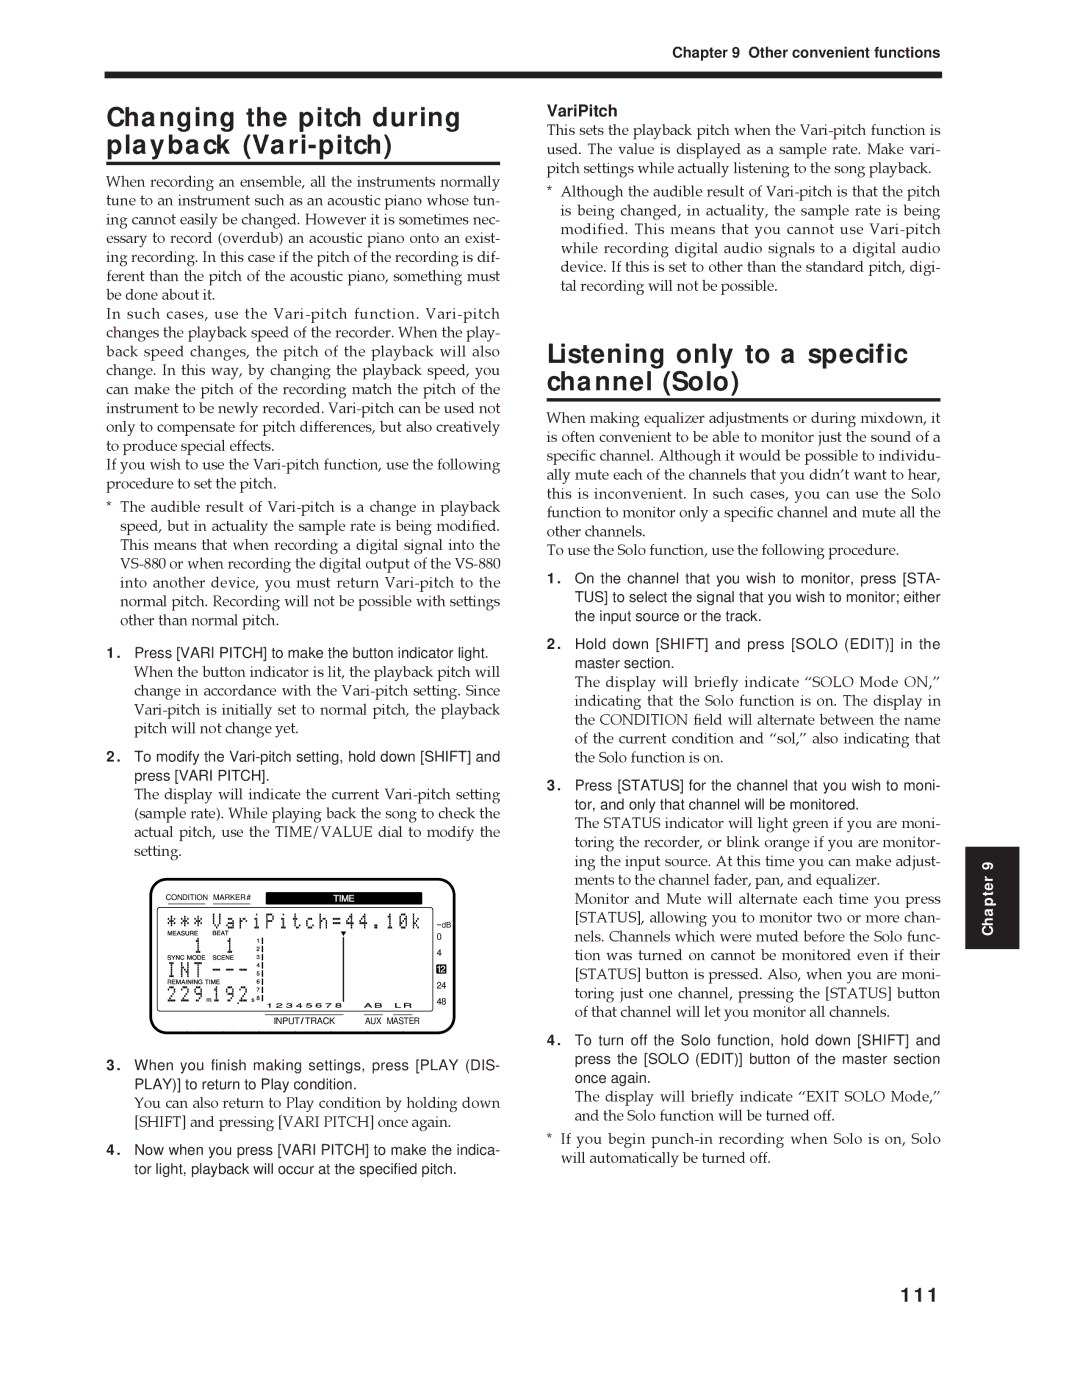
2.To modify the
The display will indicate the current
CONDITION MARKER# | TIME | ||||
|
|
|
|
|
|
dB
0
4
12
24
48
INPUT TRACK | AUX MASTER |
3.When you finish making settings, press [PLAY (DIS- PLAY)] to return to Play condition.
You can also return to Play condition by holding down [SHIFT] and pressing [VARI PITCH] once again.
4.Now when you press [VARI PITCH] to make the indica- tor light, playback will occur at the specified pitch.
VariPitch
This sets the playback pitch when the
*Although the audible result of
Listening only to a specific channel (Solo)
When making equalizer adjustments or during mixdown, it is often convenient to be able to monitor just the sound of a specific channel. Although it would be possible to individu- ally mute each of the channels that you didnÕt want to hear, this is inconvenient. In such cases, you can use the Solo function to monitor only a specific channel and mute all the other channels.
To use the Solo function, use the following procedure.
1.On the channel that you wish to monitor, press [STA- TUS] to select the signal that you wish to monitor; either the input source or the track.
2.Hold down [SHIFT] and press [SOLO (EDIT)] in the master section.
The display will briefly indicate ÒSOLO Mode ON,Ó indicating that the Solo function is on. The display in the CONDITION field will alternate between the name of the current condition and Òsol,Ó also indicating that the Solo function is on.
3.Press [STATUS] for the channel that you wish to moni- tor, and only that channel will be monitored.
The STATUS indicator will light green if you are moni- toring the recorder, or blink orange if you are monitor- ing the input source. At this time you can make adjust- ments to the channel fader, pan, and equalizer.
Monitor and Mute will alternate each time you press [STATUS], allowing you to monitor two or more chan- nels. Channels which were muted before the Solo func- tion was turned on cannot be monitored even if their [STATUS] button is pressed. Also, when you are moni- toring just one channel, pressing the [STATUS] button of that channel will let you monitor all channels.
4.To turn off the Solo function, hold down [SHIFT] and press the [SOLO (EDIT)] button of the master section once again.
The display will briefly indicate ÒEXIT SOLO Mode,Ó and the Solo function will be turned off.
*If you begin
