Chapter 3 Basic operation (as a replacement for a tape MTR)
6.Check the
■Repeatedly recording over the
same area (Loop recording)
The loop function lets you repeatedly playback a specified area (the loop). If the loop function is used for
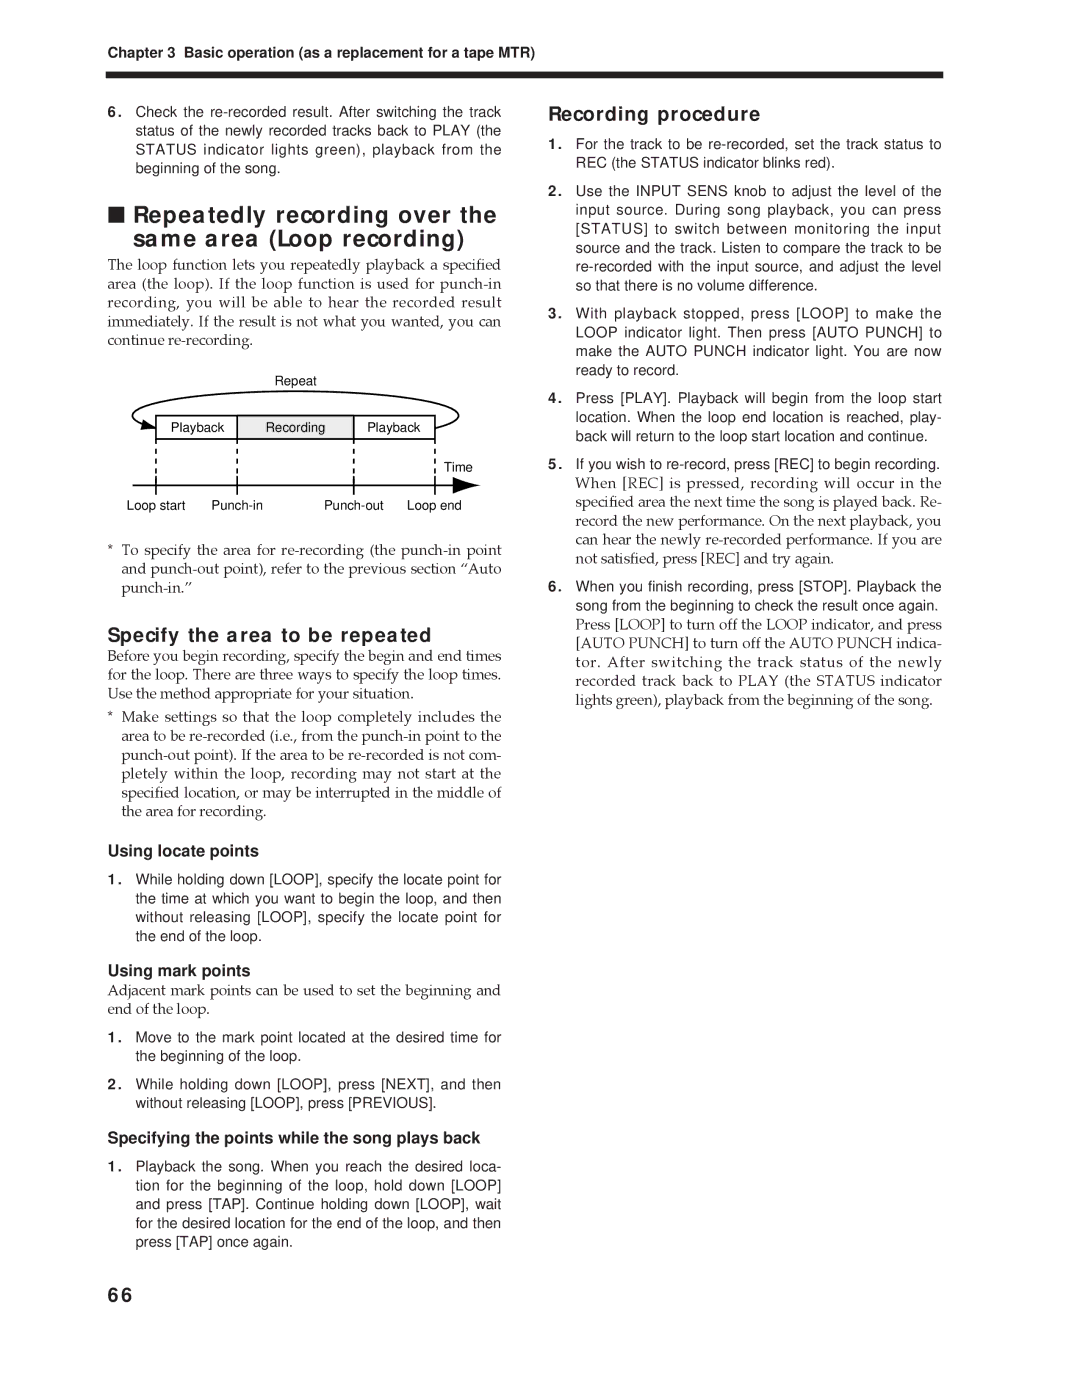
Repeat
Playback | Recording | Playback |
|
|
|
Time
Loop start | Loop end |
*To specify the area for
Specify the area to be repeated
Before you begin recording, specify the begin and end times for the loop. There are three ways to specify the loop times. Use the method appropriate for your situation.
*Make settings so that the loop completely includes the area to be
Using locate points
1.While holding down [LOOP], specify the locate point for the time at which you want to begin the loop, and then without releasing [LOOP], specify the locate point for the end of the loop.
Using mark points
Adjacent mark points can be used to set the beginning and end of the loop.
1.Move to the mark point located at the desired time for the beginning of the loop.
2.While holding down [LOOP], press [NEXT], and then without releasing [LOOP], press [PREVIOUS].
Specifying the points while the song plays back
1.Playback the song. When you reach the desired loca- tion for the beginning of the loop, hold down [LOOP] and press [TAP]. Continue holding down [LOOP], wait for the desired location for the end of the loop, and then press [TAP] once again.
Recording procedure
1.For the track to be
2.Use the INPUT SENS knob to adjust the level of the input source. During song playback, you can press [STATUS] to switch between monitoring the input source and the track. Listen to compare the track to be
3.With playback stopped, press [LOOP] to make the LOOP indicator light. Then press [AUTO PUNCH] to make the AUTO PUNCH indicator light. You are now ready to record.
4.Press [PLAY]. Playback will begin from the loop start location. When the loop end location is reached, play- back will return to the loop start location and continue.
5.If you wish to
When [REC] is pressed, recording will occur in the specified area the next time the song is played back. Re- record the new performance. On the next playback, you can hear the newly
6.When you finish recording, press [STOP]. Playback the song from the beginning to check the result once again.
Press [LOOP] to turn off the LOOP indicator, and press [AUTO PUNCH] to turn off the AUTO PUNCH indica- tor. After switching the track status of the newly recorded track back to PLAY (the STATUS indicator lights green), playback from the beginning of the song.
66