Chapter 2 Before you start (VS-880 terminology)
■Modifying a marked time location
1.Move to the Mark Point whose time you wish to modify. Use [PREV][NEXT].
2.Press [LOCATOR].
3.Press PARAMETER[ ![]()
![]() ] several times until “LOC ✱✱✱” appears (✱✱✱ is the mark point number that you wish to modify).
] several times until “LOC ✱✱✱” appears (✱✱✱ is the mark point number that you wish to modify).
4.Input the desired time. Rotate the TIME/VALUE dial.
The time of a mark point can be modified only within the range that lies between the preced- ing and following mark points.
M1 | M2 | M3 | M4 | M5 |
TIME
■Clearing a mark
Clearing a Mark Point
Assigning mark points makes searching convenient, but creating too many mark points can actual- ly make searching less convenient. It is a good idea to clear (erase) mark points that are no longer necessary.
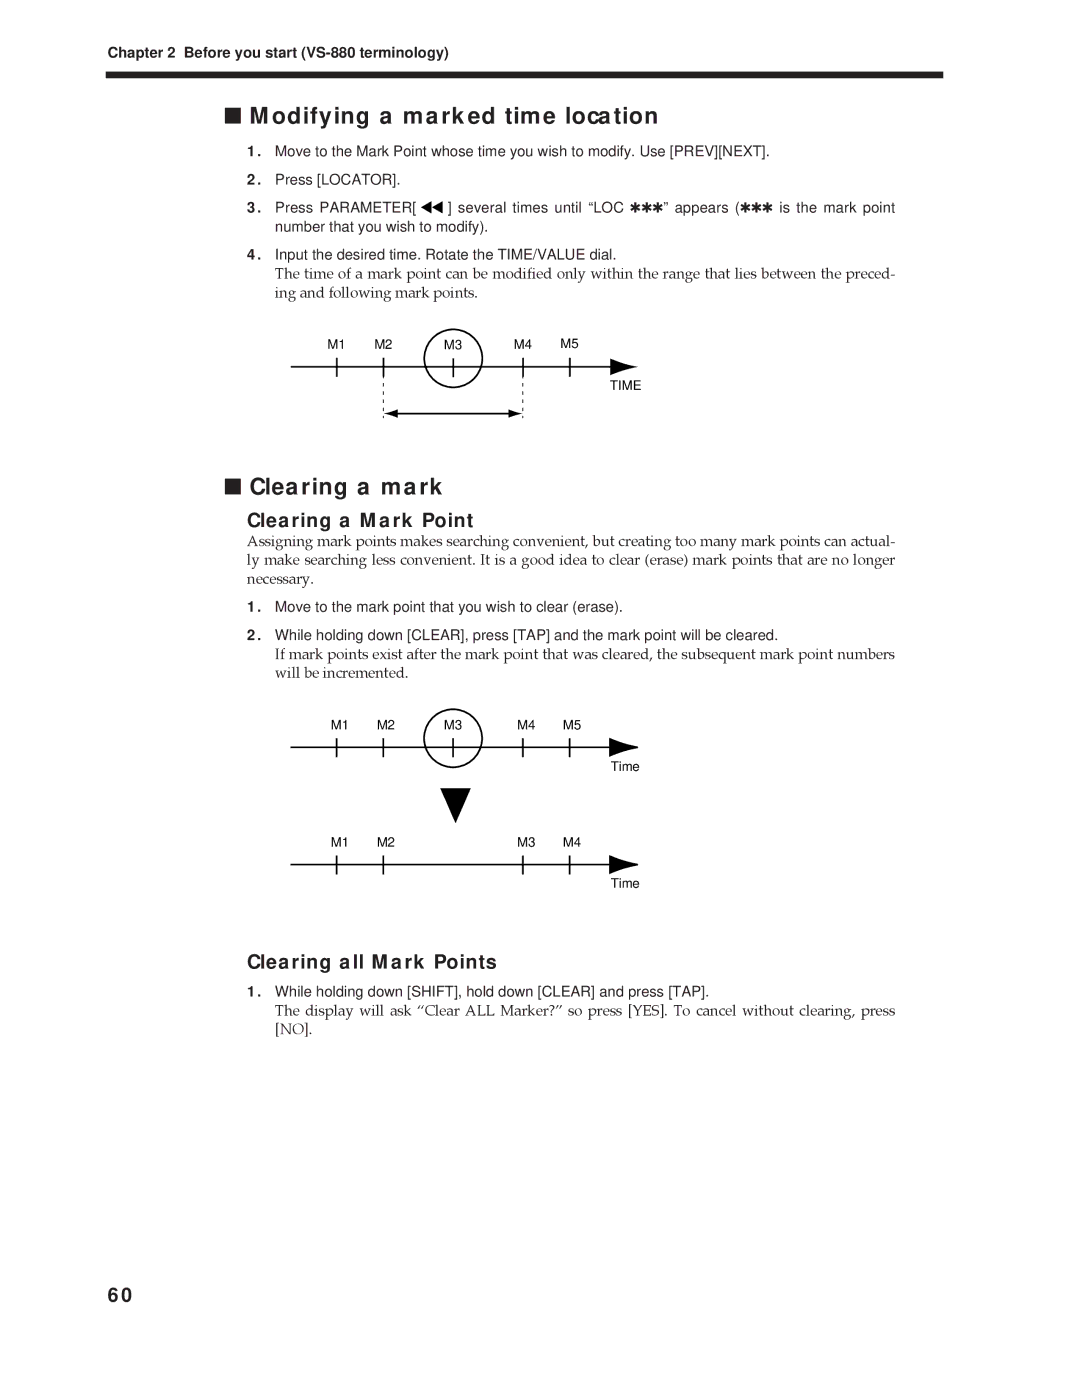
1.Move to the mark point that you wish to clear (erase).
2.While holding down [CLEAR], press [TAP] and the mark point will be cleared.
If mark points exist after the mark point that was cleared, the subsequent mark point numbers will be incremented.
M1 | M2 | M3 | M4 | M5 |
Time
M1 | M2 | M3 | M4 |
Time
Clearing all Mark Points
1.While holding down [SHIFT], hold down [CLEAR] and press [TAP].
The display will ask ÒClear ALL Marker?Ó so press [YES]. To cancel without clearing, press [NO].
60