Chapter 5 Use with MIDI devices
Creating a tempo map
To change the initial tempo of the song, use the following procedure to change the setting of tempo map 1.
1.Press [SYSTEM]. If a message with a question mark such as “SYS System PRM?” does not appear, press [SYSTEM] once again.
2.Use PARAMETER [ ![]()
![]() ][
][ ![]()
![]() ] to get the “SYS Sync/tempo?” display, and press [YES].
] to get the “SYS Sync/tempo?” display, and press [YES].
3.Use PARAMETER [ ![]()
![]() ][
][ ![]()
![]() ] to make the display read “SYS Syn: Tmap1=120.”
] to make the display read “SYS Syn: Tmap1=120.”
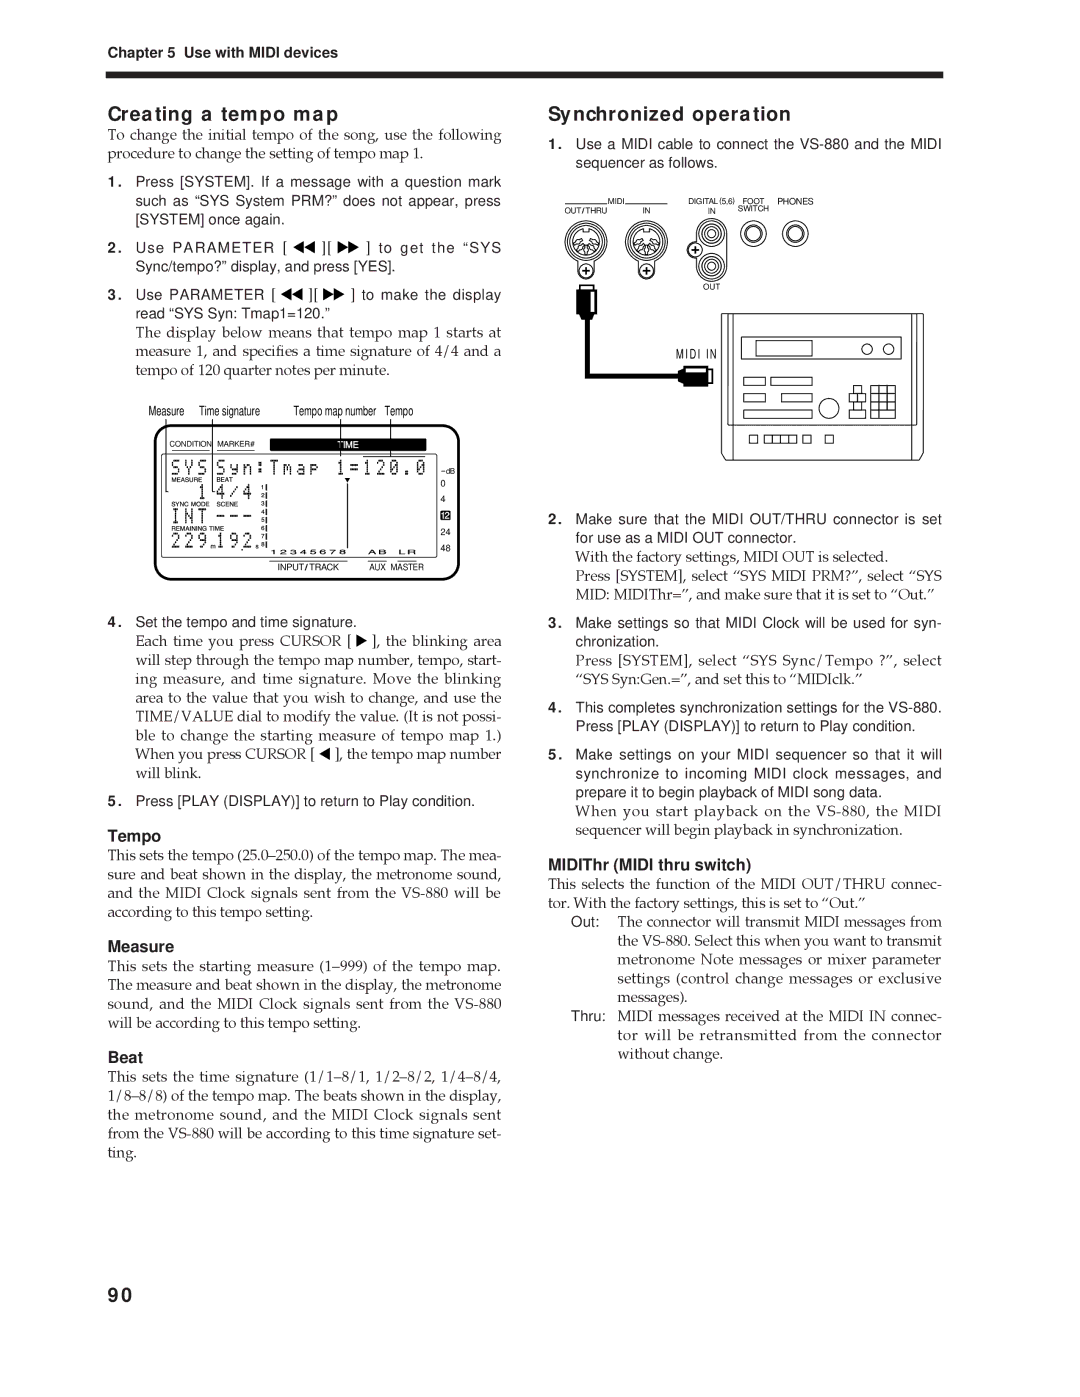
The display below means that tempo map 1 starts at measure 1, and specifies a time signature of 4/4 and a tempo of 120 quarter notes per minute.
Measure Time signature | Tempo map number Tempo | |||||||
CONDITION MARKER# |
| TIME |
| |||||
|
|
|
|
|
|
|
|
|
dB
0
4
12
24
48
INPUT TRACK | AUX MASTER |
4.Set the tempo and time signature.
Each time you press CURSOR [ ![]() ], the blinking area will step through the tempo map number, tempo, start- ing measure, and time signature. Move the blinking area to the value that you wish to change, and use the TIME/VALUE dial to modify the value. (It is not possi- ble to change the starting measure of tempo map 1.) When you press CURSOR [
], the blinking area will step through the tempo map number, tempo, start- ing measure, and time signature. Move the blinking area to the value that you wish to change, and use the TIME/VALUE dial to modify the value. (It is not possi- ble to change the starting measure of tempo map 1.) When you press CURSOR [ ![]() ], the tempo map number will blink.
], the tempo map number will blink.
5.Press [PLAY (DISPLAY)] to return to Play condition.
Tempo
This sets the tempo (25.0Ð250.0) of the tempo map. The mea- sure and beat shown in the display, the metronome sound, and the MIDI Clock signals sent from the
Measure
This sets the starting measure (1Ð999) of the tempo map. The measure and beat shown in the display, the metronome sound, and the MIDI Clock signals sent from the
Beat
This sets the time signature (1/1Ð8/1, 1/2Ð8/2, 1/4Ð8/4, 1/8Ð8/8) of the tempo map. The beats shown in the display, the metronome sound, and the MIDI Clock signals sent from the
Synchronized operation
1.Use a MIDI cable to connect the
| MIDI |
| DIGITAL (5,6) FOOT PHONES | |
OUT THRU |
| IN | IN | SWITCH |
|
| |||
OUT
MIDI IN
2.Make sure that the MIDI OUT/THRU connector is set for use as a MIDI OUT connector.
With the factory settings, MIDI OUT is selected.
Press [SYSTEM], select ÒSYS MIDI PRM?Ó, select ÒSYS MID: MIDIThr=Ó, and make sure that it is set to ÒOut.Ó
3.Make settings so that MIDI Clock will be used for syn- chronization.
Press [SYSTEM], select ÒSYS Sync/Tempo ?Ó, select ÒSYS Syn:Gen.=Ó, and set this to ÒMIDIclk.Ó
4.This completes synchronization settings for the
5.Make settings on your MIDI sequencer so that it will synchronize to incoming MIDI clock messages, and prepare it to begin playback of MIDI song data.
When you start playback on the
MIDIThr (MIDI thru switch)
This selects the function of the MIDI OUT/THRU connec- tor. With the factory settings, this is set to ÒOut.Ó
Out: The connector will transmit MIDI messages from the
Thru: MIDI messages received at the MIDI IN connec- tor will be retransmitted from the connector without change.
90