Chapter 7 Use with a DAT recorder (DAT backup)
This chapter explains the procedures for using a DAT recorder in conjunction with the
Song data created on the
Make backups of your data as a precaution against unfore- seen problems, or when your disk drive is full and no more recording is possible. We recommend that important data be backed up twice, using separate tapes.
Since DAT tapes are easily transported, this is convenient when you wish to exchange song data with a friend who also has a
< Cautions for backup >
Backup cannot be done using devices other than a DAT recorder, such as an MD recorder or a DCC recorder.
If a backup requires two or more tapes, use tapes of iden- tical length so that they will be used most effectively. Also, be sure to note the recorded sequence on the labels of each tape.
Do not use 180 minute DAT tapes, since they contain thin- ner tape and are prone to problems such as stretching and becoming entangled in the recorder mechanism.
If your DAT recorder processes the data internally so that the playback data is different than the recorded data, backup cannot be performed correctly.
When song data is being backed up, sound will not be output from the analog output jacks of the
When backing up song data, turn the volume down to the minimum position for any playback equipment (amps etc.) that are connected to the DAT recorder. The song data being sent to the DAT recorder consists of special sig- nals that are recorded on disk. If this sound is monitored from the DAT recorder at a high volume, your speakers and/or your hearing may be damaged.
Roland will take no responsibility in the event that data is lost due to a backup failure. Also, Roland can not guaran- tee any backed up data regardless of the capabilities or condition of the DAT recorder.
Saving performance data to a DAT recorder (Backup)
This procedure backs up the data of the specified song from the currently drive.
1.Connect your DAT recorder to the
Use an RCA phono type coaxial cable to connect the
*Normally, the sample rate at which data is transmitted is set at 48 kHz. This sample rate has no relation to the sam- ple rate of the song data. If your DAT recorded requires you to set the sample rate, set it to 48 kHz.
2.Press [SONG]. Then use PARAMETER [ ![]()
![]() ][
][ ![]()
![]() ] to get the “SNG DAT Backup?” display, and press [YES].
] to get the “SNG DAT Backup?” display, and press [YES].
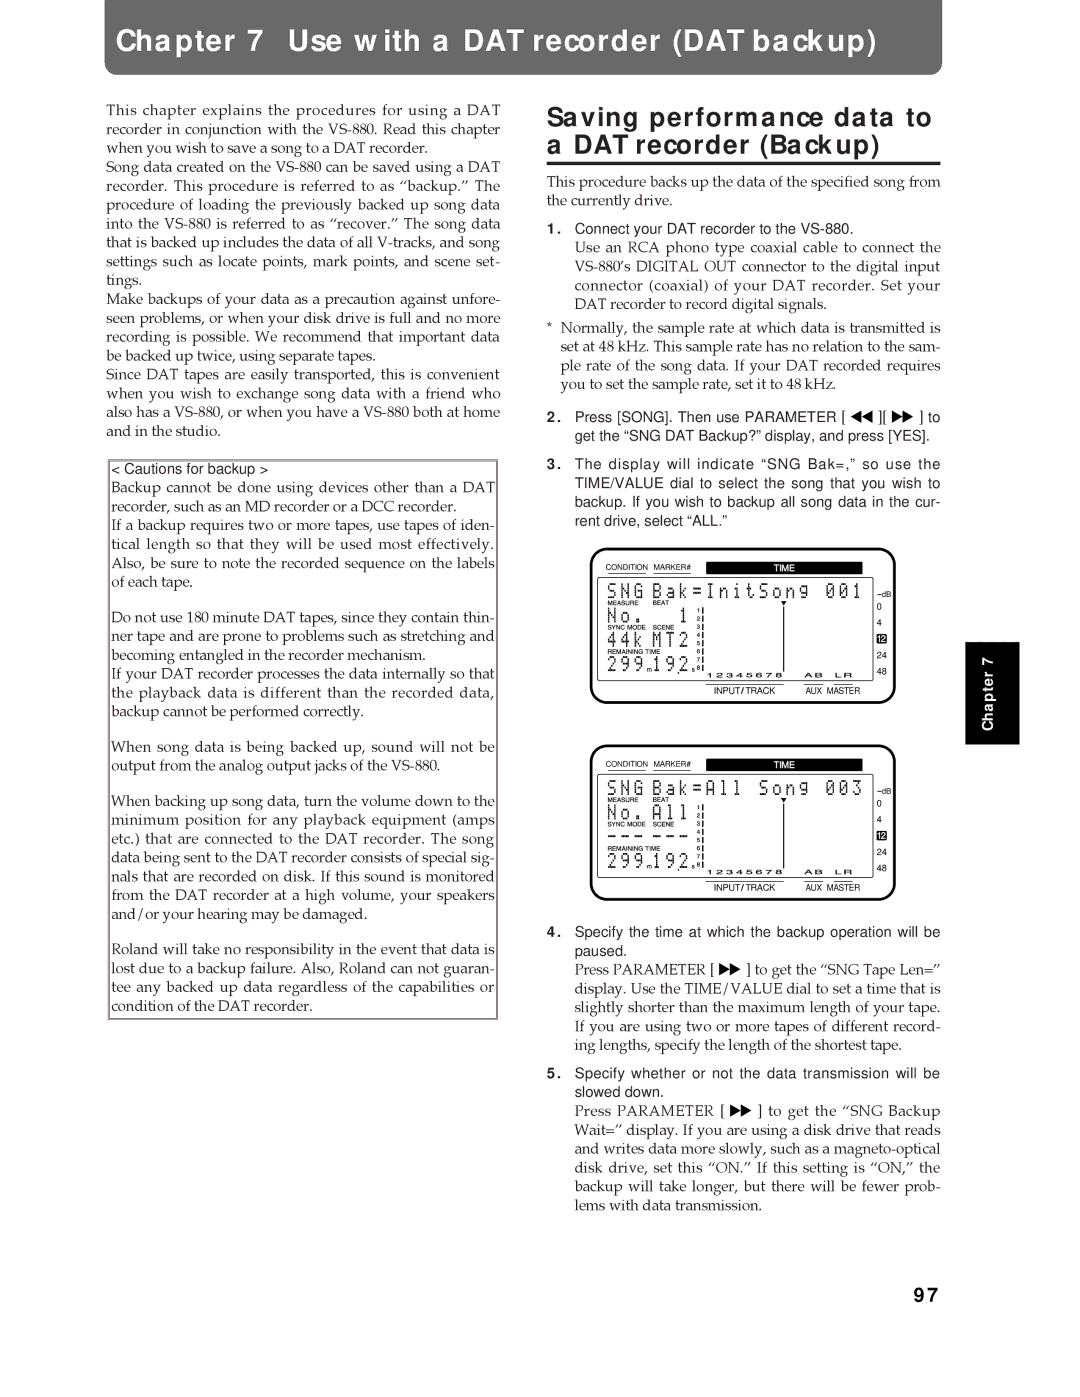
3.The display will indicate “SNG Bak=,” so use the TIME/VALUE dial to select the song that you wish to backup. If you wish to backup all song data in the cur- rent drive, select “ALL.”
CONDITION MARKER# | TIME | ||||
|
|
|
|
|
|
dB
0
4
12
24
48
|
|
|
|
| INPUT TRACK | AUX MASTER |
CONDITION MARKER# | TIME |
| ||||
|
|
|
|
|
|
|
dB
0
4
12
24
48
INPUT TRACK | AUX MASTER |
4.Specify the time at which the backup operation will be paused.
Press PARAMETER [ ![]()
![]() ] to get the ÒSNG Tape Len=Ó display. Use the TIME/VALUE dial to set a time that is slightly shorter than the maximum length of your tape. If you are using two or more tapes of different record- ing lengths, specify the length of the shortest tape.
] to get the ÒSNG Tape Len=Ó display. Use the TIME/VALUE dial to set a time that is slightly shorter than the maximum length of your tape. If you are using two or more tapes of different record- ing lengths, specify the length of the shortest tape.
5.Specify whether or not the data transmission will be slowed down.
Chapter 7
Press PARAMETER [ ![]()
![]() ] to get the ÒSNG Backup Wait=Ó display. If you are using a disk drive that reads and writes data more slowly, such as a
] to get the ÒSNG Backup Wait=Ó display. If you are using a disk drive that reads and writes data more slowly, such as a
97
