Saving the Sprayer Configurations | V1.98 21/06/06 |
|
|
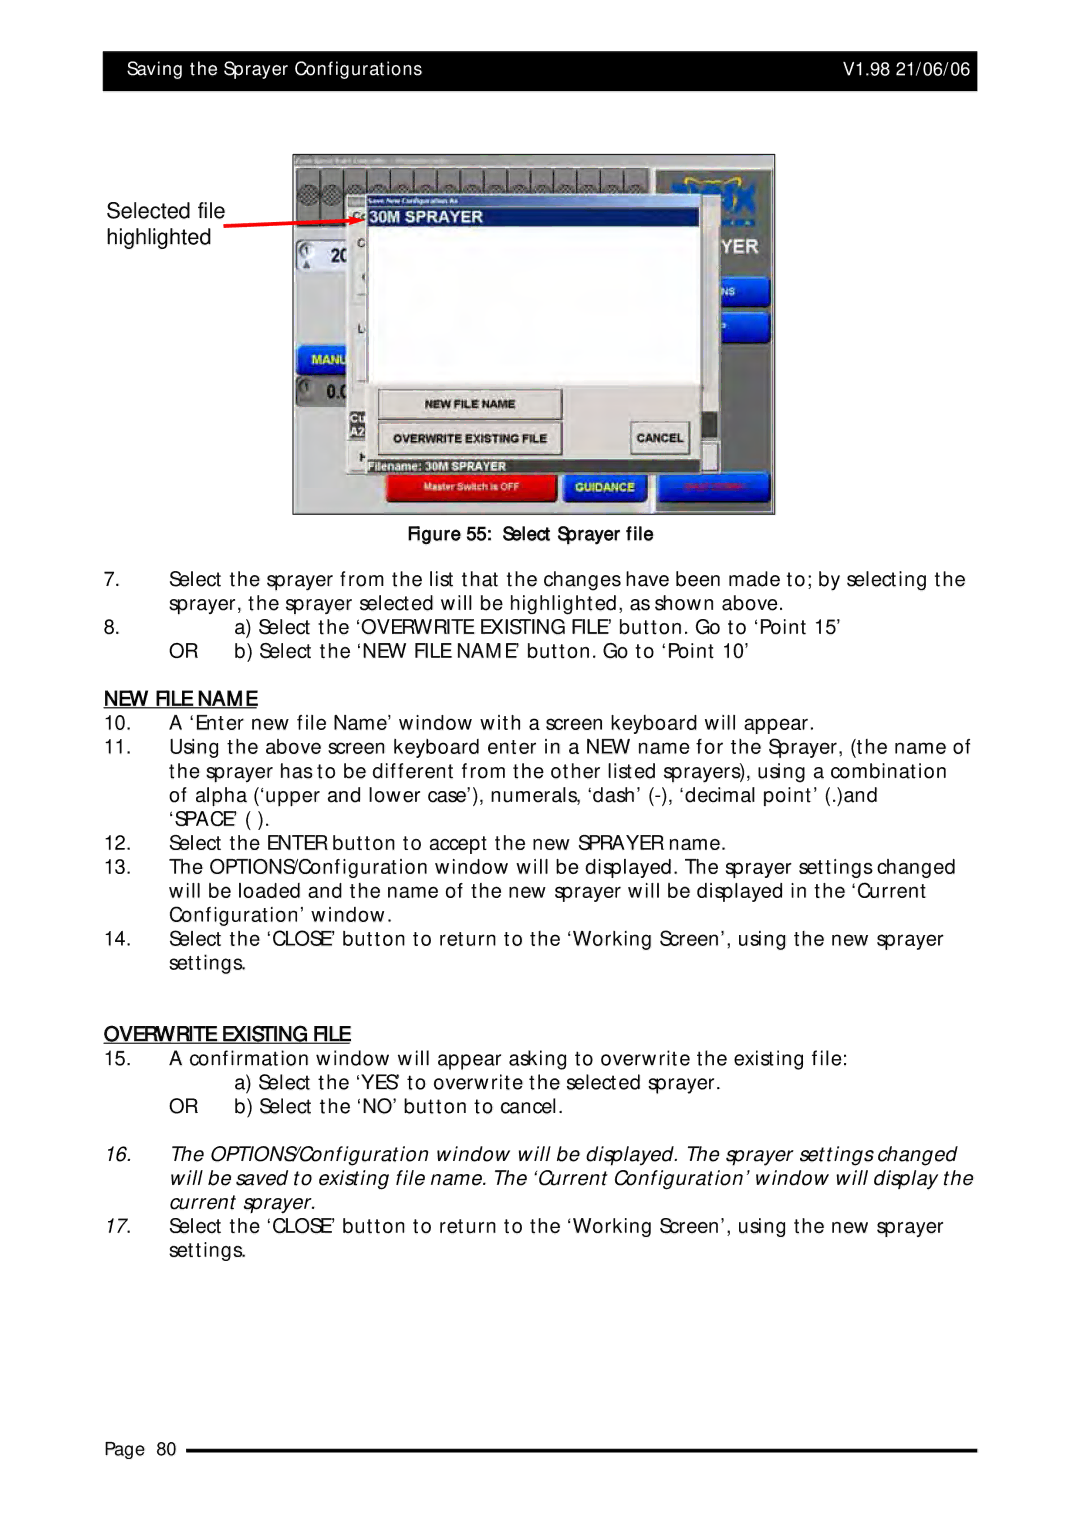
Selected file highlighted
Figure 55: Select Sprayer file
7.Select the sprayer from the list that the changes have been made to; by selecting the sprayer, the sprayer selected will be highlighted, as shown above.
8.a) Select the ‘OVERWRITE EXISTING FILE’ button. Go to ‘Point 15’
OR b) Select the ‘NEW FILE NAME’ button. Go to ‘Point 10’
NEW FILE NAME
10.A ‘Enter new file Name’ window with a screen keyboard will appear.
11.Using the above screen keyboard enter in a NEW name for the Sprayer, (the name of the sprayer has to be different from the other listed sprayers), using a combination of alpha (‘upper and lower case’), numerals, ‘dash’
12.Select the ENTER button to accept the new SPRAYER name.
13.The OPTIONS/Configuration window will be displayed. The sprayer settings changed will be loaded and the name of the new sprayer will be displayed in the ‘Current Configuration’ window.
14.Select the ‘CLOSE’ button to return to the ‘Working Screen’, using the new sprayer settings.
OVERWRITE EXISTING FILE
15.A confirmation window will appear asking to overwrite the existing file:
a)Select the ‘YES’ to overwrite the selected sprayer.
OR | b) Select the ‘NO’ button to cancel. |
16.The OPTIONS/Configuration window will be displayed. The sprayer settings changed will be saved to existing file name. The ‘Current Configuration’ window will display the
current sprayer.
17. Select the ‘CLOSE’ button to return to the ‘Working Screen’, using the new sprayer settings.
Page 80
