•“Upper Left” and “Upper Right” can be selected only when the
•“Center Top” and “Middle Left” can be selected only when the
2.
3.
Set other print options you require and click [OK].
Click [OK] or [Print] to send a print job.
•The output is stapled for each copy.
Punching holes
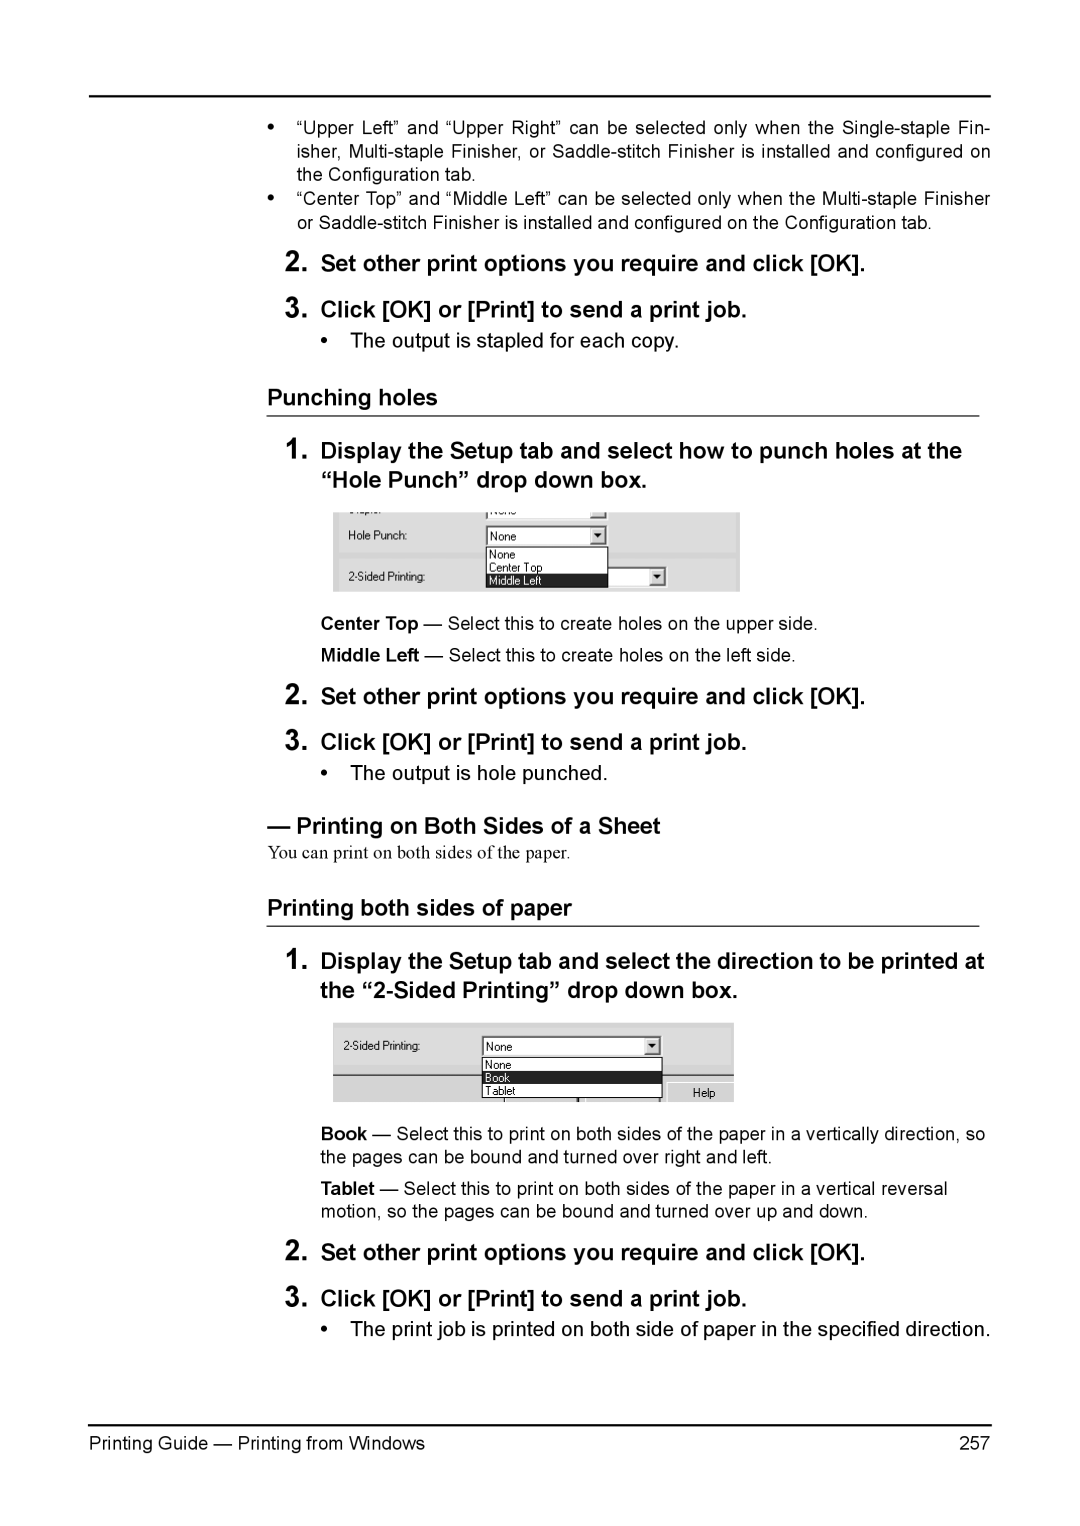
1.Display the Setup tab and select how to punch holes at the “Hole Punch” drop down box.
Center Top — Select this to create holes on the upper side.
Middle Left — Select this to create holes on the left side.
2.
3.
Set other print options you require and click [OK].
Click [OK] or [Print] to send a print job.
•The output is hole punched.
— Printing on Both Sides of a Sheet
You can print on both sides of the paper.
Printing both sides of paper
1.Display the Setup tab and select the direction to be printed at the
Book — Select this to print on both sides of the paper in a vertically direction, so the pages can be bound and turned over right and left.
Tablet — Select this to print on both sides of the paper in a vertical reversal motion, so the pages can be bound and turned over up and down.
2.
3.
Set other print options you require and click [OK].
Click [OK] or [Print] to send a print job.
•The print job is printed on both side of paper in the specified direction.
Printing Guide — Printing from Windows | 257 |