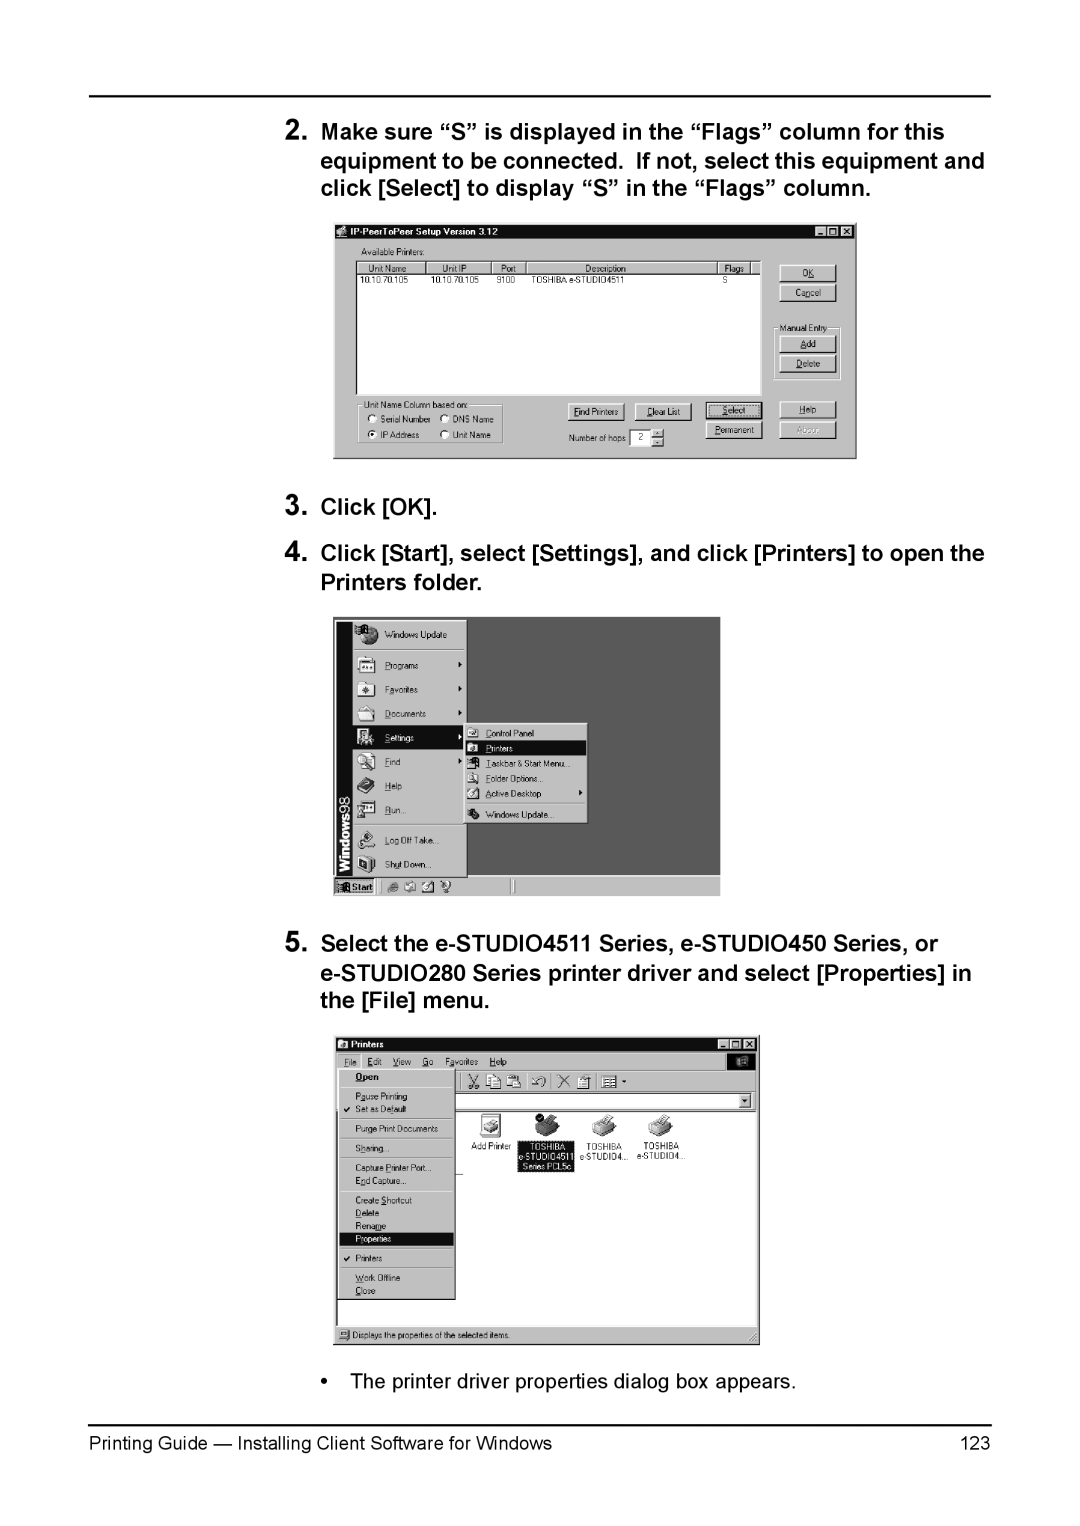
2.Make sure “S” is displayed in the “Flags” column for this equipment to be connected. If not, select this equipment and click [Select] to display “S” in the “Flags” column.
3.
4.
5.
Click [OK].
Click [Start], select [Settings], and click [Printers] to open the Printers folder.
Select the
•The printer driver properties dialog box appears.
Printing Guide — Installing Client Software for Windows | 123 |