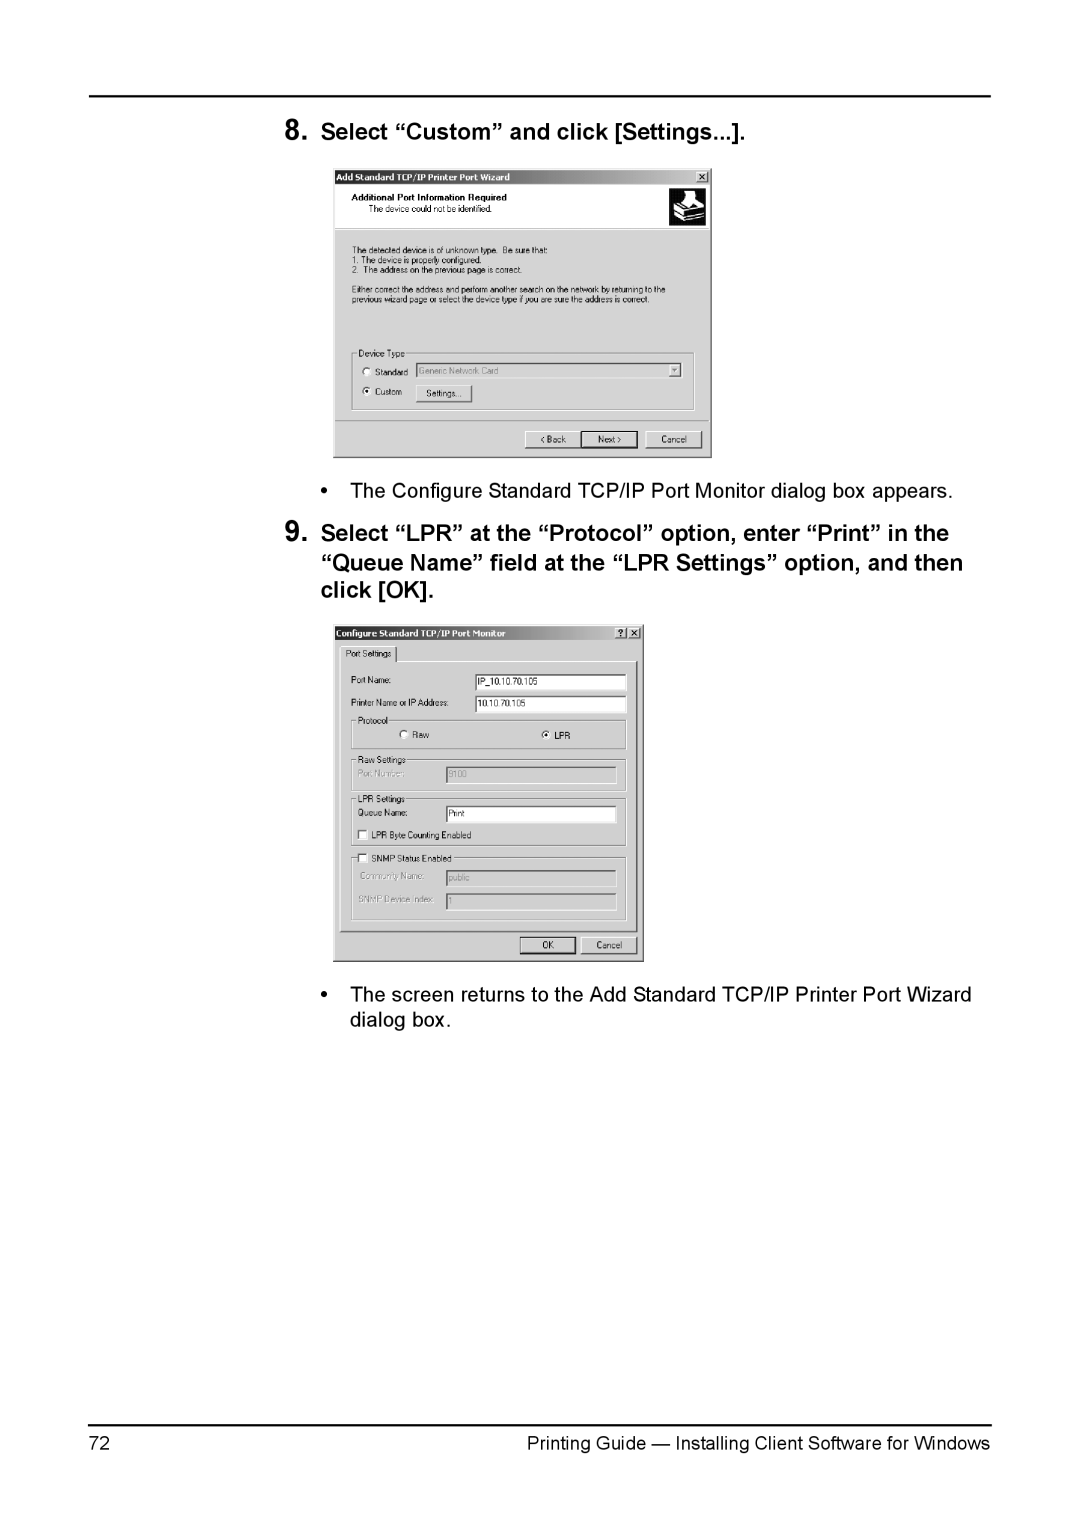
8.Select “Custom” and click [Settings...].
• The Configure Standard TCP/IP Port Monitor dialog box appears.
9.Select “LPR” at the “Protocol” option, enter “Print” in the “Queue Name” field at the “LPR Settings” option, and then click [OK].
•The screen returns to the Add Standard TCP/IP Printer Port Wizard dialog box.
72 | Printing Guide — Installing Client Software for Windows |