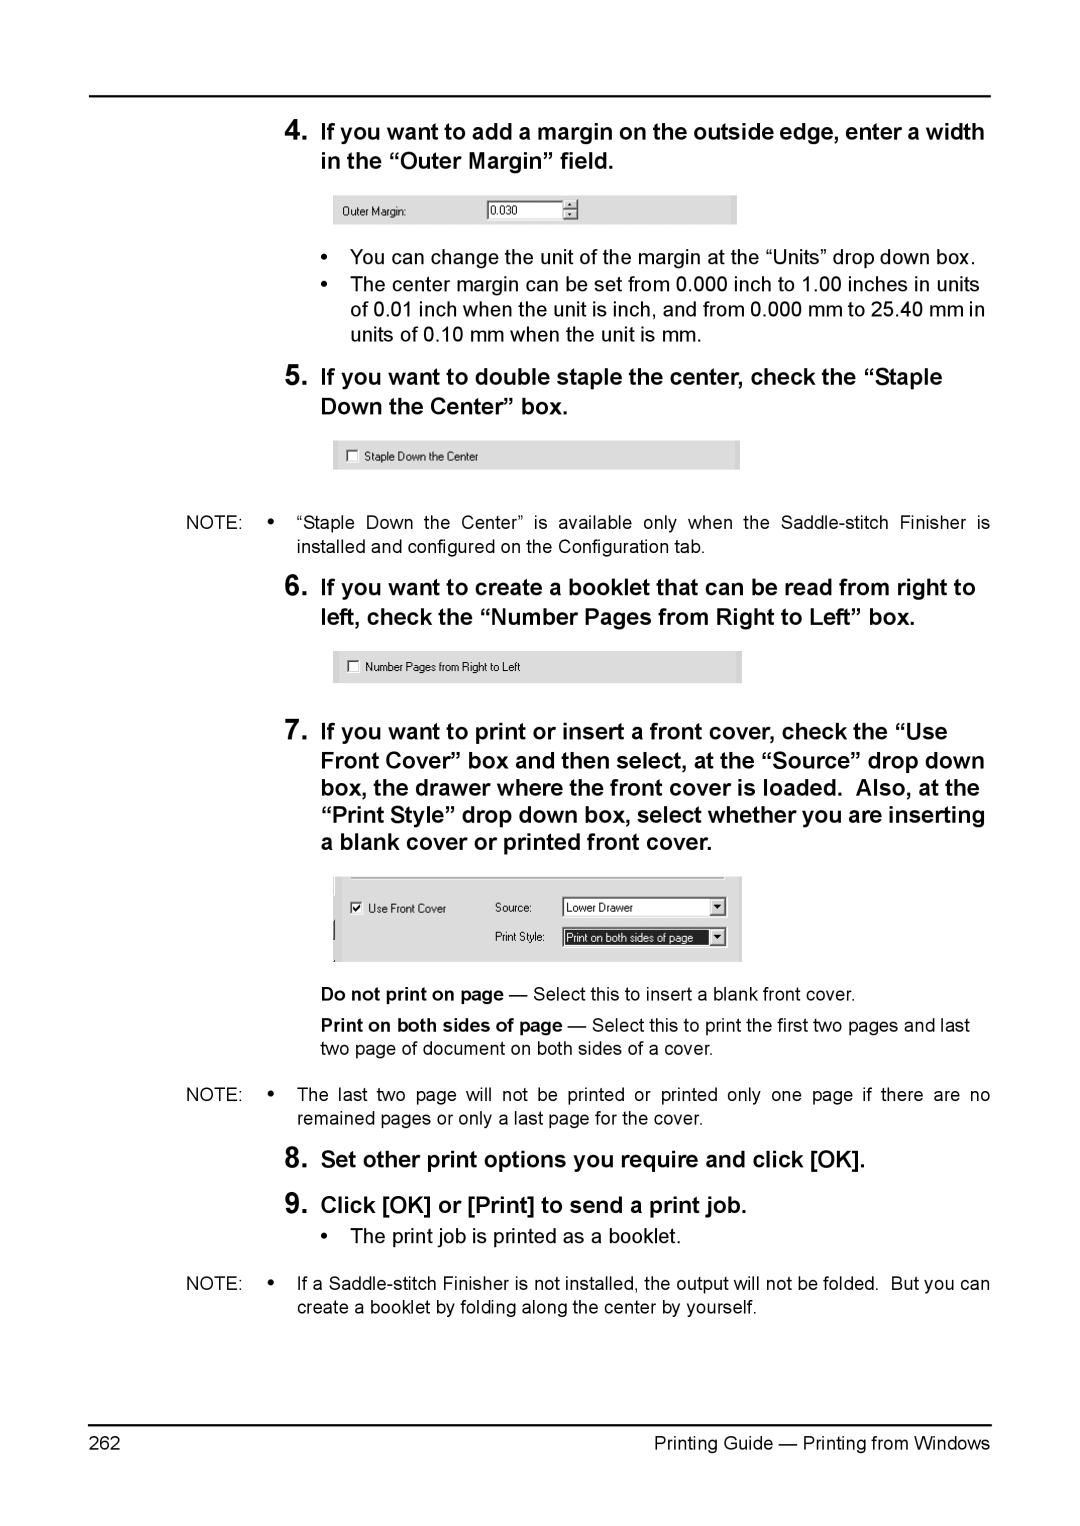
4.If you want to add a margin on the outside edge, enter a width in the “Outer Margin” field.
•You can change the unit of the margin at the “Units” drop down box.
•The center margin can be set from 0.000 inch to 1.00 inches in units of 0.01 inch when the unit is inch, and from 0.000 mm to 25.40 mm in units of 0.10 mm when the unit is mm.
5.If you want to double staple the center, check the “Staple Down the Center” box.
NOTE: • “Staple Down the Center” is available only when the
6.
7.
If you want to create a booklet that can be read from right to left, check the “Number Pages from Right to Left” box.
If you want to print or insert a front cover, check the “Use
Front Cover” box and then select, at the “Source” drop down box, the drawer where the front cover is loaded. Also, at the “Print Style” drop down box, select whether you are inserting a blank cover or printed front cover.
Do not print on page — Select this to insert a blank front cover.
Print on both sides of page — Select this to print the first two pages and last two page of document on both sides of a cover.
NOTE: • The last two page will not be printed or printed only one page if there are no remained pages or only a last page for the cover.
8.
9.
Set other print options you require and click [OK].
Click [OK] or [Print] to send a print job.
•The print job is printed as a booklet.
NOTE: • If a
262 | Printing Guide — Printing from Windows |