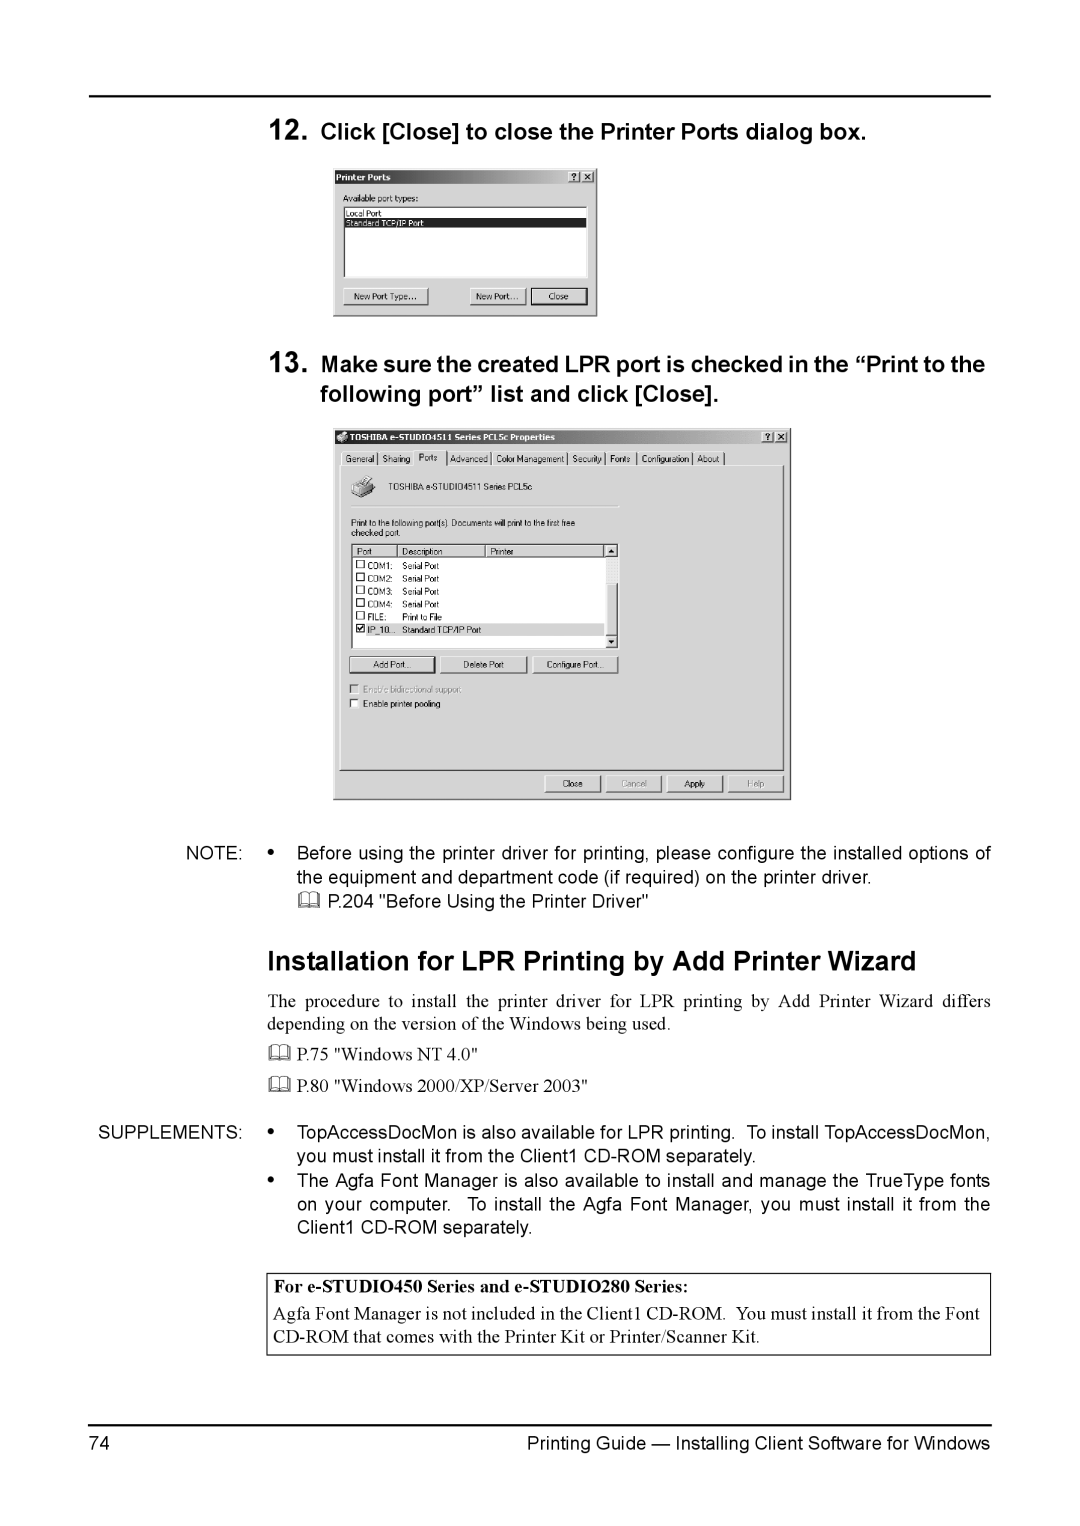
12.Click [Close] to close the Printer Ports dialog box.
13.Make sure the created LPR port is checked in the “Print to the following port” list and click [Close].
NOTE: • Before using the printer driver for printing, please configure the installed options of the equipment and department code (if required) on the printer driver.
P.204 "Before Using the Printer Driver"
Installation for LPR Printing by Add Printer Wizard
The procedure to install the printer driver for LPR printing by Add Printer Wizard differs depending on the version of the Windows being used.
P.75 "Windows NT 4.0"
P.80 "Windows 2000/XP/Server 2003"
SUPPLEMENTS: • TopAccessDocMon is also available for LPR printing. To install TopAccessDocMon, you must install it from the Client1
•The Agfa Font Manager is also available to install and manage the TrueType fonts on your computer. To install the Agfa Font Manager, you must install it from the Client1
For e-STUDIO450 Series and e-STUDIO280 Series:
Agfa Font Manager is not included in the Client1
74 | Printing Guide — Installing Client Software for Windows |
