42 en Installing Roof Parapet and Pipe Mounts |
|
|
| AutoDome 800 Series HD PTZ Camera |
| ||||||
|
|
|
|
|
|
|
|
|
|
|
|
|
|
|
|
|
|
|
|
|
|
|
|
|
| No. |
| Connector | Pin 1 | Pin 2 | Pin 3 | Pin 4 | Pin 5 | Pin 6 |
|
|
|
|
|
|
|
|
|
|
|
|
|
|
|
|
| Ground | Grounding Screw |
|
|
|
|
| |
|
|
|
|
|
|
|
|
|
|
|
|
|
| P101 |
| 115/230 VAC or | Line | NC | Neutral |
|
|
|
|
|
|
|
| 24 VAC Power In |
|
|
|
|
|
|
|
|
|
|
|
|
|
|
|
|
|
|
|
|
| P105 |
| Data/Audio | Audio | Audio | Earth | Not Used |
|
|
|
|
|
|
|
|
|
| Ground |
|
|
|
|
|
|
|
|
|
|
|
|
|
|
|
|
|
| P106 |
| Not Used |
|
|
|
|
|
|
|
|
|
|
|
|
|
|
|
|
|
|
|
|
| P107 |
| 24 VAC Power | Dome | Dome | Earth | Heater | Heater |
|
|
|
|
|
| (Arm Harness) | 24 VAC | 24 VAC | Ground | (24 VAC) | (24 VAC) |
|
|
|
|
|
|
|
|
|
|
|
|
|
|
|
| Table 3.1 | Power Supply Box Connections |
|
|
|
|
|
| ||
3.5 | Installing the |
|
|
| |||||||
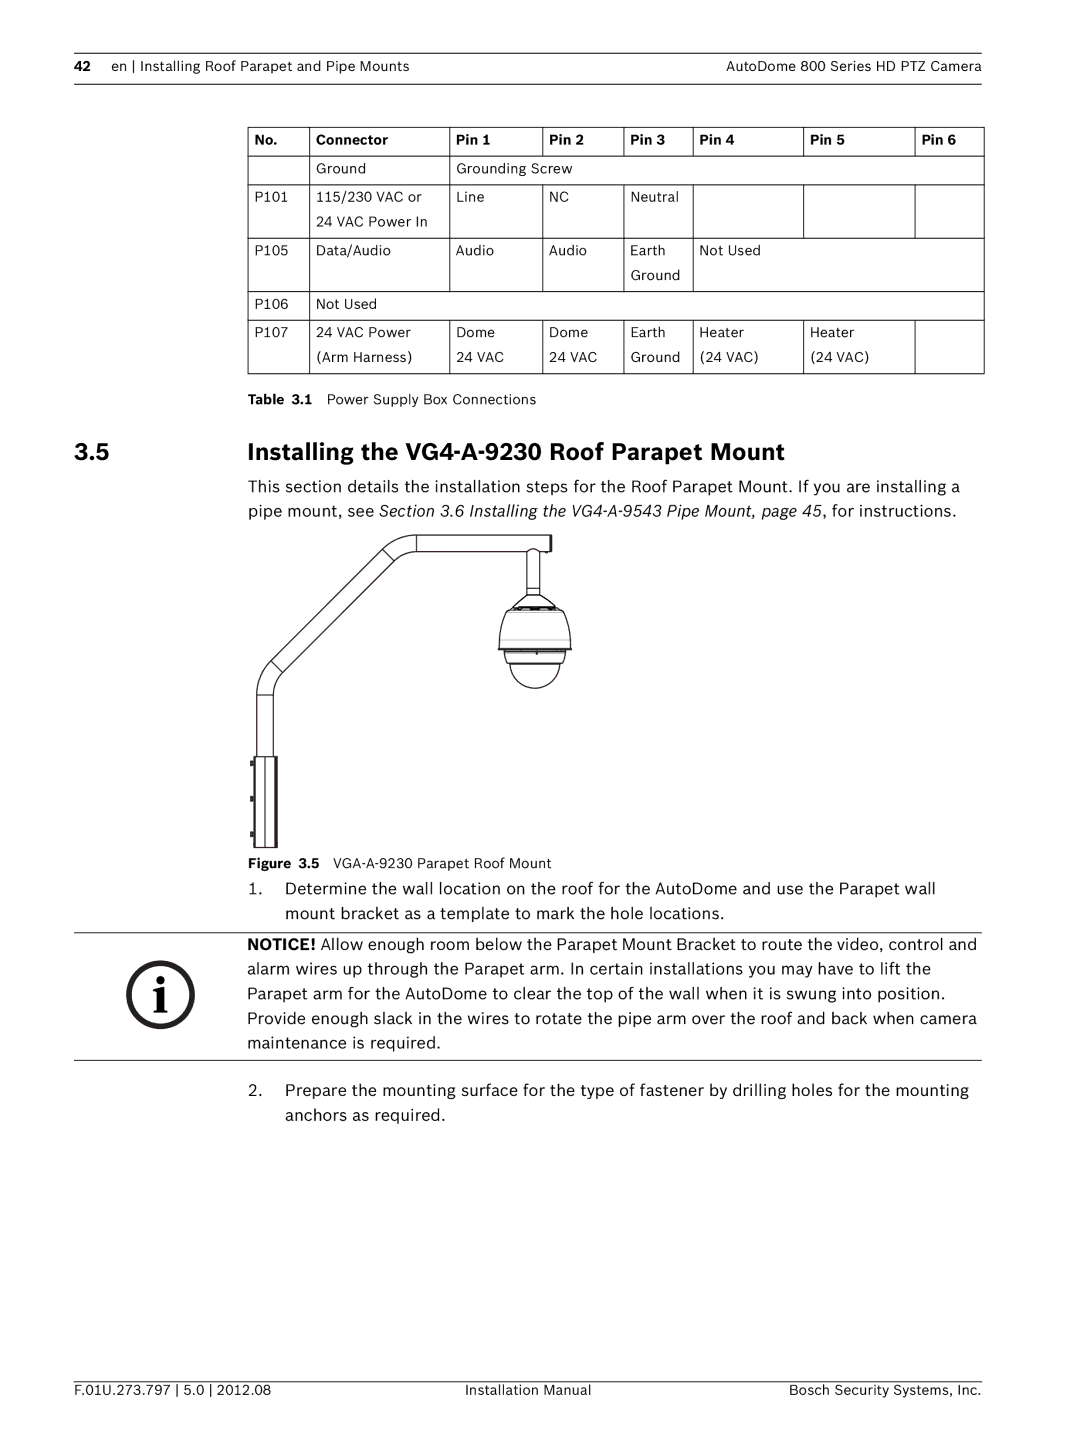
This section details the installation steps for the Roof Parapet Mount. If you are installing a pipe mount, see Section 3.6 Installing the
Figure 3.5 VGA-A-9230 Parapet Roof Mount
1.Determine the wall location on the roof for the AutoDome and use the Parapet wall mount bracket as a template to mark the hole locations.
NOTICE! Allow enough room below the Parapet Mount Bracket to route the video, control and alarm wires up through the Parapet arm. In certain installations you may have to lift the Parapet arm for the AutoDome to clear the top of the wall when it is swung into position. Provide enough slack in the wires to rotate the pipe arm over the roof and back when camera maintenance is required.
2.Prepare the mounting surface for the type of fastener by drilling holes for the mounting anchors as required.
F.01U.273.797 5.0 2012.08 | Installation Manual | Bosch Security Systems, Inc. |
