AutoDome 800 Series HD PTZ Camera |
|
|
|
|
|
|
|
|
|
|
|
|
|
| Installing Roof Parapet and Pipe Mounts en 35 | ||||||||||
|
|
|
|
|
|
|
|
|
|
|
|
|
|
|
|
|
|
|
|
|
|
|
|
|
|
|
|
|
|
|
|
|
|
|
|
|
|
|
|
|
|
|
|
|
|
|
|
|
|
|
|
|
|
|
|
|
|
|
|
|
|
|
|
|
|
|
|
|
|
|
|
|
|
|
|
|
|
|
|
|
|
|
|
|
|
|
|
|
|
|
|
|
|
|
|
|
|
|
|
|
|
|
|
|
|
|
|
|
|
|
|
|
|
|
|
|
|
|
|
|
|
|
|
|
|
|
|
|
|
|
|
|
|
|
|
|
|
|
|
|
|
|
|
|
|
|
|
|
|
|
|
|
|
|
|
|
|
|
|
|
|
|
|
|
|
|
|
|
|
|
|
|
|
|
|
|
|
|
|
|
|
|
|
|
|
|
|
|
|
|
|
|
|
|
|
|
|
|
|
|
|
|
|
|
|
|
|
|
|
|
|
|
|
|
|
|
|
|
|
|
|
|
|
|
|
|
|
|
|
|
|
|
|
|
|
|
|
|
|
|
|
|
|
|
|
|
|
|
|
|
|
|
|
|
|
|
|
|
|
|
|
|
|
|
|
|
|
|
|
|
|
|
|
|
|
|
|
|
|
|
|
|
|
|
|
|
|
|
|
|
|
|
|
|
|
|
|
|
|
|
|
|
|
|
|
|
|
|
|
|
|
|
|
|
|
|
|
|
|
|
|
|
|
|
|
|
|
|
|
|
|
|
|
|
|
|
|
|
|
|
|
|
|
|
|
|
|
|
|
|
|
|
|
|
|
|
|
|
|
|
|
|
|
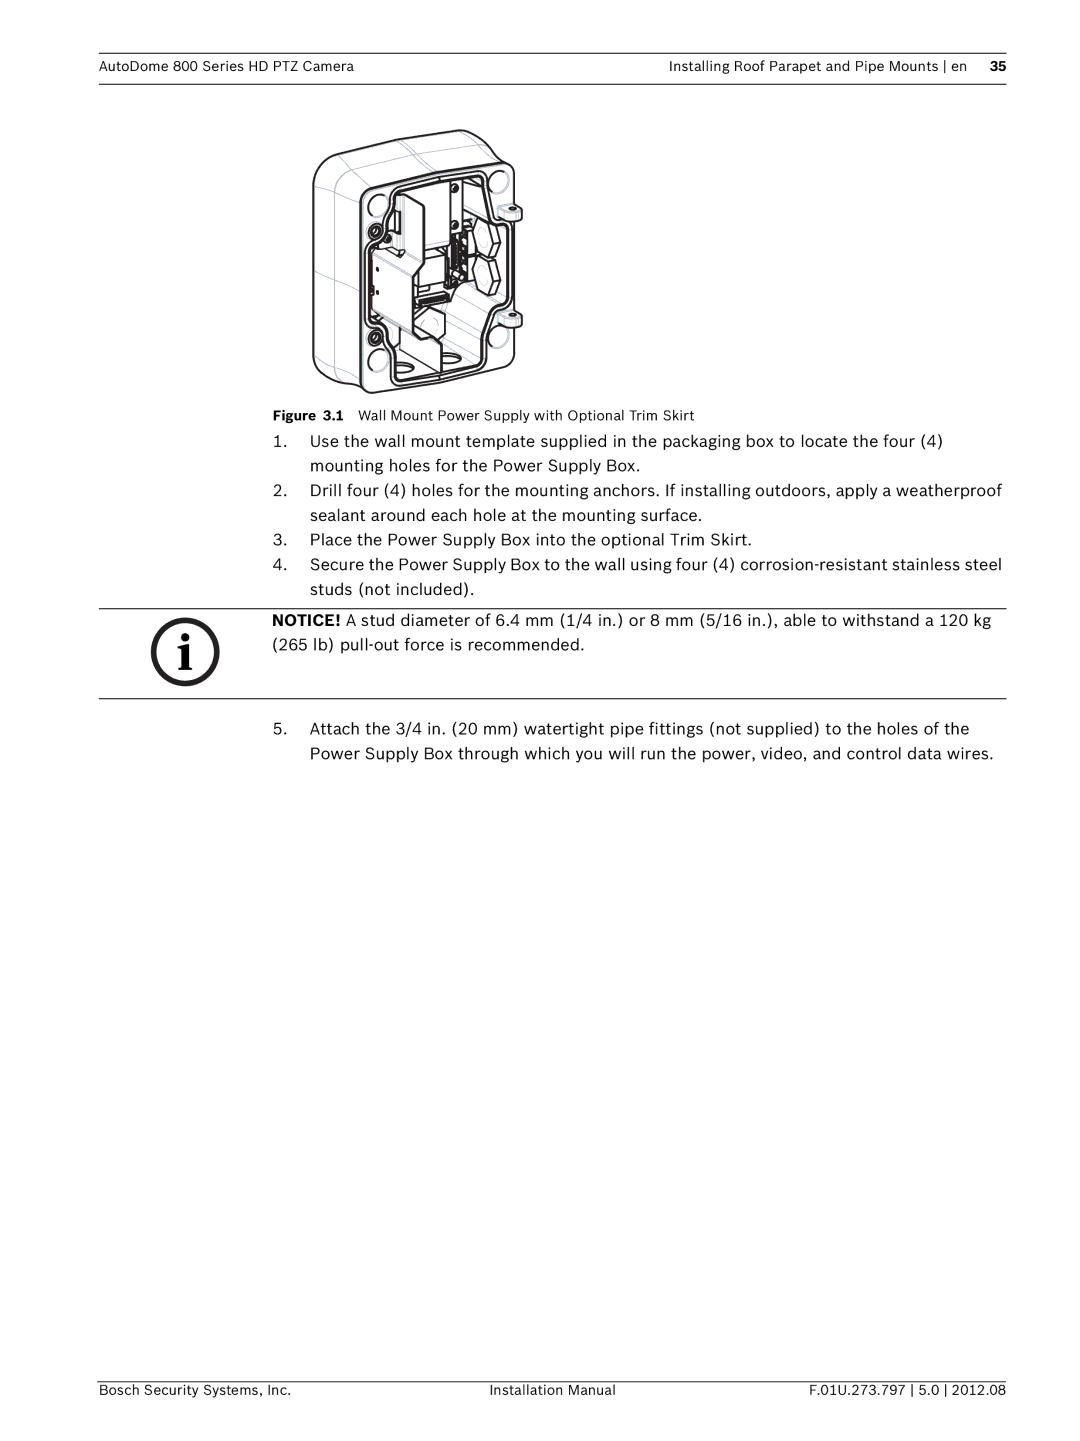
Figure 3.1 Wall Mount Power Supply with Optional Trim Skirt
1.Use the wall mount template supplied in the packaging box to locate the four (4) mounting holes for the Power Supply Box.
2.Drill four (4) holes for the mounting anchors. If installing outdoors, apply a weatherproof sealant around each hole at the mounting surface.
3.Place the Power Supply Box into the optional Trim Skirt.
4.Secure the Power Supply Box to the wall using four (4)
NOTICE! A stud diameter of 6.4 mm (1/4 in.) or 8 mm (5/16 in.), able to withstand a 120 kg (265 lb)
5.Attach the 3/4 in. (20 mm) watertight pipe fittings (not supplied) to the holes of the Power Supply Box through which you will run the power, video, and control data wires.
Bosch Security Systems, Inc. | Installation Manual | F.01U.273.797 5.0 2012.08 |