116
| CHAPTER 13 |
USING TITLES
In Chapter 3, Installing the
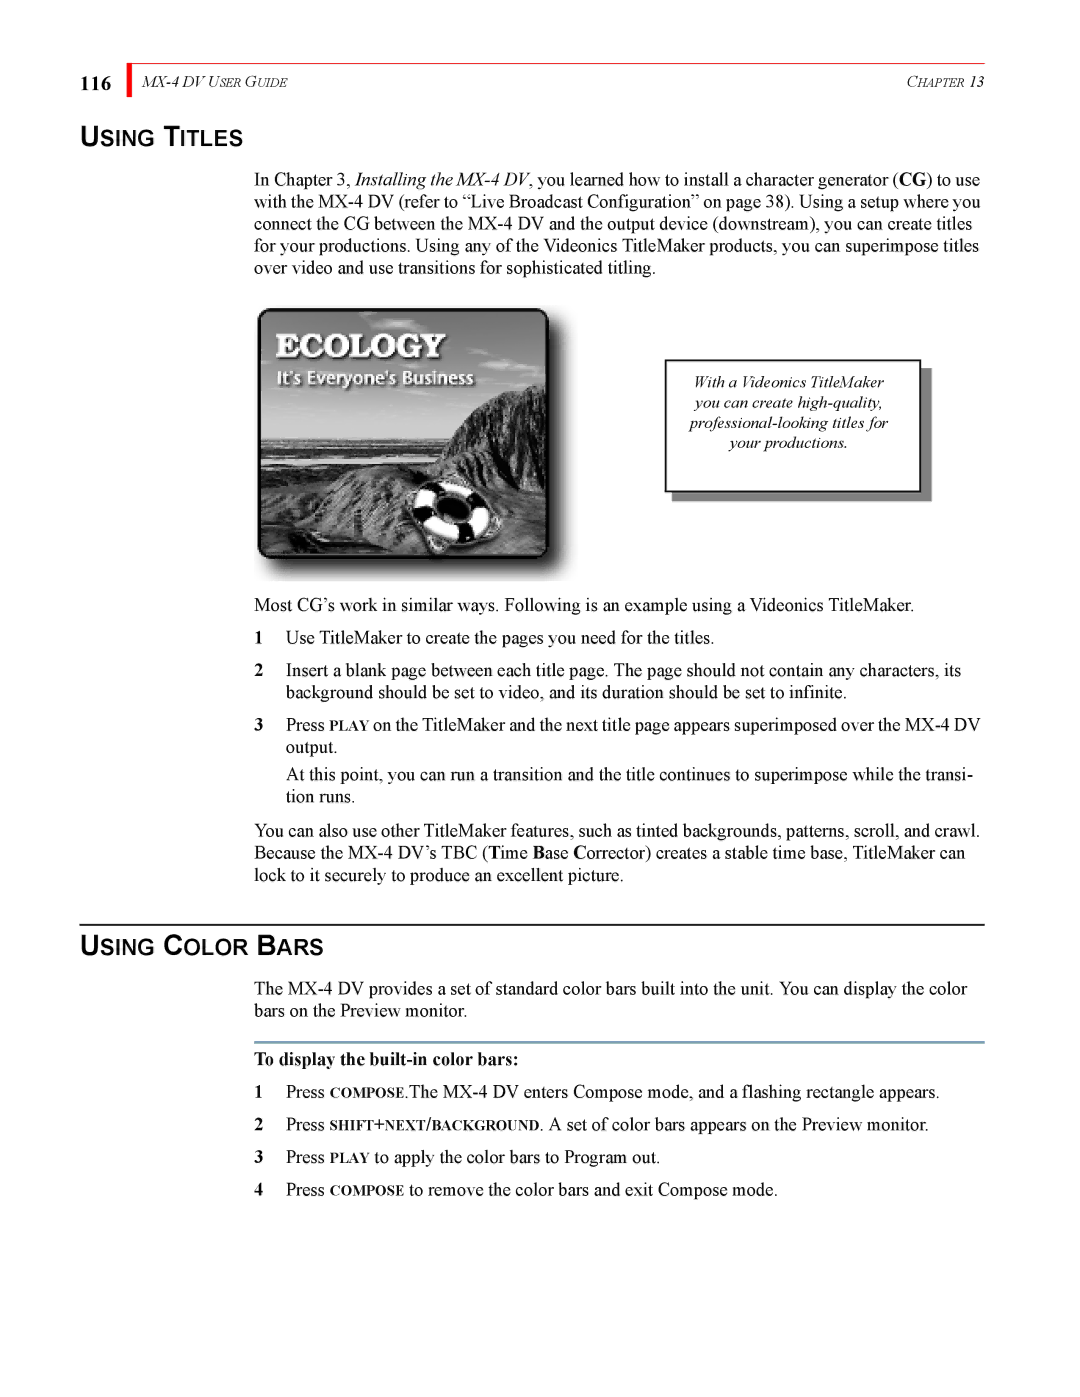
With a Videonics TitleMaker you can create
Most CG’s work in similar ways. Following is an example using a Videonics TitleMaker.
1Use TitleMaker to create the pages you need for the titles.
2Insert a blank page between each title page. The page should not contain any characters, its background should be set to video, and its duration should be set to infinite.
3Press PLAY on the TitleMaker and the next title page appears superimposed over the
At this point, you can run a transition and the title continues to superimpose while the transi- tion runs.
You can also use other TitleMaker features, such as tinted backgrounds, patterns, scroll, and crawl. Because the
USING COLOR BARS
The
To display the built-in color bars:
1Press COMPOSE.The
2Press SHIFT+NEXT/BACKGROUND. A set of color bars appears on the Preview monitor.
3Press PLAY to apply the color bars to Program out.
4Press COMPOSE to remove the color bars and exit Compose mode.
