VR800 Owner’s manual (Punch In/Out Recording)
Punch In/Out Recording
What is Punch In/Out recording?
Punch In/Out recording enables you to record over
The VR800 offers two types of Punch In/Out functions. One is called Auto Punch In/Out, in which you automatically
Both functions feature “Rehearsal mode” to enable you to practice repeatedly until you are ready.
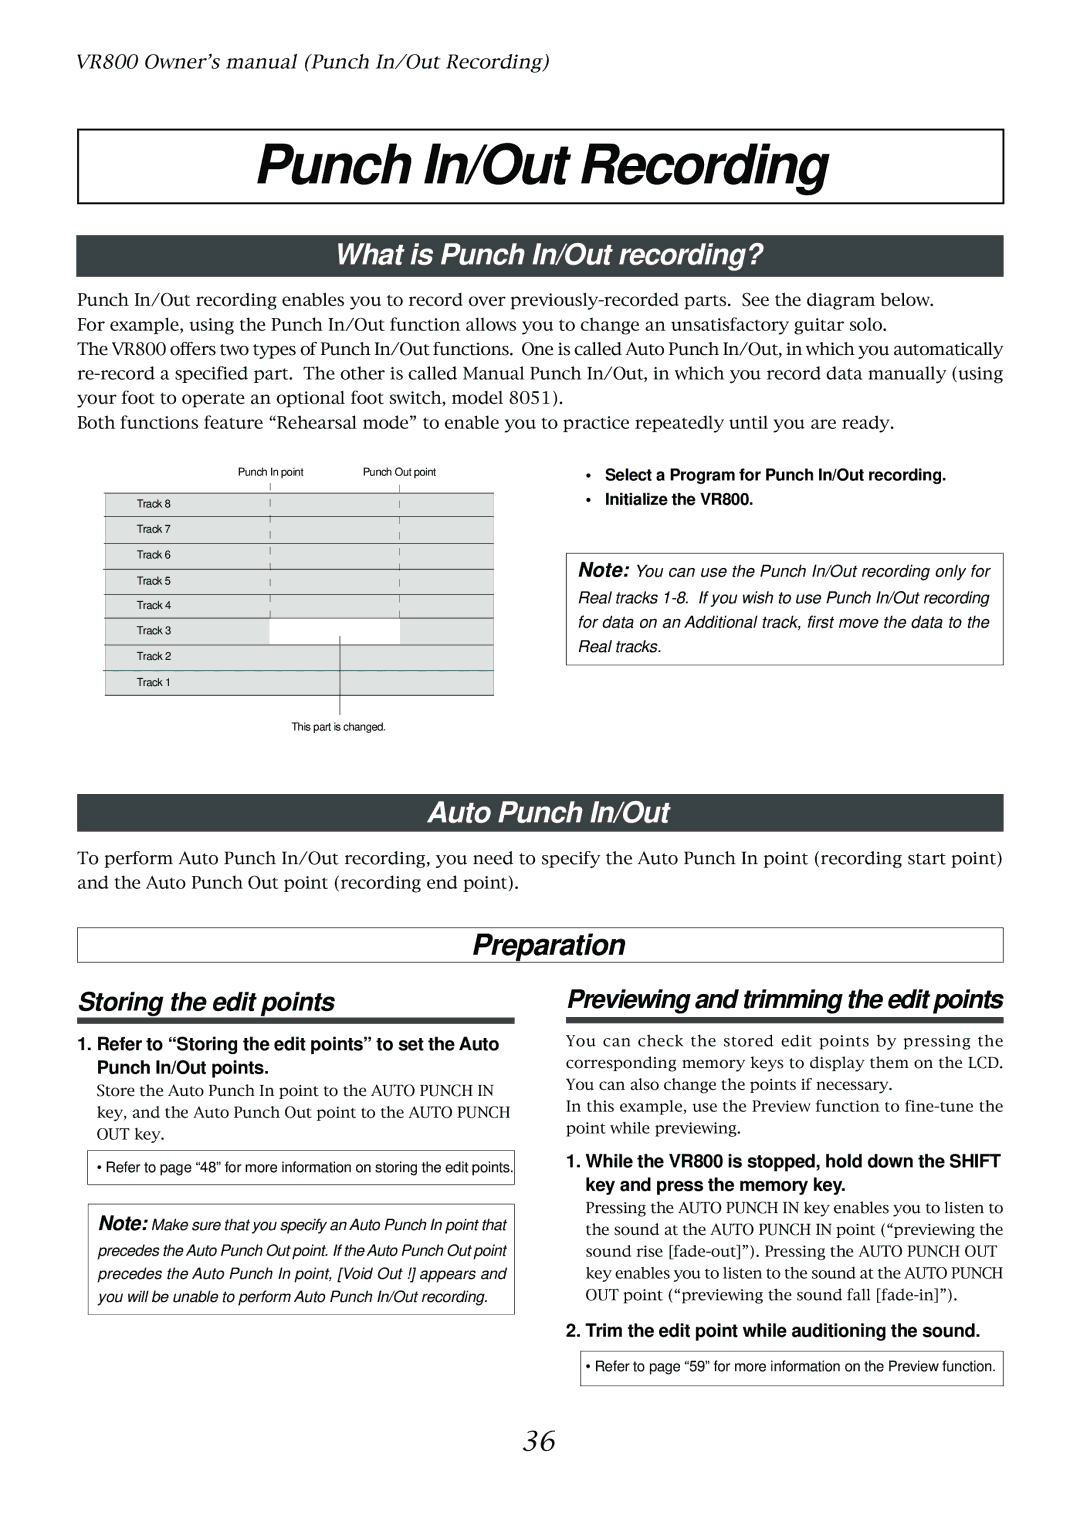
Punch In point | Punch Out point |
Track 8
Track 7
Track 6
Track 5
Track 4
Track 3
Track 2
Track 1
•Select a Program for Punch In/Out recording.
•Initialize the VR800.
Note: You can use the Punch In/Out recording only for Real tracks
This part is changed.
Auto Punch In/Out
To perform Auto Punch In/Out recording, you need to specify the Auto Punch In point (recording start point) and the Auto Punch Out point (recording end point).
Preparation
Storing the edit points
1. Refer to “Storing the edit points” to set the Auto Punch In/Out points.
Store the Auto Punch In point to the AUTO PUNCH IN key, and the Auto Punch Out point to the AUTO PUNCH OUT key.
• Refer to page “48” for more information on storing the edit points.
Note: Make sure that you specify an Auto Punch In point that precedes the Auto Punch Out point. If the Auto Punch Out point precedes the Auto Punch In point, [Void Out !] appears and you will be unable to perform Auto Punch In/Out recording.
Previewing and trimming the edit points
You can check the stored edit points by pressing the corresponding memory keys to display them on the LCD. You can also change the points if necessary.
In this example, use the Preview function to
1. While the VR800 is stopped, hold down the SHIFT key and press the memory key.
Pressing the AUTO PUNCH IN key enables you to listen to the sound at the AUTO PUNCH IN point (“previewing the sound rise
2.Trim the edit point while auditioning the sound.
• Refer to page “59” for more information on the Preview function.
36