VR800 Owner’s Manual (MIDI Synchronization)
External MIDI equipment sync system by the slave mode
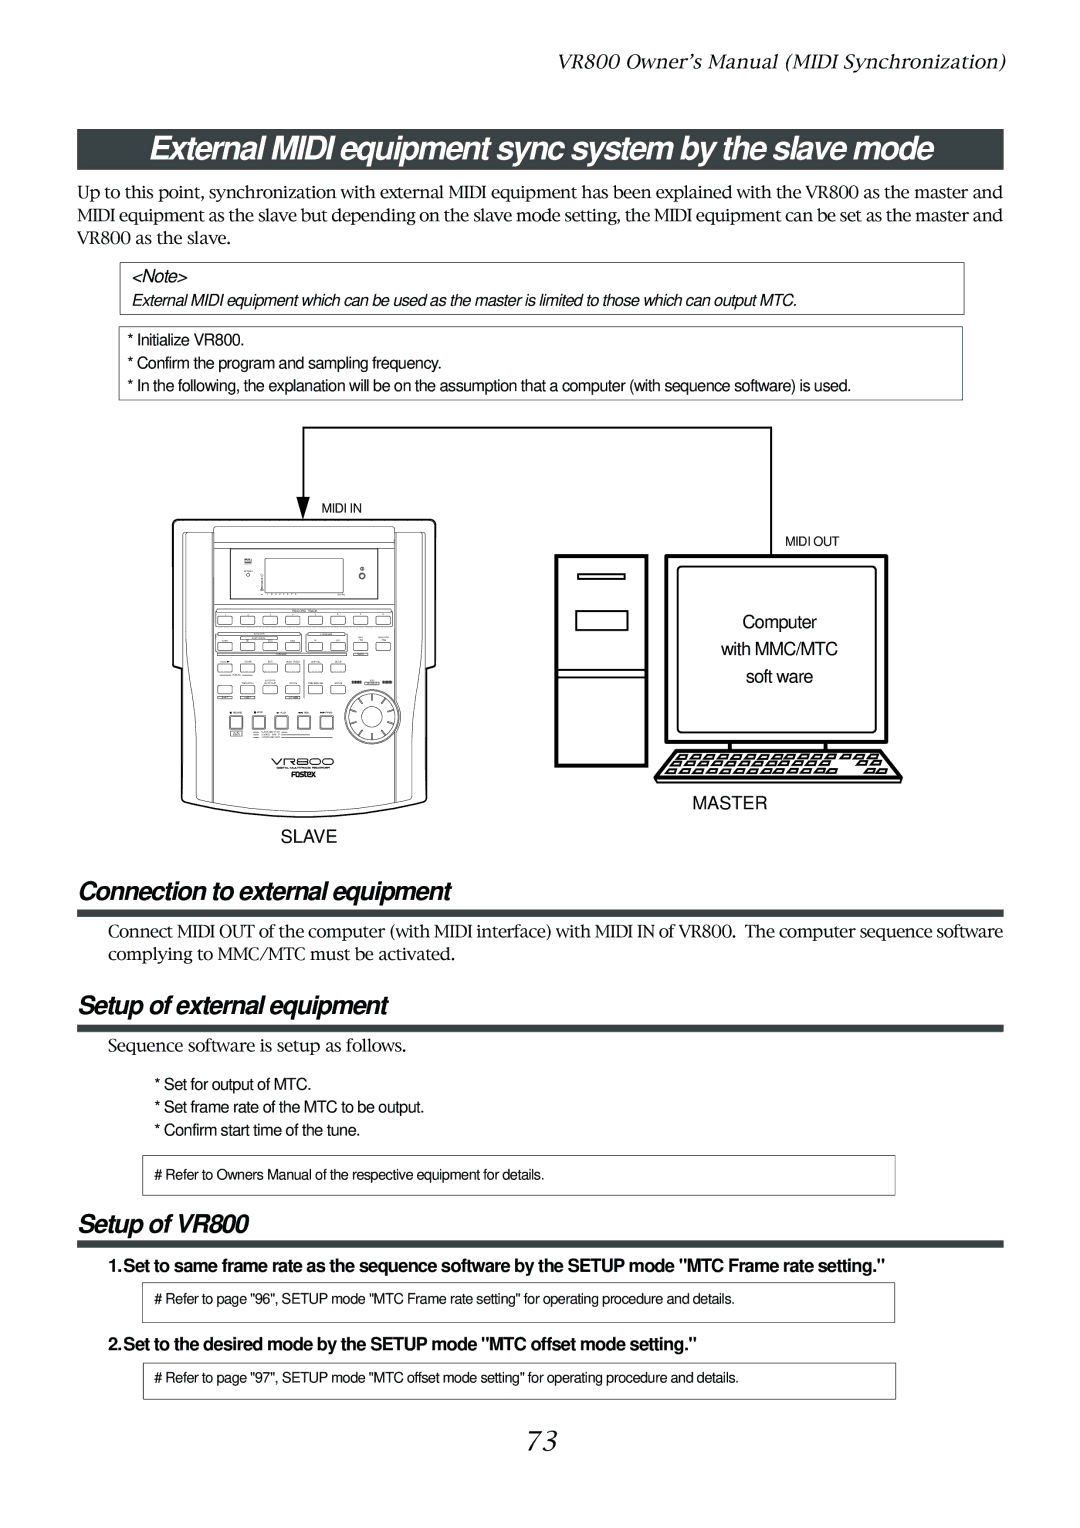
Up to this point, synchronization with external MIDI equipment has been explained with the VR800 as the master and MIDI equipment as the slave but depending on the slave mode setting, the MIDI equipment can be set as the master and VR800 as the slave.
<Note>
External MIDI equipment which can be used as the master is limited to those which can output MTC.
*Initialize VR800.
*Confirm the program and sampling frequency.
*In the following, the explanation will be on the assumption that a computer (with sequence software) is used.
|
|
|
|
| MIDI IN |
| ||
| ACCESS |
|
|
|
|
|
|
|
|
| OL |
|
|
|
|
|
|
|
| 0 |
|
|
|
|
|
|
|
| 6 |
|
|
|
|
|
|
|
| 12 |
|
|
|
|
|
|
|
| 24 |
|
|
|
|
|
|
|
| 1 | 2 3 | 4 5 6 7 8 |
| A SYNC |
|
|
|
|
|
| RECORD TRACK |
|
|
| |
1 | 2 |
| 3 | 4 | 5 | 6 | 7 | 8 |
|
| AUTO RTN |
|
| CLIPBOARD |
|
| |
| AUTO PUNCH |
|
|
|
| EXIT | EXECUTE | |
START | IN | OUT | END | IN | OUT | / NO | / YES | |
|
|
|
| PREVIEW |
|
| EJECT |
|
HOLD/ | STORE | EDIT | UNDO / REDO | DISP SEL | SETUP |
|
| |
PGM SEL |
|
|
|
|
|
|
|
|
|
| AUTO RTN |
|
|
|
| JOG | |
| VARI PITCH | AUTO PLAY | LOCATE | TIME BASE SEL | SCRUB |
| SHUTTLE | |
SHIFT | P.EDIT |
|
| LOC MEM |
|
|
|
|
RECORD |
| STOP |
| PLAY | REW | F FWD |
|
|
AUTO |
| CLIPBOARD PLAY |
|
|
|
| ||
PUNCH |
| LOCATE | ABS | 0 |
|
|
|
|
LOCATE REC END
SLAVE
MIDI OUT
Computer
with MMC/MTC
soft ware
MASTER
Connection to external equipment
Connect MIDI OUT of the computer (with MIDI interface) with MIDI IN of VR800. The computer sequence software complying to MMC/MTC must be activated.
Setup of external equipment
Sequence software is setup as follows.
*Set for output of MTC.
*Set frame rate of the MTC to be output.
*Confirm start time of the tune.
# Refer to Owners Manual of the respective equipment for details.
Setup of VR800
1.Set to same frame rate as the sequence software by the SETUP mode "MTC Frame rate setting."
# Refer to page "96", SETUP mode "MTC Frame rate setting" for operating procedure and details.
2.Set to the desired mode by the SETUP mode "MTC offset mode setting."
# Refer to page "97", SETUP mode "MTC offset mode setting" for operating procedure and details.
73
