VR800 Owner’s Manual (Digital Recording)
Digital Recording
Digital recording from an external digital device
This section explains how to record digital data from a device equipped with S/P DIF digital in/out (CD, MD, DAT, etc.) or a device equipped with adat digital in/out.
To record S/P DIF digital signal or adat digital signal, use the “Setting input tracks” menu in SETUP mode to assign the input track. You can record digital data to the current program. The digital input track setting is applied to all programs.
< Note >
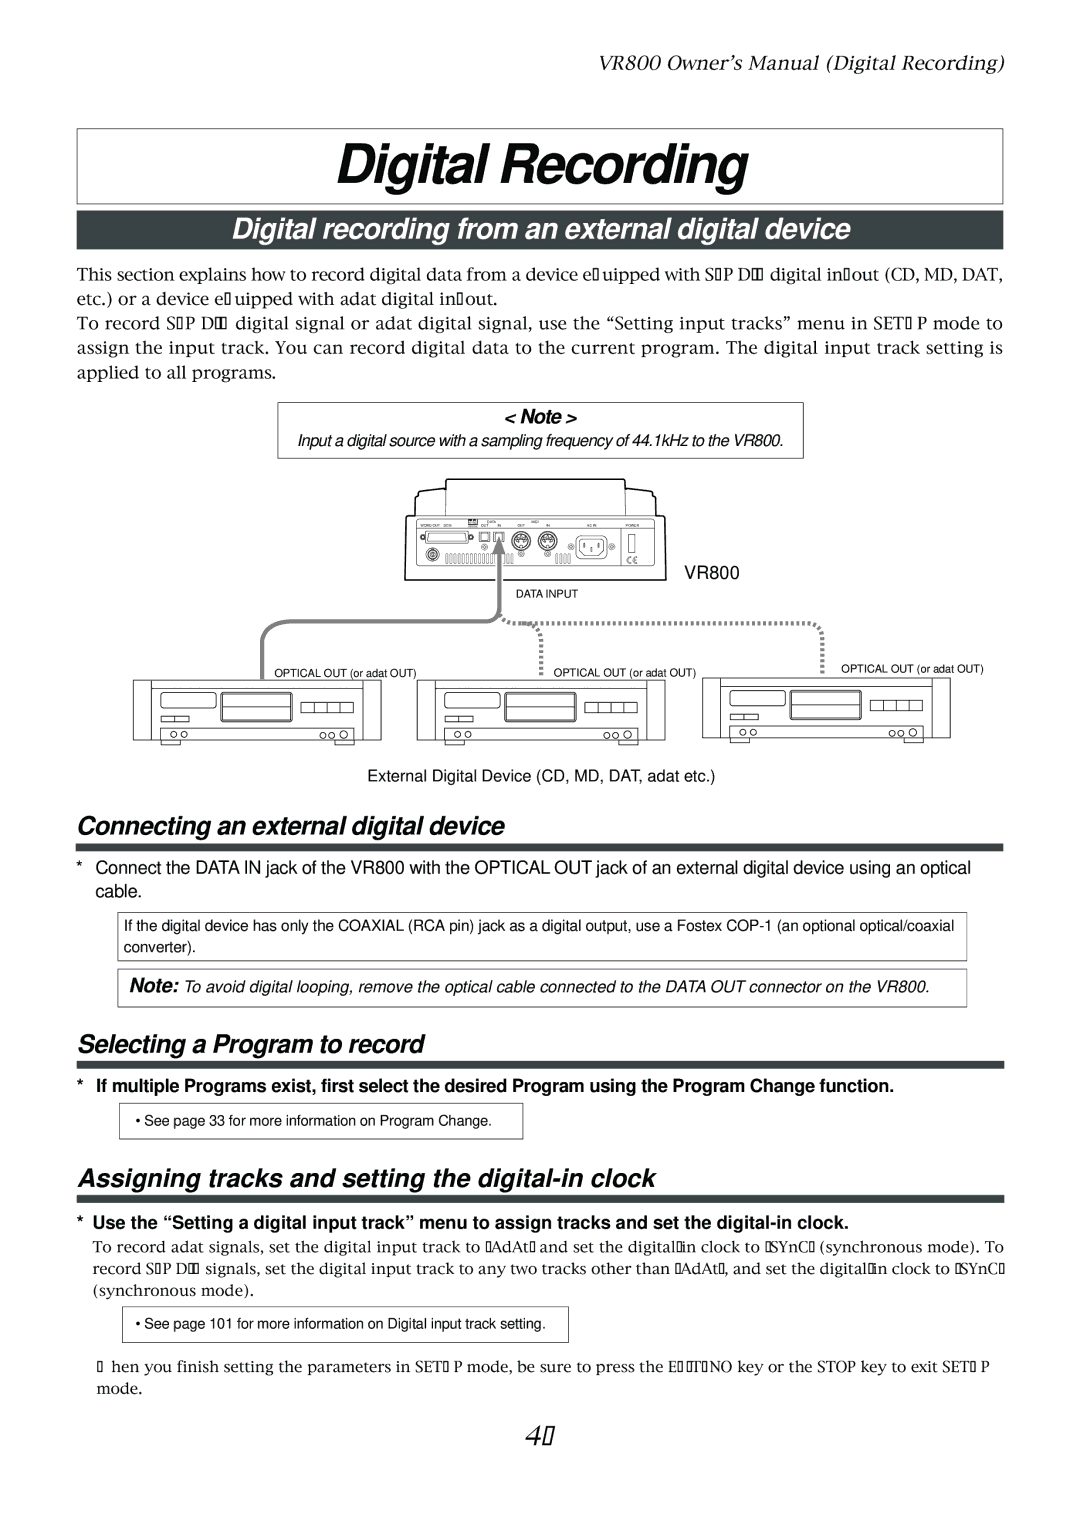
Input a digital source with a sampling frequency of 44.1kHz to the VR800.
|
| DATA |
|
| MIDI |
|
| |
WORD OUT SCSI | OPTICAL | OUT | IN | OUT | IN | AC IN | POWER | |
|
|
|
|
|
|
|
|
|
|
|
|
|
|
|
|
|
|
VR800
DATA INPUT
OPTICAL OUT (or adat OUT) | OPTICAL OUT (or adat OUT) |
OPTICAL OUT (or adat OUT)
External Digital Device (CD, MD, DAT, adat etc.)
Connecting an external digital device
*Connect the DATA IN jack of the VR800 with the OPTICAL OUT jack of an external digital device using an optical cable.
If the digital device has only the COAXIAL (RCA pin) jack as a digital output, use a Fostex
Note: To avoid digital looping, remove the optical cable connected to the DATA OUT connector on the VR800.
Selecting a Program to record
*If multiple Programs exist, first select the desired Program using the Program Change function.
•See page 33 for more information on Program Change.
Assigning tracks and setting the digital-in clock
* Use the “Setting a digital input track” menu to assign tracks and set the
To record adat signals, set the digital input track to [AdAt] and set the
• See page 101 for more information on Digital input track setting.
When you finish setting the parameters in SETUP mode, be sure to press the EXIT/NO key or the STOP key to exit SETUP mode.
45