VR800 Owner’s Manual (Changing the initial setting: SETUP mode)
Setting digital input tracks (“Digi. In ?” menu)
The “Setting a digital input track” menu enables you to assign digital signals (adat digital signal or S/P DIF digital signal) input at the DATA IN connector on the VR800 to tracks. It also enables you to make the
• Initial setting | : AdAT ASYnC (Asynchronous) |
• Assignable tracks | : L channel = AdAT, 1 ~ 8 |
| : R channel = 1 ~ 8 |
• Setting | : ASYnC (Asynchronous) |
:SYnC (Synchronous)
*This setting is shared by all Programs in the same disk.
*The settings cannot be saved and loaded as part of the song data.
*The settings are maintained after you turn off the power to the unit.
Setting digital input tracks
1.While the VR800 is stopped, press the SETUP key to enter SETUP mode.
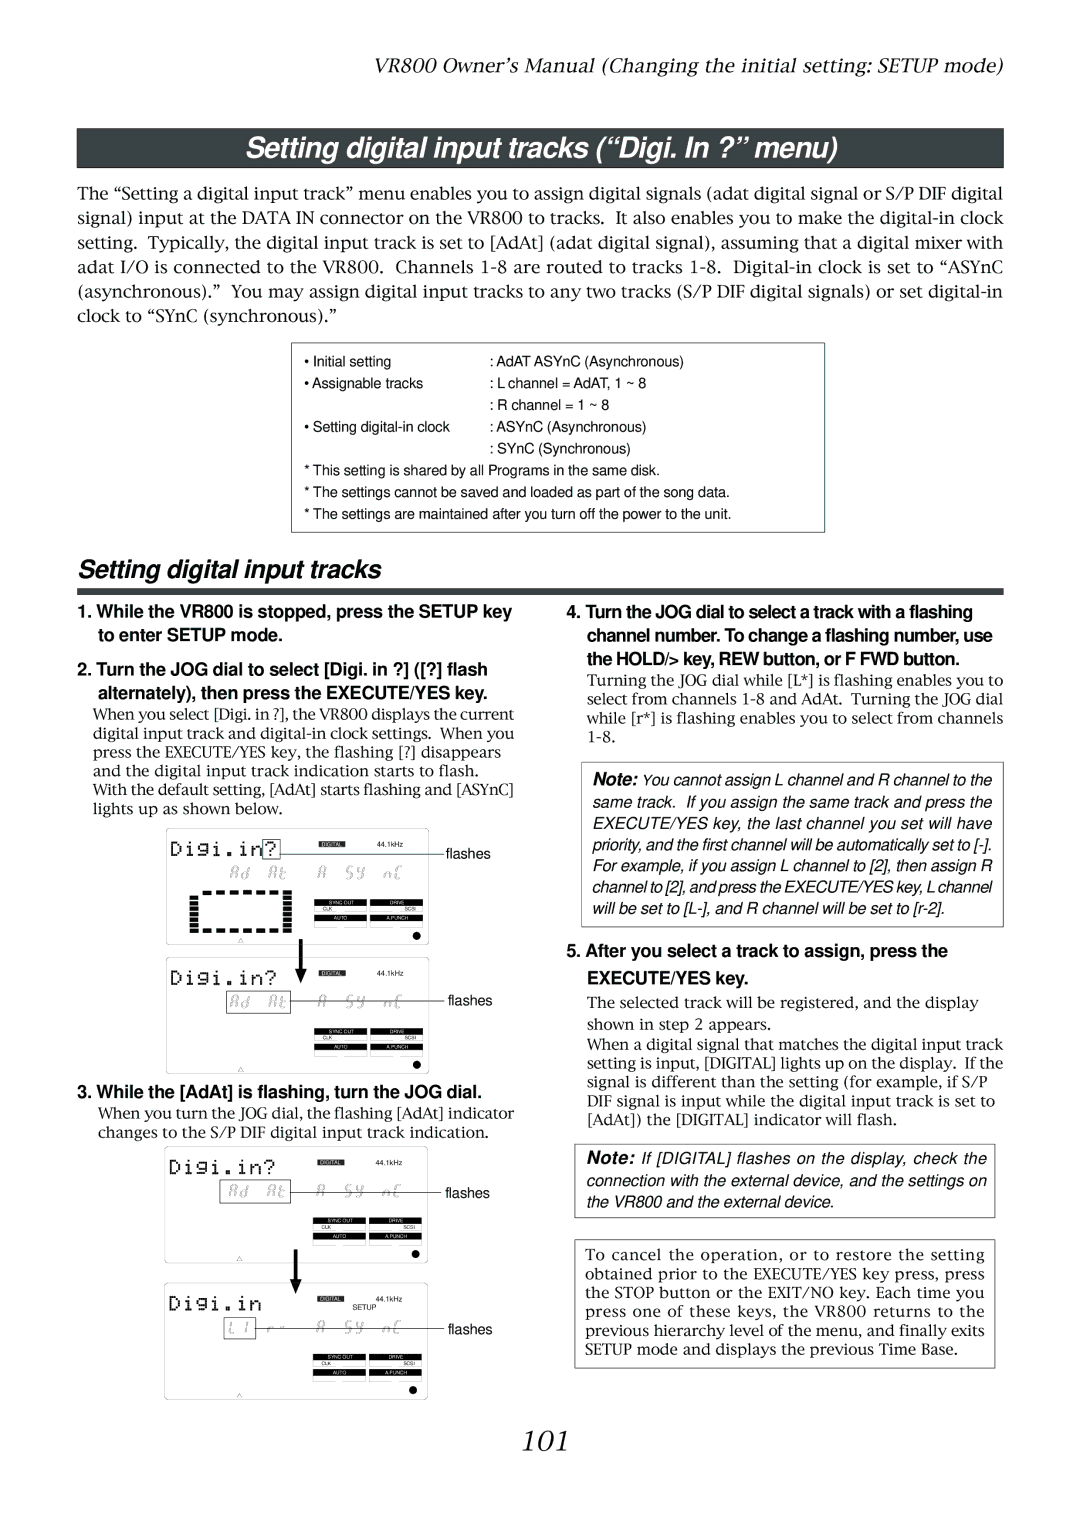
2.Turn the JOG dial to select [Digi. in ?] ([?] flash
alternately), then press the EXECUTE/YES key.
When you select [Digi. in ?], the VR800 displays the current digital input track and
DIGITAL | 44.1kHz |
| flashes |
SYNC OUT | DRIVE |
CLK | SCSI |
AUTO | A.PUNCH |
4.Turn the JOG dial to select a track with a flashing channel number. To change a flashing number, use
the HOLD/> key, REW button, or F FWD button.
Turning the JOG dial while [L*] is flashing enables you to select from channels
Note: You cannot assign L channel and R channel to the same track. If you assign the same track and press the EXECUTE/YES key, the last channel you set will have priority, and the first channel will be automatically set to
DIGITAL | 44.1kHz |
| flashes |
SYNC OUT | DRIVE |
CLK | SCSI |
AUTO | A.PUNCH |
3. While the [AdAt] is flashing, turn the JOG dial.
When you turn the JOG dial, the flashing [AdAt] indicator changes to the S/P DIF digital input track indication.
DIGITAL | 44.1kHz |
flashes
SYNC OUT |
| DRIVE |
CLK | SCSI | |
|
|
|
AUTO |
| A.PUNCH |
DIGITAL44.1kHz
SETUP
flashes
SYNC OUT |
| DRIVE |
CLK | SCSI | |
|
|
|
AUTO |
| A.PUNCH |
5. After you select a track to assign, press the
EXECUTE/YES key.
The selected track will be registered, and the display shown in step 2 appears.
When a digital signal that matches the digital input track setting is input, [DIGITAL] lights up on the display. If the signal is different than the setting (for example, if S/P DIF signal is input while the digital input track is set to [AdAt]) the [DIGITAL] indicator will flash.
Note: If [DIGITAL] flashes on the display, check the connection with the external device, and the settings on the VR800 and the external device.
To cancel the operation, or to restore the setting obtained prior to the EXECUTE/YES key press, press the STOP button or the EXIT/NO key. Each time you press one of these keys, the VR800 returns to the previous hierarchy level of the menu, and finally exits SETUP mode and displays the previous Time Base.