VR800 Owner’s Manual (Changing the initial setting: SETUP mode)
Setting MIDI sync output signal (“Sync Out ?” menu)
The “Setting MIDI sync output signal” menu enables you to select the type of MIDI sync signals output from the MIDI OUT connector on the rear panel of the VR800 to an external MIDI device.
The options are MIDI clock & Song Position Pointer, or MTC (MIDI time code). Select an appropriate option depending on the type of signal supported by the connected MIDI device.
If you select MIDI clock & Song Position Pointer, first you need to set the time signatures and tempo as described previously. If you select MTC, you first need to set the MTC frame rate, the MTC offset time, and the MTC offset mode as described later.
• Initial setting | : [cLK] (clock & Song Position Pointer) |
• Option | : [cLK] (clock & Song Position Pointer), [Mtc] (MIDI time code), [oFF] (no output) |
*You can set the parameters for each Program individually.
*The settings can be saved and loaded as part of the song data.
*The settings are maintained after you turn off the power to the unit.
Setting MIDI sync signal
1.While the VR800 is stopped, press the SETUP key to enter SETUP mode.
2.Rotate the JOG dial to select [Sync Out ?] ([?]
flashes.), then press the EXECUTE/YES key.
The
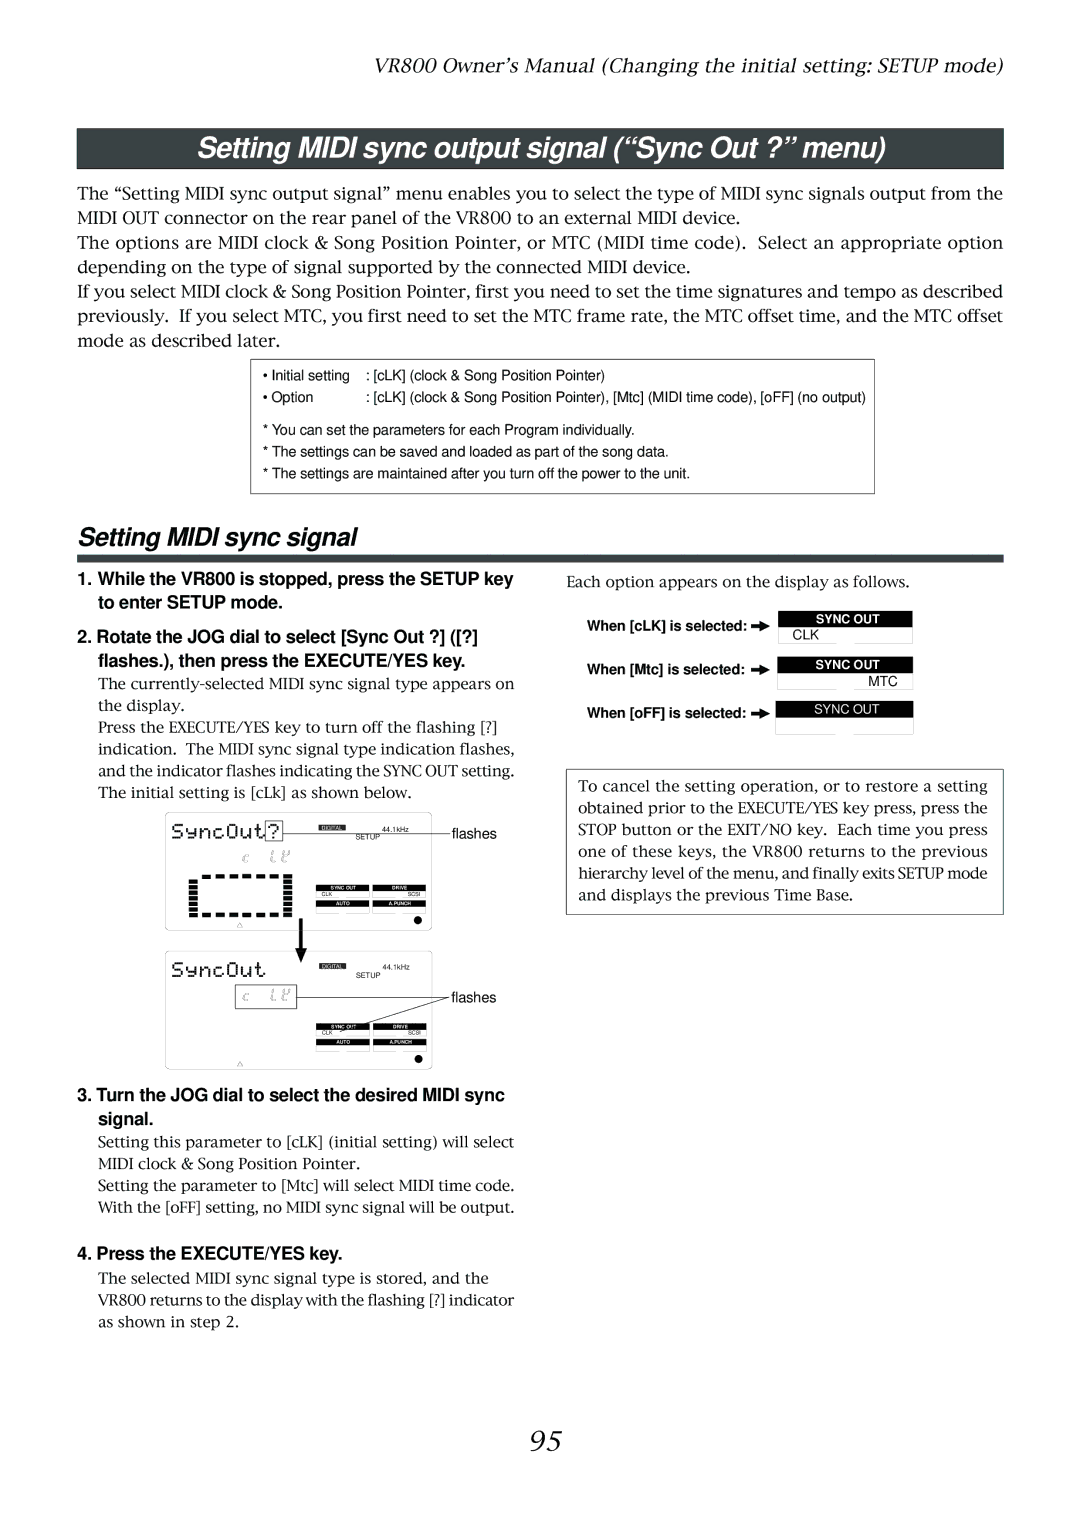
Press the EXECUTE/YES key to turn off the flashing [?] indication. The MIDI sync signal type indication flashes, and the indicator flashes indicating the SYNC OUT setting. The initial setting is [cLk] as shown below.
|
|
|
|
|
|
|
|
|
|
|
|
|
|
|
|
|
|
|
|
|
|
|
|
|
|
|
|
|
|
| DIGITAL |
|
| 44.1kHz |
| flashes | |||
|
|
|
|
|
|
|
|
|
|
|
|
|
|
|
| ||||
|
|
|
|
|
|
|
|
|
|
|
|
| SETUP |
|
|
|
| ||
|
|
|
|
|
|
|
|
|
|
|
|
|
|
|
|
|
|
|
|
|
|
|
|
|
|
|
|
|
|
|
|
|
|
|
|
|
|
|
|
|
|
|
|
|
|
|
|
|
|
|
|
|
|
|
|
|
|
|
|
|
|
|
|
|
|
|
|
|
|
| SYNC OUT |
| DRIVE |
|
| ||||
|
|
|
|
|
|
|
|
|
|
| CLK |
|
|
| SCSI |
|
| ||
|
|
|
|
|
|
|
|
|
|
| AUTO |
| A.PUNCH |
|
| ||||
|
|
|
|
|
|
|
|
|
|
|
|
|
|
|
|
|
|
|
|
|
|
|
|
|
|
|
|
|
|
|
|
|
|
| 44.1kHz |
|
| ||
|
|
|
|
|
|
|
|
|
|
| DIGITAL |
|
|
|
| ||||
|
|
|
|
|
|
|
|
|
|
|
|
| SETUP |
|
|
|
|
| |
|
|
|
|
|
|
|
|
|
|
|
|
|
|
|
|
|
|
| flashes |
|
|
|
|
|
|
|
|
|
|
|
|
|
|
|
|
|
|
| |
|
|
|
|
|
|
|
|
|
|
|
|
|
|
|
|
|
|
| |
|
|
|
|
|
|
|
|
|
|
|
|
|
|
|
|
|
|
|
|
|
|
|
|
|
|
|
|
|
|
|
|
|
|
|
|
|
|
|
|
|
|
|
|
|
|
|
|
|
|
| SYNC OUT |
| DRIVE |
|
| ||||
|
|
|
|
|
|
|
|
|
|
| CLK |
|
|
| SCSI |
|
| ||
|
|
|
|
|
|
|
|
|
|
|
|
|
|
|
|
|
|
|
|
|
|
|
|
|
|
|
|
|
|
| AUTO |
| A.PUNCH |
|
| ||||
|
|
|
|
|
|
|
|
|
|
|
|
|
|
|
|
|
|
|
|
Each option appears on the display as follows.
When [cLK] is selected: |
|
|
| SYNC OUT | ||
|
| CLK |
|
| ||
|
|
|
| |||
|
|
|
|
| ||
When [Mtc] is selected: |
|
|
| SYNC OUT | ||
|
|
|
|
| ||
MTC
When [oFF] is selected: | SYNC OUT | ||
|
|
|
|
To cancel the setting operation, or to restore a setting obtained prior to the EXECUTE/YES key press, press the STOP button or the EXIT/NO key. Each time you press one of these keys, the VR800 returns to the previous hierarchy level of the menu, and finally exits SETUP mode and displays the previous Time Base.
3. Turn the JOG dial to select the desired MIDI sync signal.
Setting this parameter to [cLK] (initial setting) will select MIDI clock & Song Position Pointer.
Setting the parameter to [Mtc] will select MIDI time code. With the [oFF] setting, no MIDI sync signal will be output.
4. Press the EXECUTE/YES key.
The selected MIDI sync signal type is stored, and the VR800 returns to the display with the flashing [?] indicator as shown in step 2.
95