VR800 Owner’s Manual (Formatting a Disk)
<Memo>
To check the REMAIN time for the backup disk after formatting it, eject the disk, then replace it with the disk in the current drive. Then press the DISP SEL key to show the REMAIN display. You can check the REMAIN time of the backup disk in this way. However, you cannot perform another operation using the backup disk at this time. Attempting to do so will cause the VR800 to display [Viod Cmd! (Void Command!)] and ignore your operation.
To eject the disk from the backup drive or the current drive after the format operation, follow the procedure below:
*To eject a disk from the backup drive: Press the Eject button on the drive.
*To eject a disk from the current drive: Press and hold the SHIFT key and press the EXIT/NO key.
Re-formatting a formatted disk for backup
This section explains how to
1. Insert a formatted disk into the backup drive.
The display continues to show the Time Base for the cur- rent drive.
2. Press the SETUP key to enter SETUP mode, and turn the JOG dial to select the [Bk Format ?] menu.
3. Press the EXECUTE/YES key.
The VR800 displays the recording mode that corresponds to the disk format. The [SURE ?] message flashes.
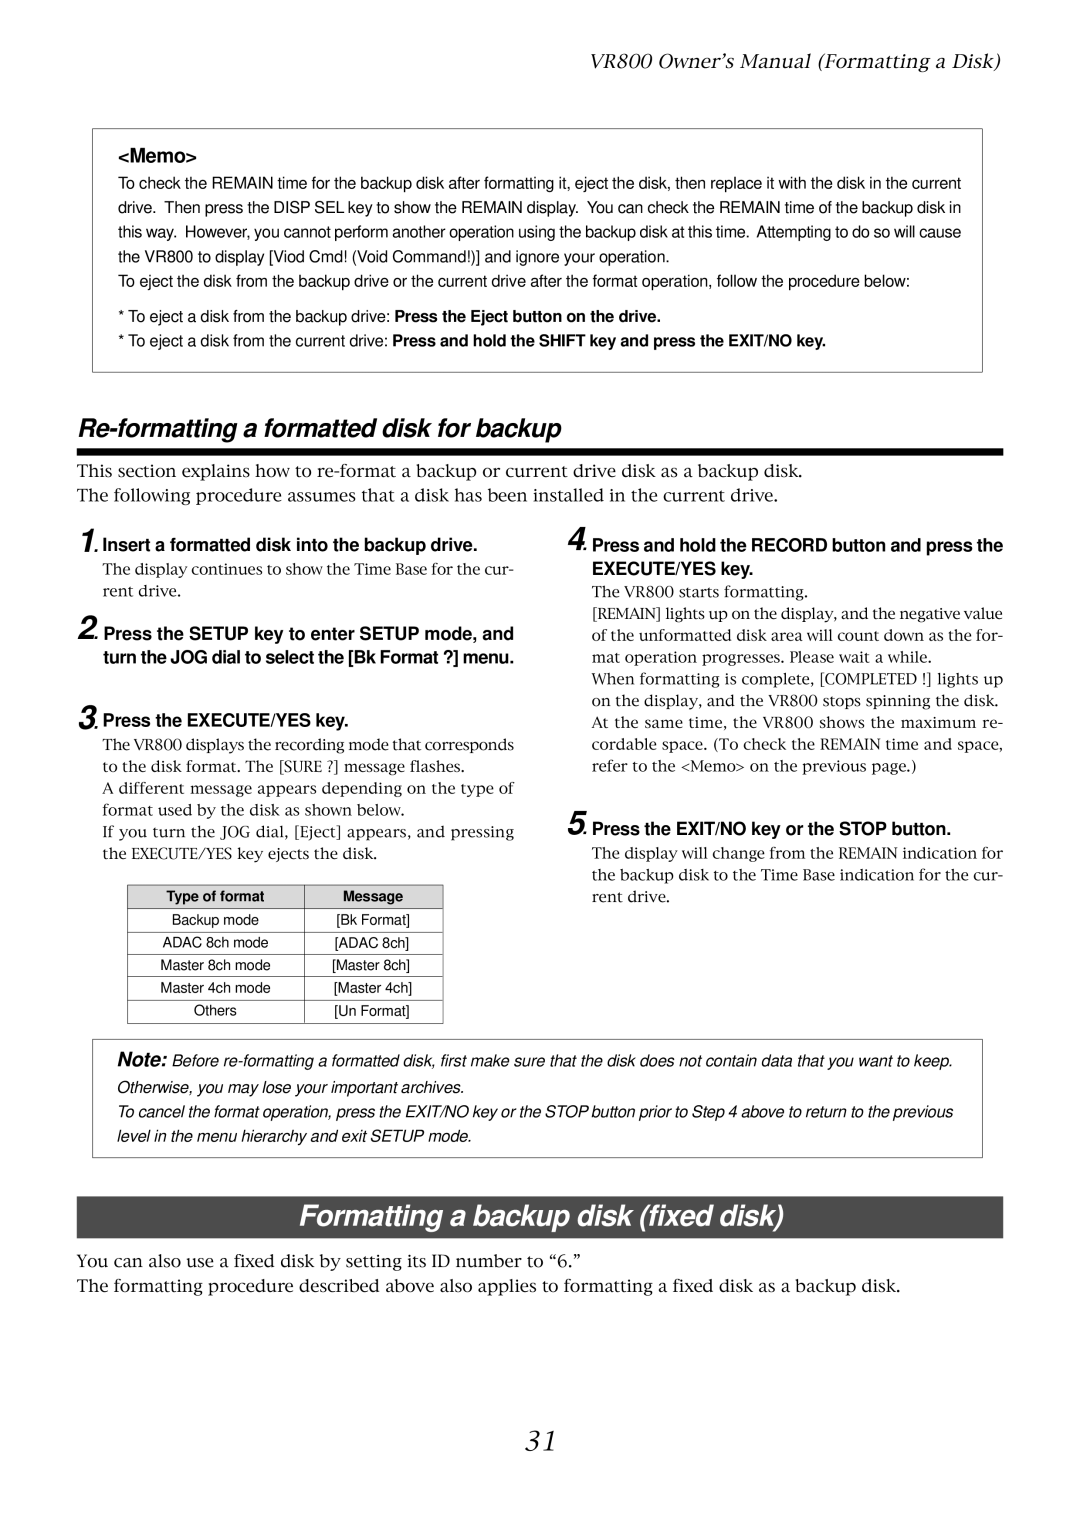
A different message appears depending on the type of format used by the disk as shown below.
If you turn the JOG dial, [Eject] appears, and pressing the EXECUTE/YES key ejects the disk.
Type of format | Message |
Backup mode | [Bk Format] |
|
|
ADAC 8ch mode | [ADAC 8ch] |
|
|
Master 8ch mode | [Master 8ch] |
|
|
Master 4ch mode | [Master 4ch] |
|
|
Others | [Un Format] |
|
|
4. Press and hold the RECORD button and press the EXECUTE/YES key.
The VR800 starts formatting.
[REMAIN] lights up on the display, and the negative value of the unformatted disk area will count down as the for- mat operation progresses. Please wait a while.
When formatting is complete, [COMPLETED !] lights up on the display, and the VR800 stops spinning the disk. At the same time, the VR800 shows the maximum re- cordable space. (To check the REMAIN time and space, refer to the <Memo> on the previous page.)
5. Press the EXIT/NO key or the STOP button.
The display will change from the REMAIN indication for the backup disk to the Time Base indication for the cur- rent drive.
Note: Before
To cancel the format operation, press the EXIT/NO key or the STOP button prior to Step 4 above to return to the previous level in the menu hierarchy and exit SETUP mode.
Formatting a backup disk (fixed disk)
You can also use a fixed disk by setting its ID number to “6.”
The formatting procedure described above also applies to formatting a fixed disk as a backup disk.
31
