L i f e B o o k 9 0 0 S e r i e s f r o m F u j i t s u
U s e r I n s t a l l a b l e F e a t u r e s
7.Slide the device forward until the unit is clear of the compartment.
To Remove a Device from Multi-function Bay 2
5.Slide the release button at the left rear corner of
6.Twist the release button toward the front of your notebook until the device in the bay pops forward slightly.
7.Grasp the device by the left corner and slide it forward until the device is clear of the compartment.
C A U T I O N
The front panel of the
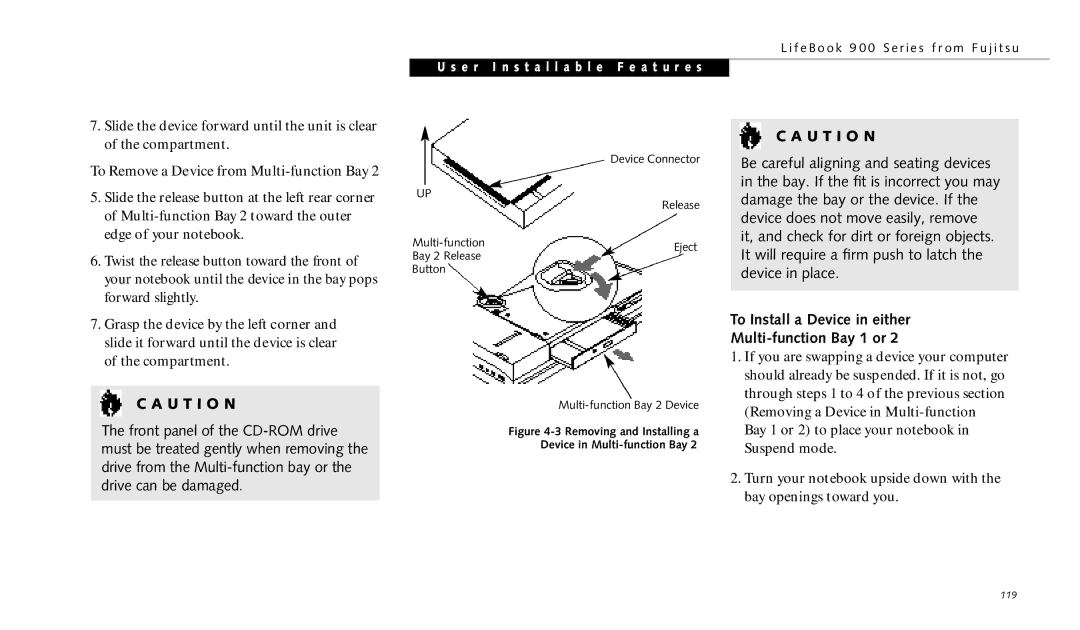
| Device Connector | |
UP | Release | |
| ||
Eject | ||
Bay 2 Release | ||
| ||
Button |
|
Figure 4-3 Removing and Installing a
Device in Multi-function Bay 2
C A U T I O N
Be careful aligning and seating devices in the bay. If the fit is incorrect you may damage the bay or the device. If the device does not move easily, remove it, and check for dirt or foreign objects. It will require a firm push to latch the device in place.
To Install a Device in either
Multi-function Bay 1 or 2
1.If you are swapping a device your computer should already be suspended. If it is not, go through steps 1 to 4 of the previous section (Removing a Device in
2.Turn your notebook upside down with the bay openings toward you.
119