L i f e B o o k 9 0 0 S e r i e s f r o m F u j i t s u
T r o u b l e s h o o t i n g
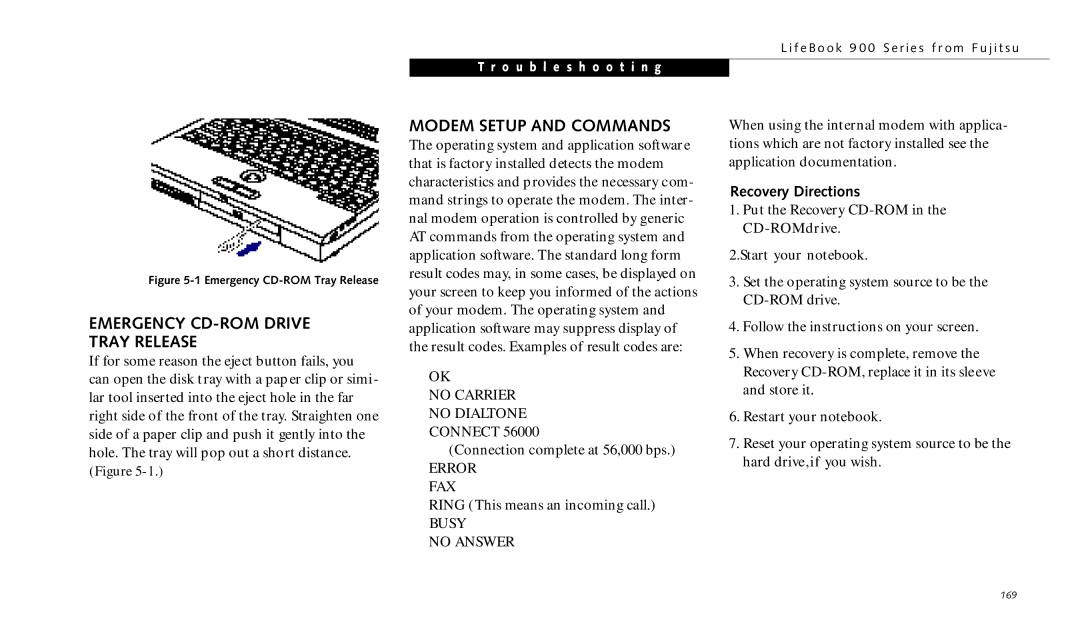
Figure 5-1 Emergency CD-ROM Tray Release
EMERGENCY CD-ROM DRIVE TRAY RELEASE
If for some reason the eject button fails, you can open the disk tray with a paper clip or simi- lar tool inserted into the eject hole in the far right side of the front of the tray. Straighten one side of a paper clip and push it gently into the hole. The tray will pop out a short distance. (Figure
MODEM SETUP AND COMMANDS
The operating system and application software that is factory installed detects the modem characteristics and provides the necessary com- mand strings to operate the modem. The inter- nal modem operation is controlled by generic AT commands from the operating system and application software. The standard long form result codes may, in some cases, be displayed on your screen to keep you informed of the actions of your modem. The operating system and application software may suppress display of the result codes. Examples of result codes are:
OK
NO CARRIER
NO DIALTONE
CONNECT 56000
(Connection complete at 56,000 bps.)
ERROR FAX
RING (This means an incoming call.)
BUSY
NO ANSWER
When using the internal modem with applica- tions which are not factory installed see the application documentation.
Recovery Directions
1.Put the Recovery
2.Start your notebook.
3.Set the operating system source to be the
4.Follow the instructions on your screen.
5.When recovery is complete, remove the Recovery
6.Restart your notebook.
7.Reset your operating system source to be the hard drive,if you wish.
169