on the module should be on the right with the part side up and the connector pointing towards the back of the notebook and aligned with the notch in the connector inside the compartment. (Figure
9.Insert the memory upgrade module at a 45° angle. (Figure
10.Press the memory upgrade module down into the compartment until it lodges under the retaining clip. You will hear a click when it is properly in place.
11.Repeat for the second memory upgrade module if desired.
12.Replace the cover by sliding the tabs on the rear edge of the cover in the slots in the rear edge of the compartment and pushing the cover gently down starting with the rear edge and working toward the front until the entire cover is flush with the bottom of your notebook. Make sure that the side tab o f the
L i f e B o o k 9 0 0 S e r i e s f r o m F u j i t s u
U s e r I n s t a l l a b l e F e a t u r e s
Memory upgrade modules are not something you routinely remove from your notebook.Once they are installed,leave them in place unless you want to increase system memory capacity.
C A U T I O N
Before you install or remove a memory upgrade module, save changes, close all files and turn power off to your note- book. (See Power Off on Pages
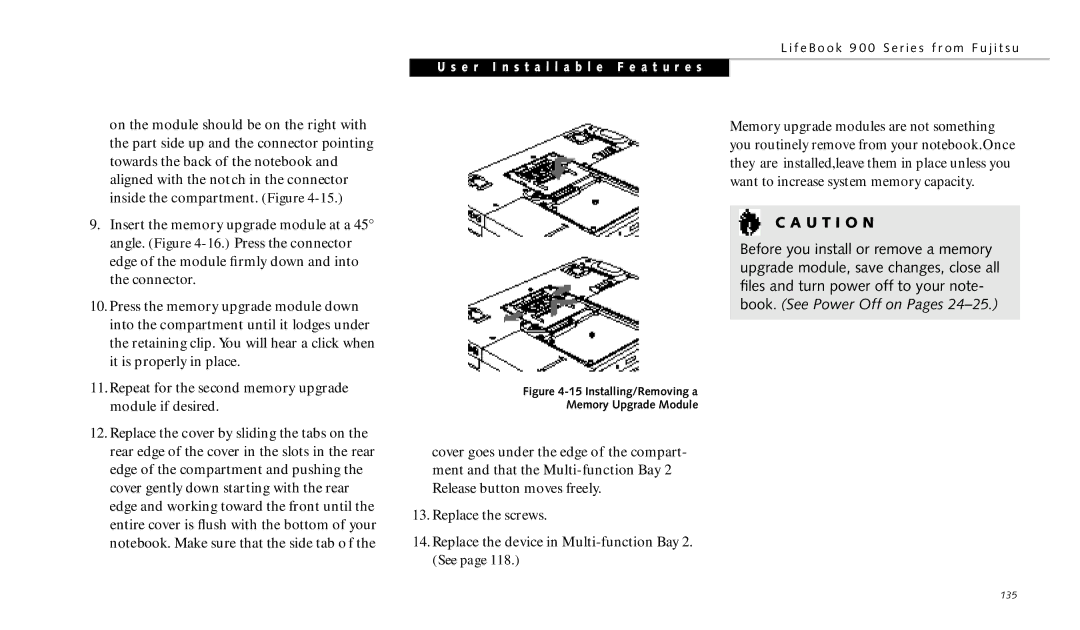
Figure 4-15 Installing/Removing a
Memory Upgrade Module
cover goes under the edge of the compart- ment and that the
13.Replace the screws.
14.Replace the device in
135