Module Installation
To install the module:
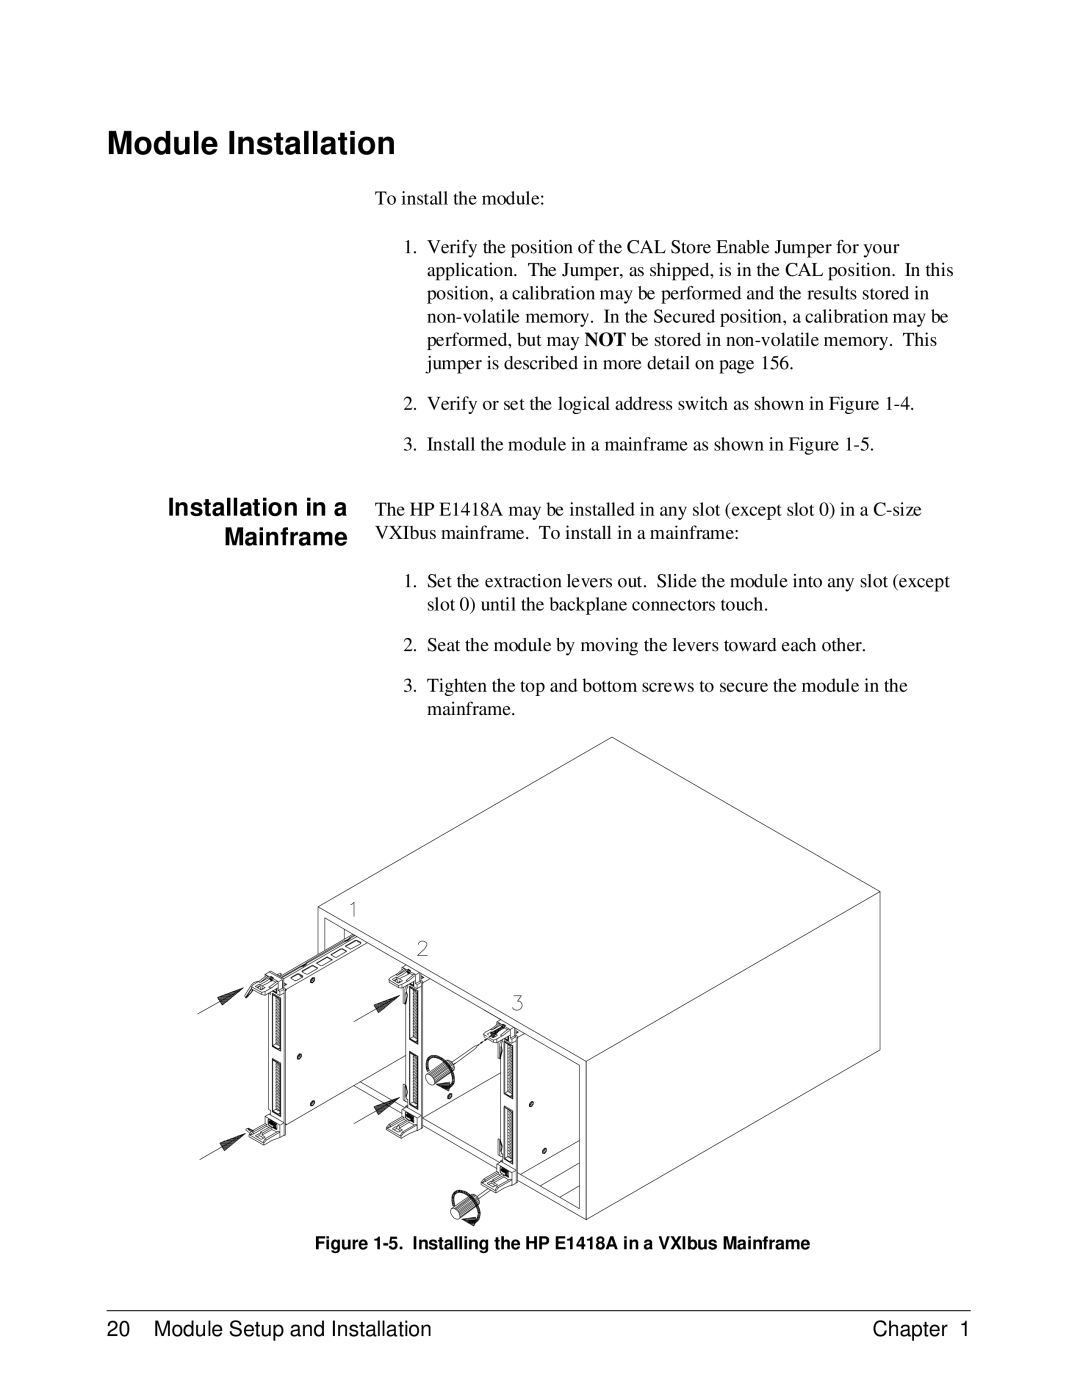
Installation in a Mainframe
1.Verify the position of the CAL Store Enable Jumper for your application. The Jumper, as shipped, is in the CAL position. In this position, a calibration may be performed and the results stored in
2.Verify or set the logical address switch as shown in Figure
3.Install the module in a mainframe as shown in Figure
The HP E1418A may be installed in any slot (except slot 0) in a
1.Set the extraction levers out. Slide the module into any slot (except slot 0) until the backplane connectors touch.
2.Seat the module by moving the levers toward each other.
3.Tighten the top and bottom screws to secure the module in the mainframe.
Figure 1-5. Installing the HP E1418A in a VXIbus Mainframe
20 Module Setup and Installation | Chapter 1 |