Chapter 2 - Installation
2.5.5.4Window Mount with Rotation Capability
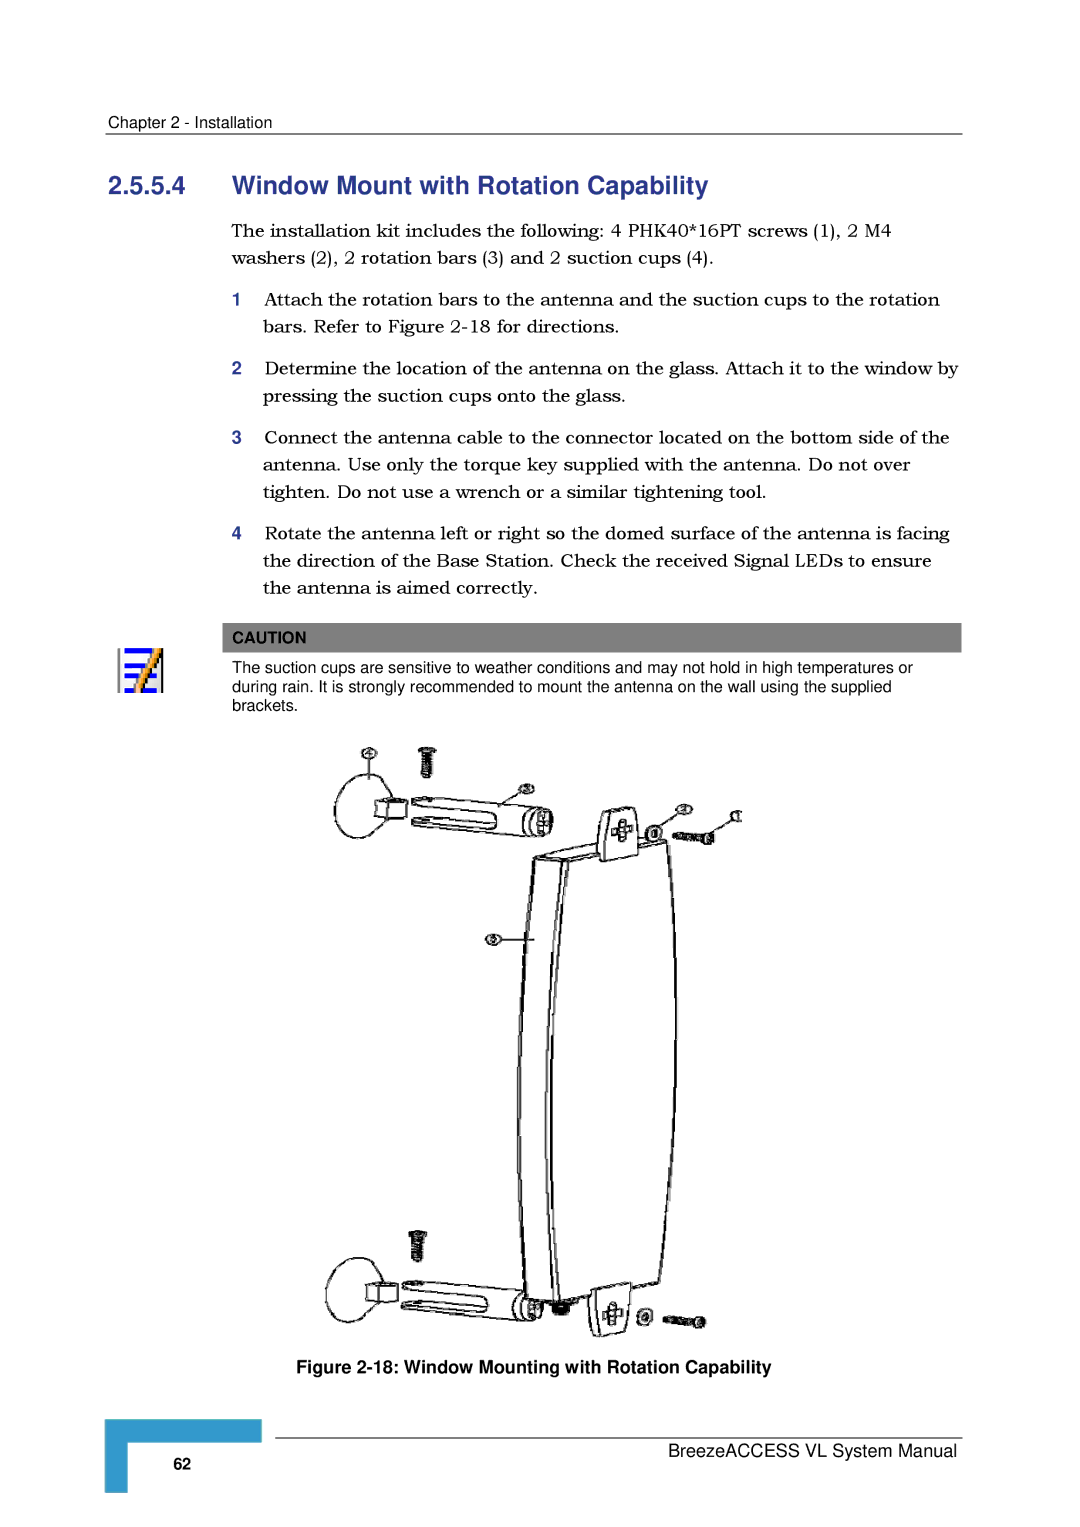
The installation kit includes the following: 4 PHK40*16PT screws (1), 2 M4 washers (2), 2 rotation bars (3) and 2 suction cups (4).
1Attach the rotation bars to the antenna and the suction cups to the rotation bars. Refer to Figure
2Determine the location of the antenna on the glass. Attach it to the window by pressing the suction cups onto the glass.
3Connect the antenna cable to the connector located on the bottom side of the antenna. Use only the torque key supplied with the antenna. Do not over tighten. Do not use a wrench or a similar tightening tool.
4Rotate the antenna left or right so the domed surface of the antenna is facing the direction of the Base Station. Check the received Signal LEDs to ensure the antenna is aimed correctly.
CAUTION
The suction cups are sensitive to weather conditions and may not hold in high temperatures or during rain. It is strongly recommended to mount the antenna on the wall using the supplied brackets.
Figure 2-18: Window Mounting with Rotation Capability
62