Chapter 2 - Installation
Name | Description | Functionality | ||
SNR bar | Received signal | Red LED: Signal is too low (SNR < 4dB). | ||
|
| strength Indication | 8 green LEDs: Quality of the received signal. | |
|
|
| Orange LED: Signal is too high (SNR > 50dB). | |
|
|
|
| |
ETH | Connection to the user's LAN/PC: | |||
|
|
| Cable connection to a hub/switch/router: Crossed | |
|
|
| Cable connection to a PC: Straight | |
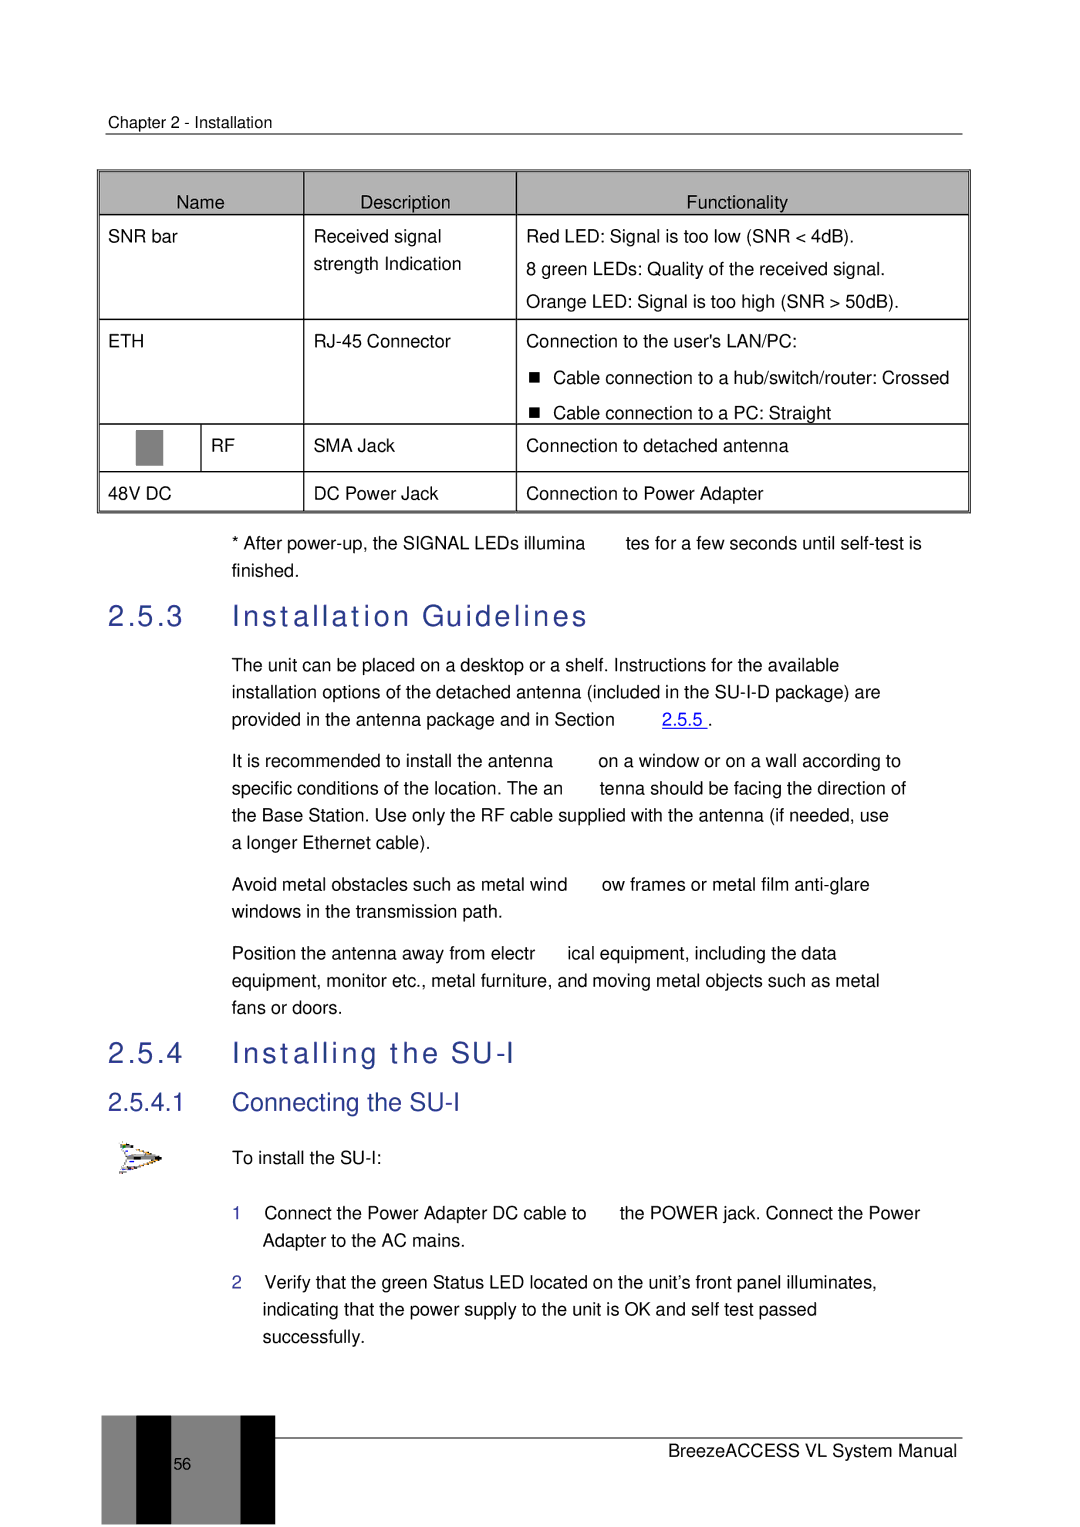
| RF | SMA Jack | Connection to detached antenna | |
|
|
|
| |
48V DC | DC Power Jack | Connection to Power Adapter | ||
|
|
|
| |
*After
2.5.3Installation Guidelines
The unit can be placed on a desktop or a shelf. Instructions for the available installation options of the detached antenna (included in the
It is recommended to install the antenna on a window or on a wall according to specific conditions of the location. The antenna should be facing the direction of the Base Station. Use only the RF cable supplied with the antenna (if needed, use a longer Ethernet cable).
Avoid metal obstacles such as metal window frames or metal film
Position the antenna away from electrical equipment, including the data equipment, monitor etc., metal furniture, and moving metal objects such as metal fans or doors.
2.5.4Installing the SU-I
2.5.4.1Connecting the SU-I
To install the SU-I:
1Connect the Power Adapter DC cable to the POWER jack. Connect the Power Adapter to the AC mains.
2Verify that the green Status LED located on the unit's front panel illuminates, indicating that the power supply to the unit is OK and self test passed successfully.
56